Stage 3 - Custom Sequences
Motif: RHYTHM, PHRASE, AUTO
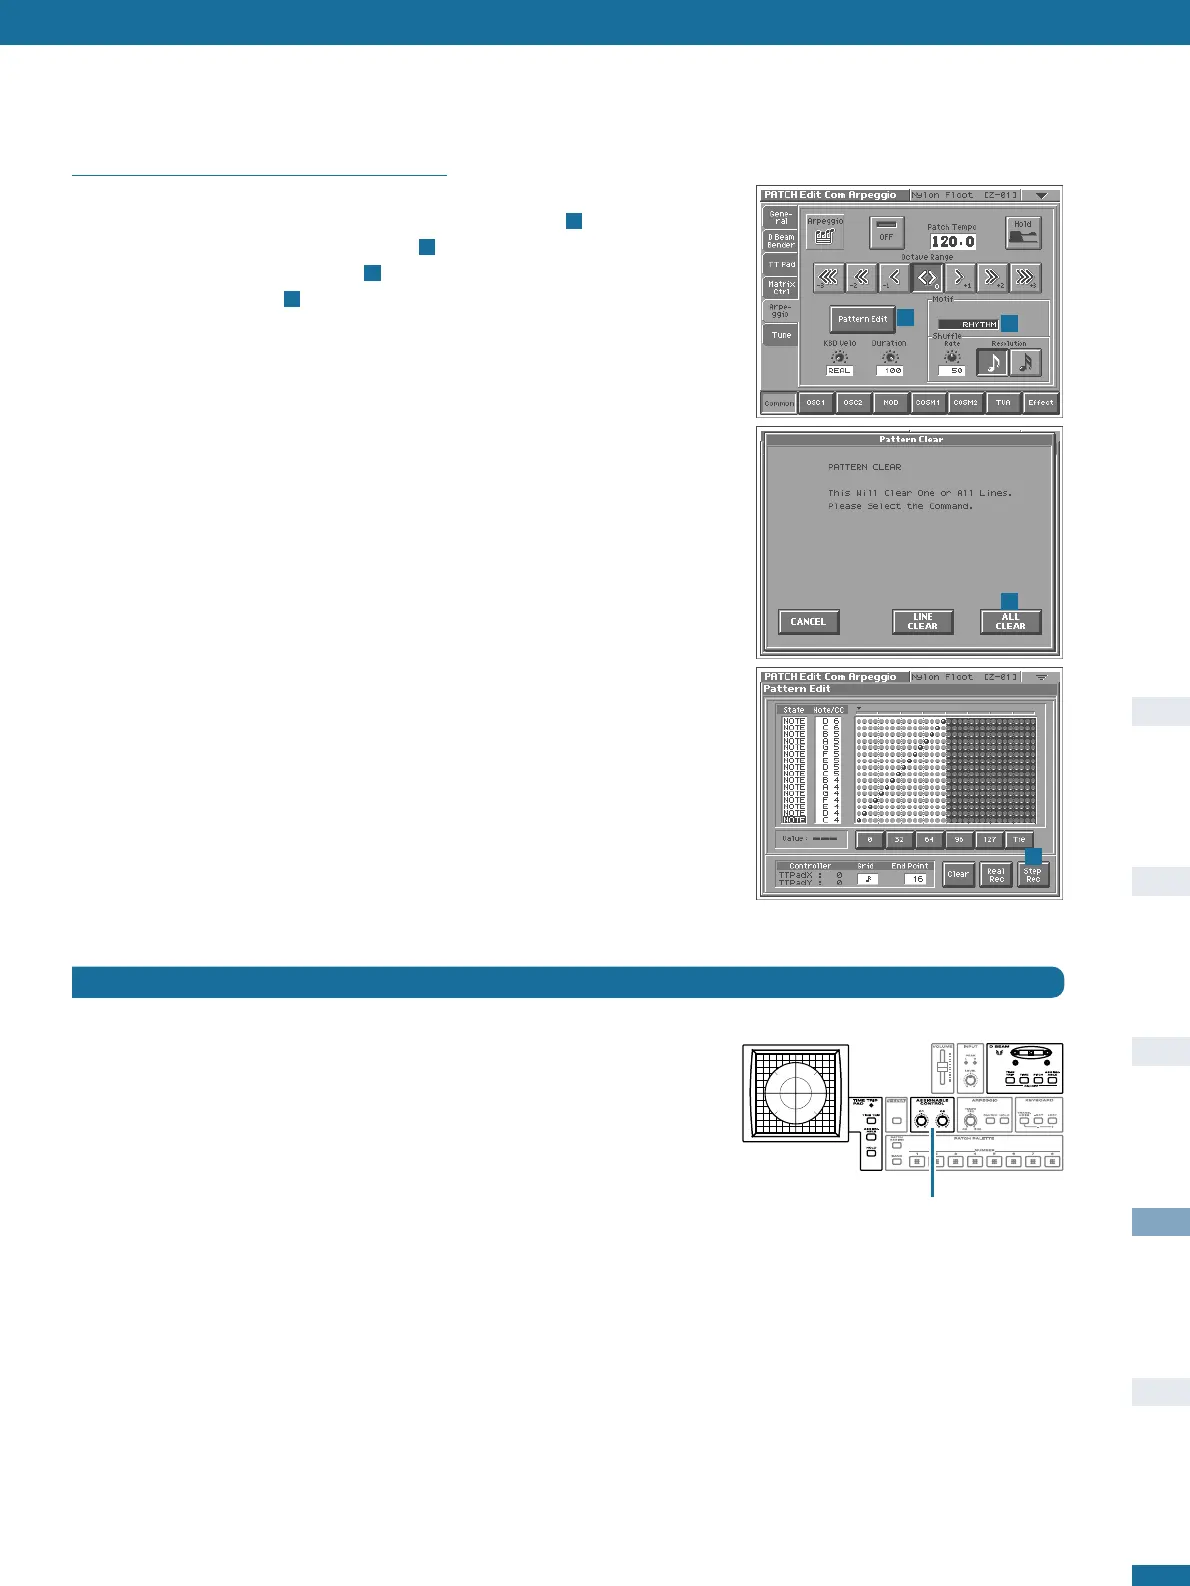
Go back to the main arpeggiator page and set Motif to RHYTHM so that the NOTE
values become relevant. Touch Pattern Edit . Highlight anything in the bottom row
and touch Clear. Select ALL CLEAR to delete all the lines in the grid, then touch
Step Rec (step recording) . Now enter notes or chords (playing legato will also result
in chords) until you have filled all 16 steps, and touch Stop. To change the velocity of
any of these notes, simply use the cursor buttons to highlight them, then change the
value using the row of pads and/or the VALUE dial. Setting zero will delete a note.
Now play any note - you should be able to hear the sequence you have just made, but
in the original pitch only. Press the EXIT button and change the Motif to PHRASE so
that you can transpose the sequence by playing different notes.
Touch Pattern Edit, then Clear. Select ALL CLEAR, then change the End Point to 32.
Touch Real Rec (realtime record). Wait for two bars, then play for two bars. Touch Stop
when you are ready. If you don’t like what you have entered, you can always use the
Clear pad to start again. Tip: don’t play too laid-back, otherwise several notes will
appear later in the grid. Having said that, such “mistakes” can turn out to be quite funky
and highly inspiring!
A lot of thought has gone into making the V-Synth one of the most truly “playable”
keyboards on the market. The left hand controls (Time-Trip, D-Beam, the C1 and C2
knobs) are specifically designed for manipulating sounds in realtime once they have been
programmed.
Of course any of the buttons, knobs and sliders on the panel could be used as
performance controls, and you might like to change e.g. the Decay time in an arpeggio
or to switch effects in and out during live performance. However, it is a much better idea
to assign one or more of the many multi-purpose controls to the appropriate destination
in the Matrix Control (see below).
Why? Because all the left hand controls are assigned MIDI CC numbers (definable in the
MODE / SYSTEM settings). Any movements can be recorded to a MIDI sequencer or
even to the V-Synth’s own pattern sequencer (where all recorded data is quantized to
the current Grid value). The other buttons, knobs and sliders don’t send data to the MIDI
Out port.
Performance Controls

 Loading...