Inside the V-Synth - A Tutorial
First Steps
6
There is quite a lot of “learning by doing” in this tutorial, and to get the most out of it
you should follow all the instructions strictly from start to finish. Later parts of the tutorial
assume that you have carried out all previous steps to the letter, e.g. that you have saved
a sound called INIT PATCH to patch number 512, and one called “Simplicity” to
number 300, etcetera. Instructions become progressively terse because you will become
more familiar with the programming environment and terminology.
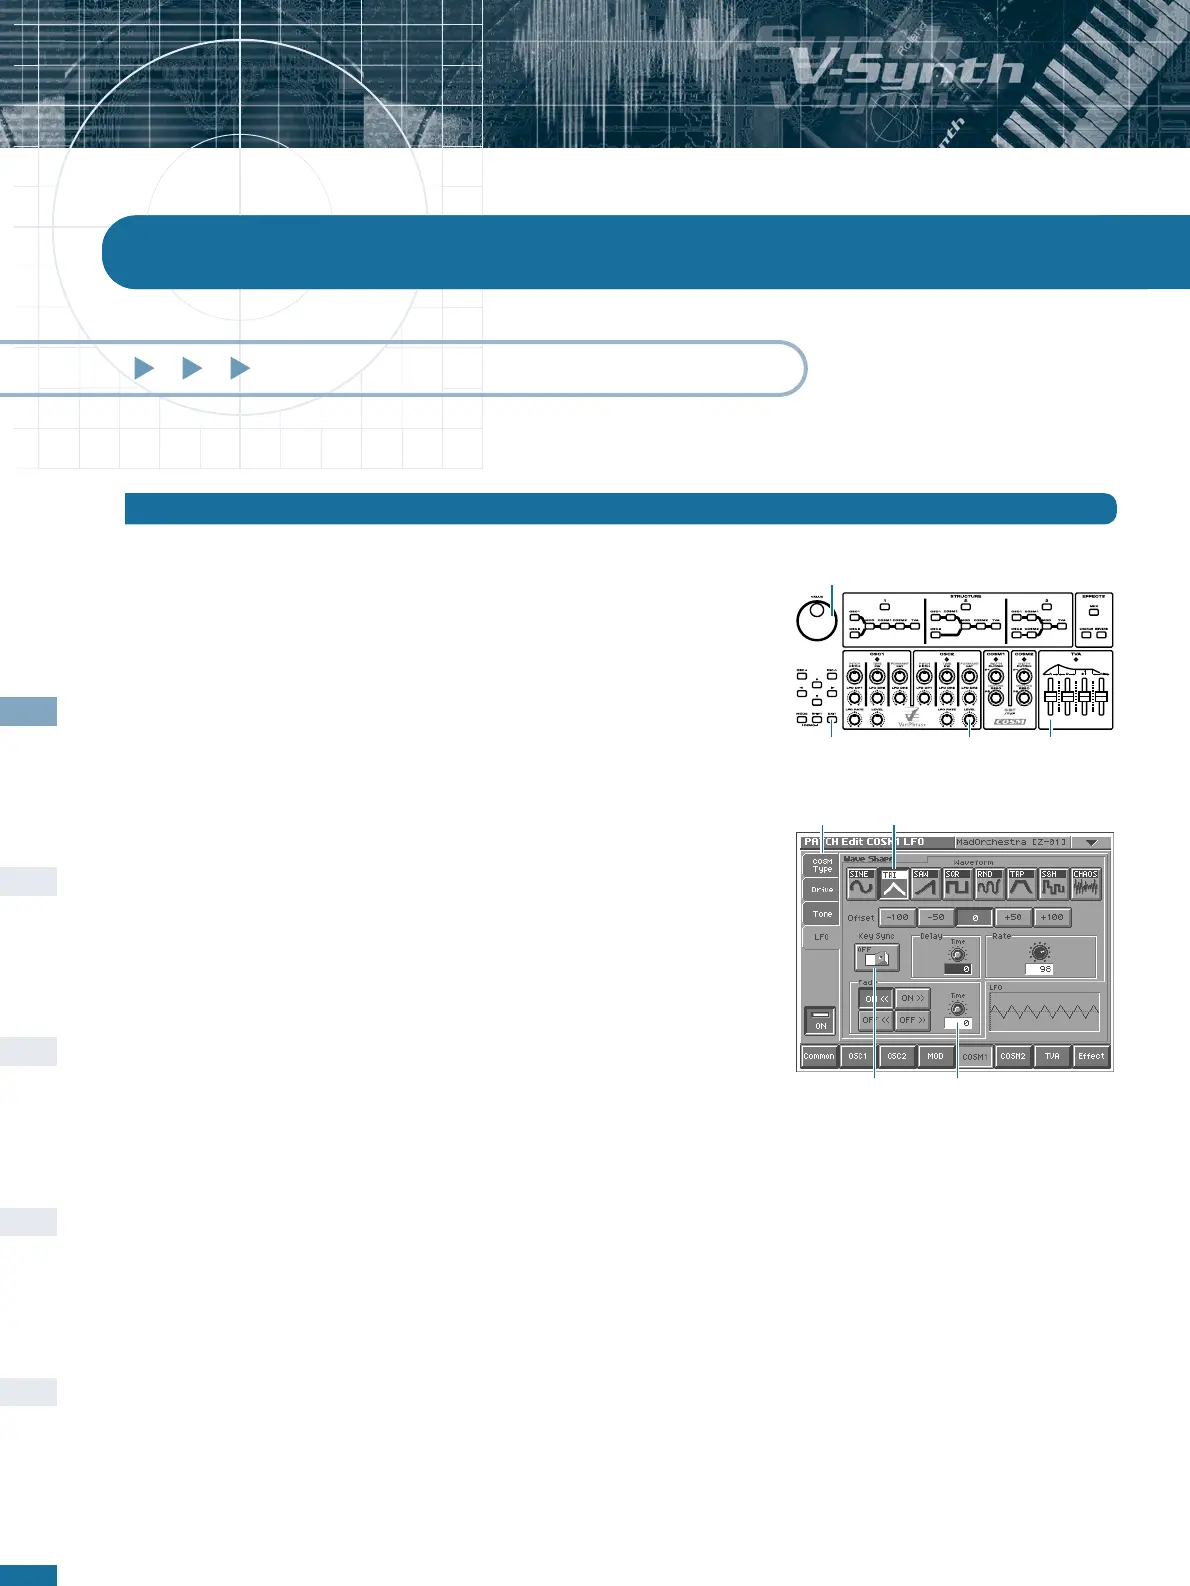
To differentiate between physical and virtual controls, those on the panel are referred to
as KNOB, BUTTON, SLIDER, VALUE DIAL, whereas those appearing on the screen
are referred to as PAD, TAB, CONTROL or even GRAPHIC (depending upon function
and/or appearance).
TABs are used for selecting different pages within a section, and only appear on the left
or right of the screen. The combination pitch-bender and modulation control to the left
of the keyboard is simply referred to as the BENDER.
For the sake of simplicity, only STRUCTURE number 1 is used throughout the tutorial.
Split and Drum modes are not mentioned for the same reason - for further information,
please refer to the Owner’s manual.
Introduction
First Steps

 Loading...