22
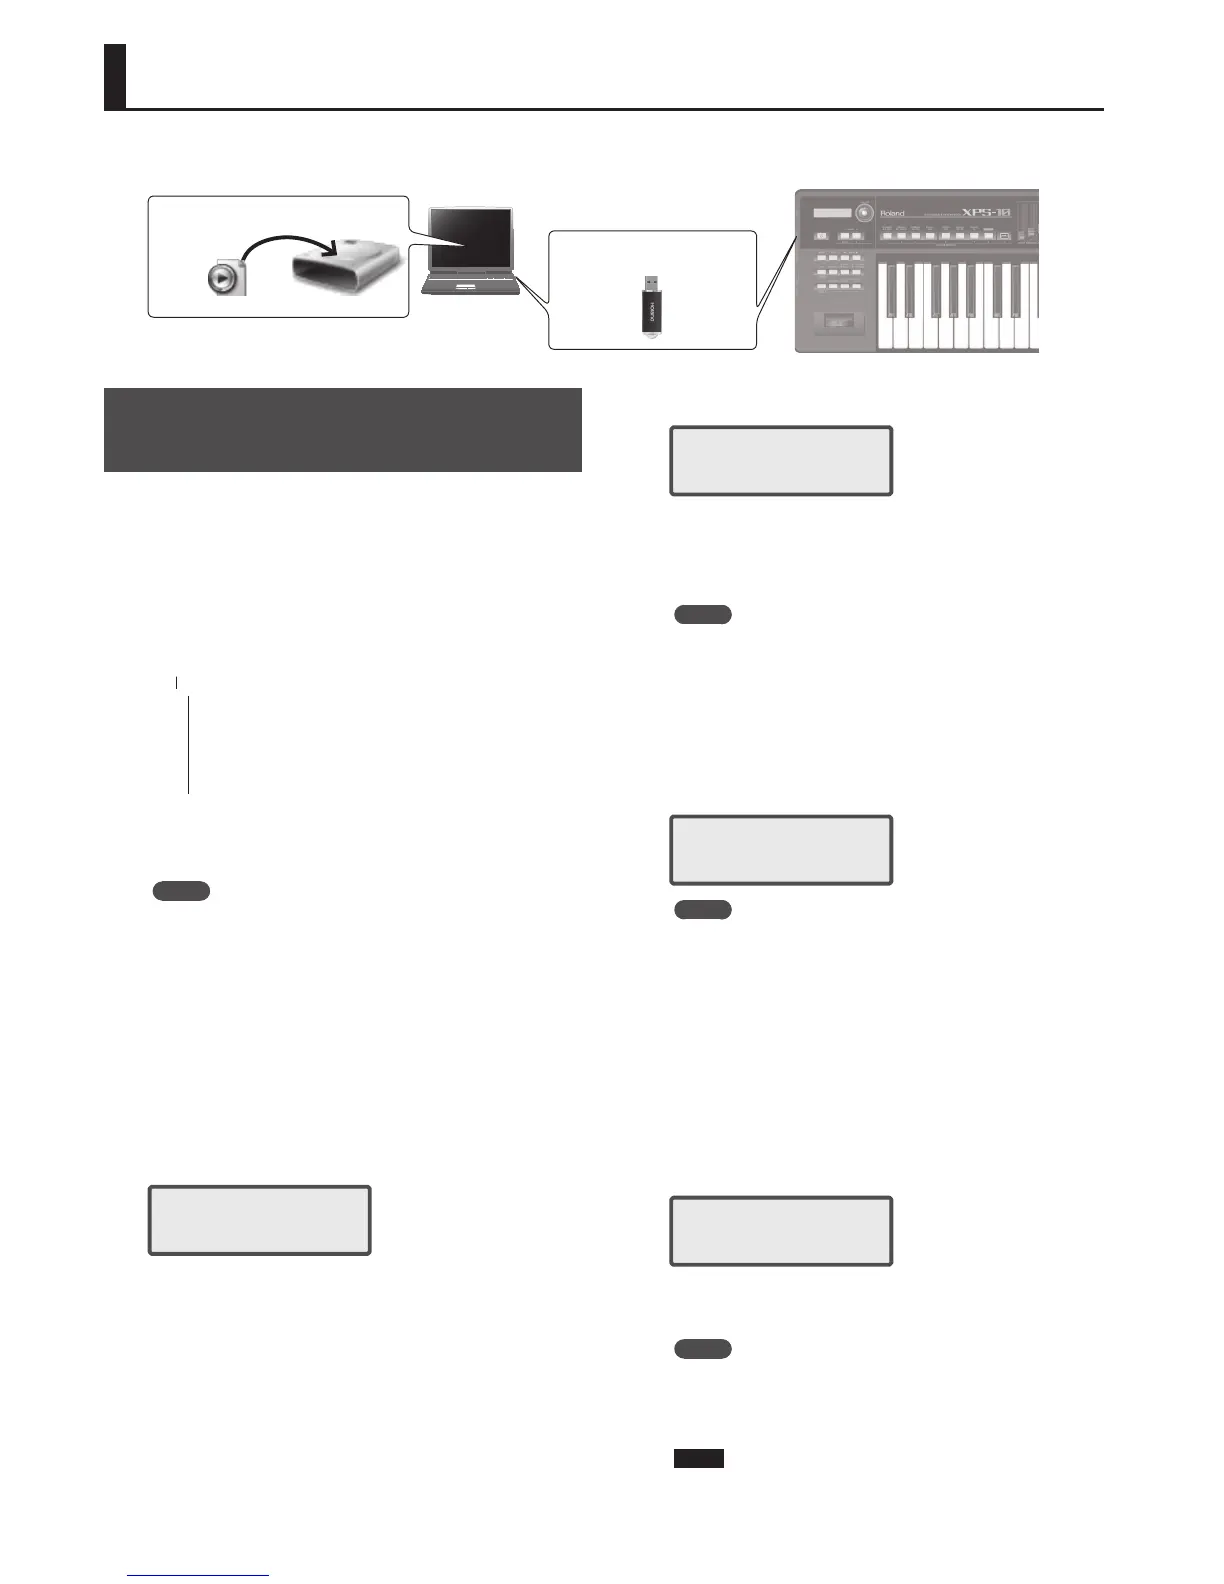
Importing a Sound and Playing it on the Keyboard (SAMPLE IMPORT)
Here’s how to import an audio le (44.1 kHz, 16 bit, WAV format only) into the XPS-10. The imported audio data is called a “sample.”
You can assign a sample to the keyboard and play it. In Performance mode, you can assign up to 16 audio les (16 parts).
Copy to a USB Flash Drive
Insert USB Flash Drive
WAV
Importing Audio Files from a USB Flash
Drive
Here’s how audio les (WAV format only) can be imported from a USB ash
drive into the XPS-10’s internal memory.
* For an audio le to be imported, it must be a WAV format, 44.1 kHz, 16
bit le. If any other le is selected, the display indicates “Incorrect File!”
and the le cannot be imported.
1. Put the audio les on your USB ash drive in the folder
shown below.
Use a USB ash drive that you formatted using the XPS-10 (p. 34).
(Root)
-- IMPORT
-- TEST1.wav
-- TEST2.wav
-- TEST3.wav
-- TEST4.wav
-- TEST5.wav
MEMO
Use only single-byte alphanumeric characters in the folder names and
le names.
2. Insert the USB ash drive into the XPS-10, and turn on the
power.
3. Press the [MENU] button.
The Menu screen appears.
4. Use the CURSOR [
K
] [
J
] buttons to select “SAMPLE
IMPORT,” and press the [ENTER] button.
5. Use the VALUE [-] [+] buttons to select the le that you
want to import.
IMPORT: [ENT]
TEST1.wav
* If the le is not found, the display indicates “Not Found !”
6. Press the [ENTER] button.
To:501
[ ]
Imported les are saved in the XPS-10’s internal user memory, and are
assigned a number starting with 501.
7. Use the VALUE [-] [+] buttons to select the save-
destination.
MEMO
If you specify a number in which data is already saved, the patch name
is shown in the lower line.
8. Specify the save-destination number and press the
[ENTER] button.
9. Use the VALUE [-] [+] buttons and the CURSOR [
K
] [
J
]
buttons to specify the Original Key and turn the Loop
setting on/o.
Original Key: C4
Loop Switch : OFF
MEMO
. The sound is automatically assigned to the keyboard with the
appropriate pitches, starting from two octaves above the Original Key
and extending downward to the lowest note of the keyboard.
. If Loop Switch is ON, the sample continues playing repeatedly as long
as you hold down the note. Use this setting if you import the sound of a
sustaining instrument such as an organ.
. If you like, you can change the loop point and original key of the
sample later. For details, refer to “Editing a Sample” (p. 23).
10. Press the [ENTER] button.
The audio le is imported.
If user memory is full, the following screen appears and you can’t import
the audio le. In this case, you’ll need to delete unnecessary samples (p.
24).
UserMemory Full!
11. Repeat steps 5–10 to import the desired les into the
XPS-10.
MEMO
. An imported audio le can be used as a single patch by pressing the
[SAMPLE] button.
. If the le size is large, the import may require several minutes
(maximum 32 MB).
NOTE
Never turn o the power while the screen indicates “Keep Power ON!”
1. Use the XPS-10 to format the
USB ash drive (p. 34).
An IMPORT folder and other folders are
created.
Power-o the XPS-10, and then remove
the USB ash drive.
2. Using your computer, copy the
desired audio les into the
IMPORT folder.
 Loading...