Configuration, Startup and Operation 55
Reference Manual Section 3: Configuration, Startup and Operation
00809-0100-4892 January 2019
8. Use the stylus on the screen to select SEND to update the 6888Xi.
3.7.4 Tolerance Check
Use a Field Communicator or the 6888Xi to set whether or not the measured calibration gas value
is validated against the programmed value. If configured Yes, the 6888Xi will create an alarm if
the measured value varies more than ±10% from the programmed value. Also, when configured
Yes, the 6888 must be calibrated using calibration gas 1 first then calibration gas 2 second and the
gas values must be set properly.
When using the 6888Xi with an SPS4001B or IMPS the test gas values for Gas 1 and Gas 2 corre-
spond with Lo Gas and Hi Gas, respectively. Care must be taken to ensure the test gas values are
properly matched and the test gases are plumbed correctly to the SPS4001B or IMPS. Failure to
do so may cause errors on the calibration serquence or trigger an error if tolerance check is set
on.
A 6888Xi shipped from the factory has the tolerance check set to No. This same process must
be performed any time an I/O Board is replaced.
Setting Tolerance Check Using the 6888Xi Keypad/Display
1. Press the MENU button repeatedly until the IOB1 Probe 1 menu displays.
2. From the main menu, select DETAILED SETUP then press ENTER.
3. From the DETAILED SETUP menu, select CALIBRATION then press ENTER.
4. From the CALIBRATION menu, select TOL CHECK then press ENTER.
5. Press the RIGHT arrow key to edit the value.
No – Tolerance Check active
Yes – Tolerance Check inactive
Use the UP and DOWN arrow keys to change the value from NO to YES or YES to NO. Press
ENTER to save the new value. Press the LEFT arrow key to return to the CALIBRATION
menu.
6. Press the EXIT key to return to the main menu.
7. Repeat steps 1 through 6 for PROBE 2 if configured for dual channel.
Setting Tolerance Check Using Field Communicator in Manual Configure Mode
1. Use the 375/475 Field Communicator to access the main HART menu.
2. From the main menu, select CONFIGURE.
3. From the CONFIGURE menu, select MANUAL SETUP.
4. From the MANUAL SETUP menu, select CALIBRATION.
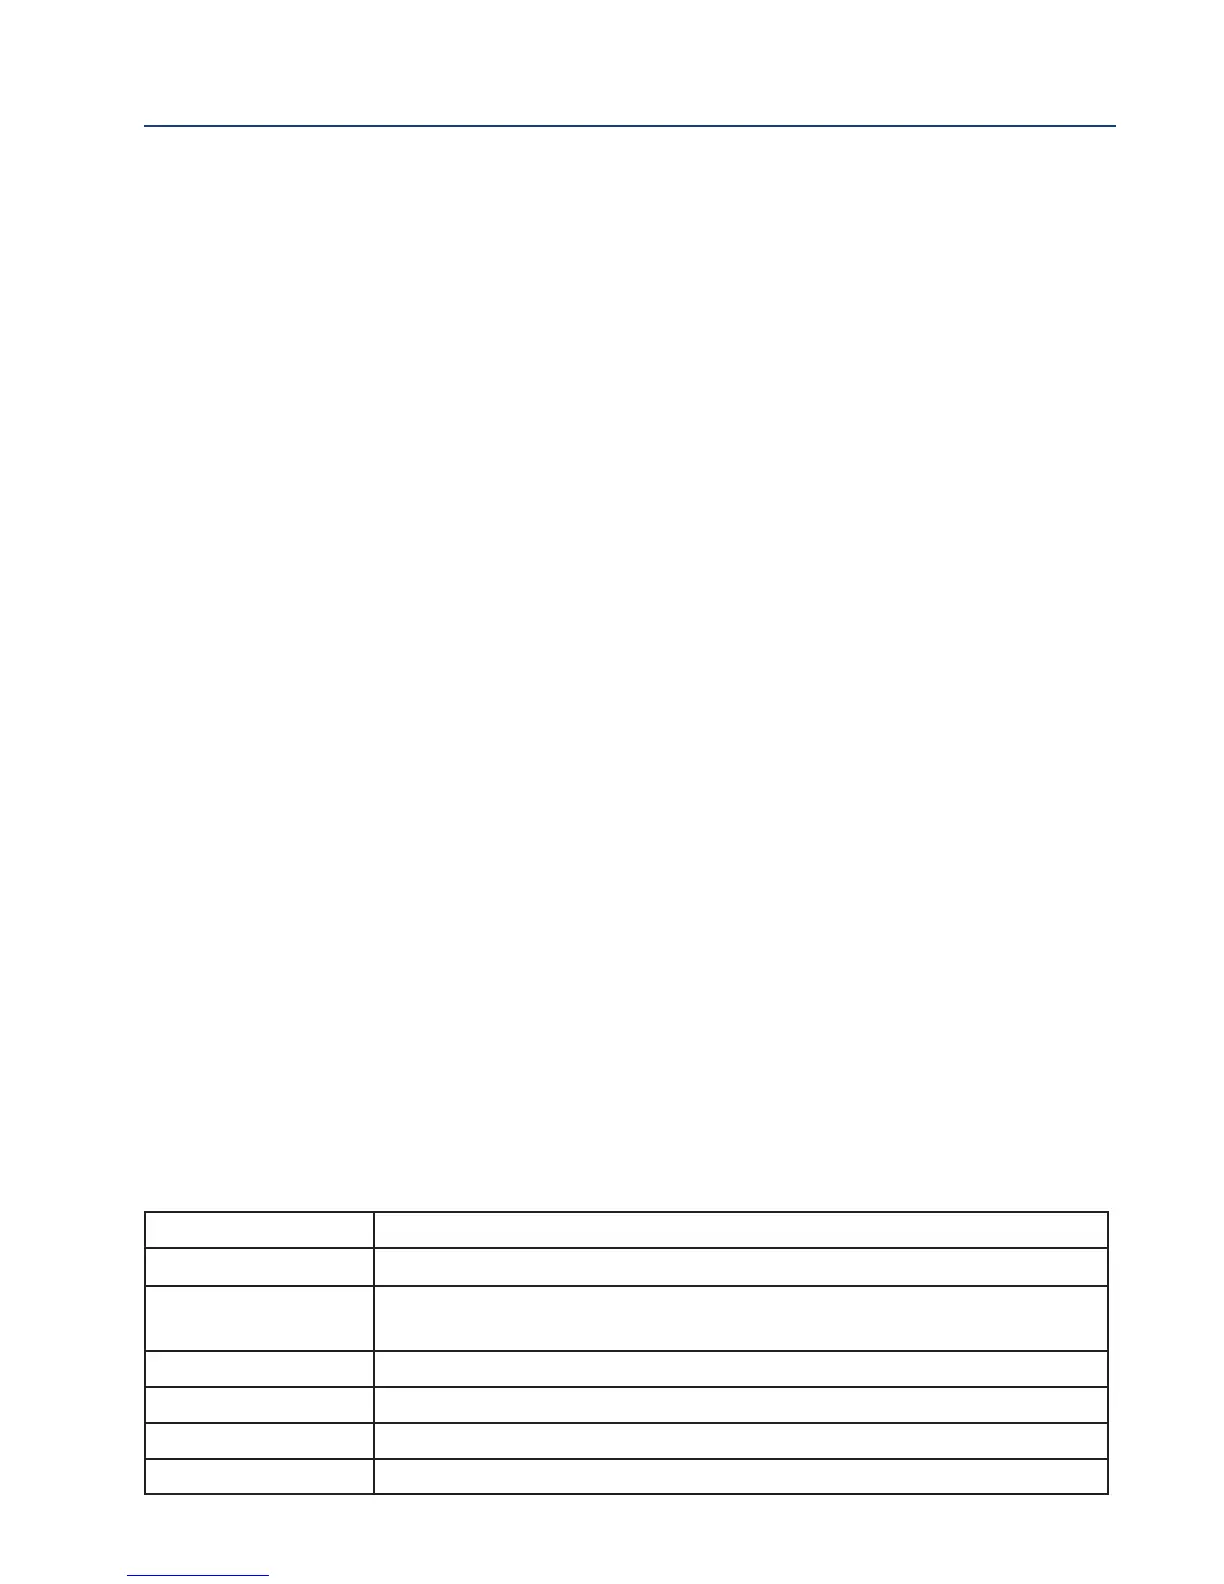
Mode Configuration
No Alarm All modes set to OFF
Unit Alarm
The alarm output is configured for a Unit Alarm (i.e. any alarm that affects heater operation).
These alarms are non-recoverable and require a power cycle or service to clear
Low O2 The alarm output is configured for Low O2 Alarm
Cal Recommended The alarm output is configured for a Calibration Recommended Alarm
In Calibration The alarm output is configured for an In Calibration indication
Heater Relay The alarm output is configured for Flame Safety Interlock
Table 3-3 - Alarm Relay Output Configurations