Ultripower User Guide (v4.0) Configuration • 23
To access the Database interfaces in DashBoard
1. Locate the Ultripower in the Tree View of DashBoard.
2. Expand the Ultripower node to display the frame in the Tree View.
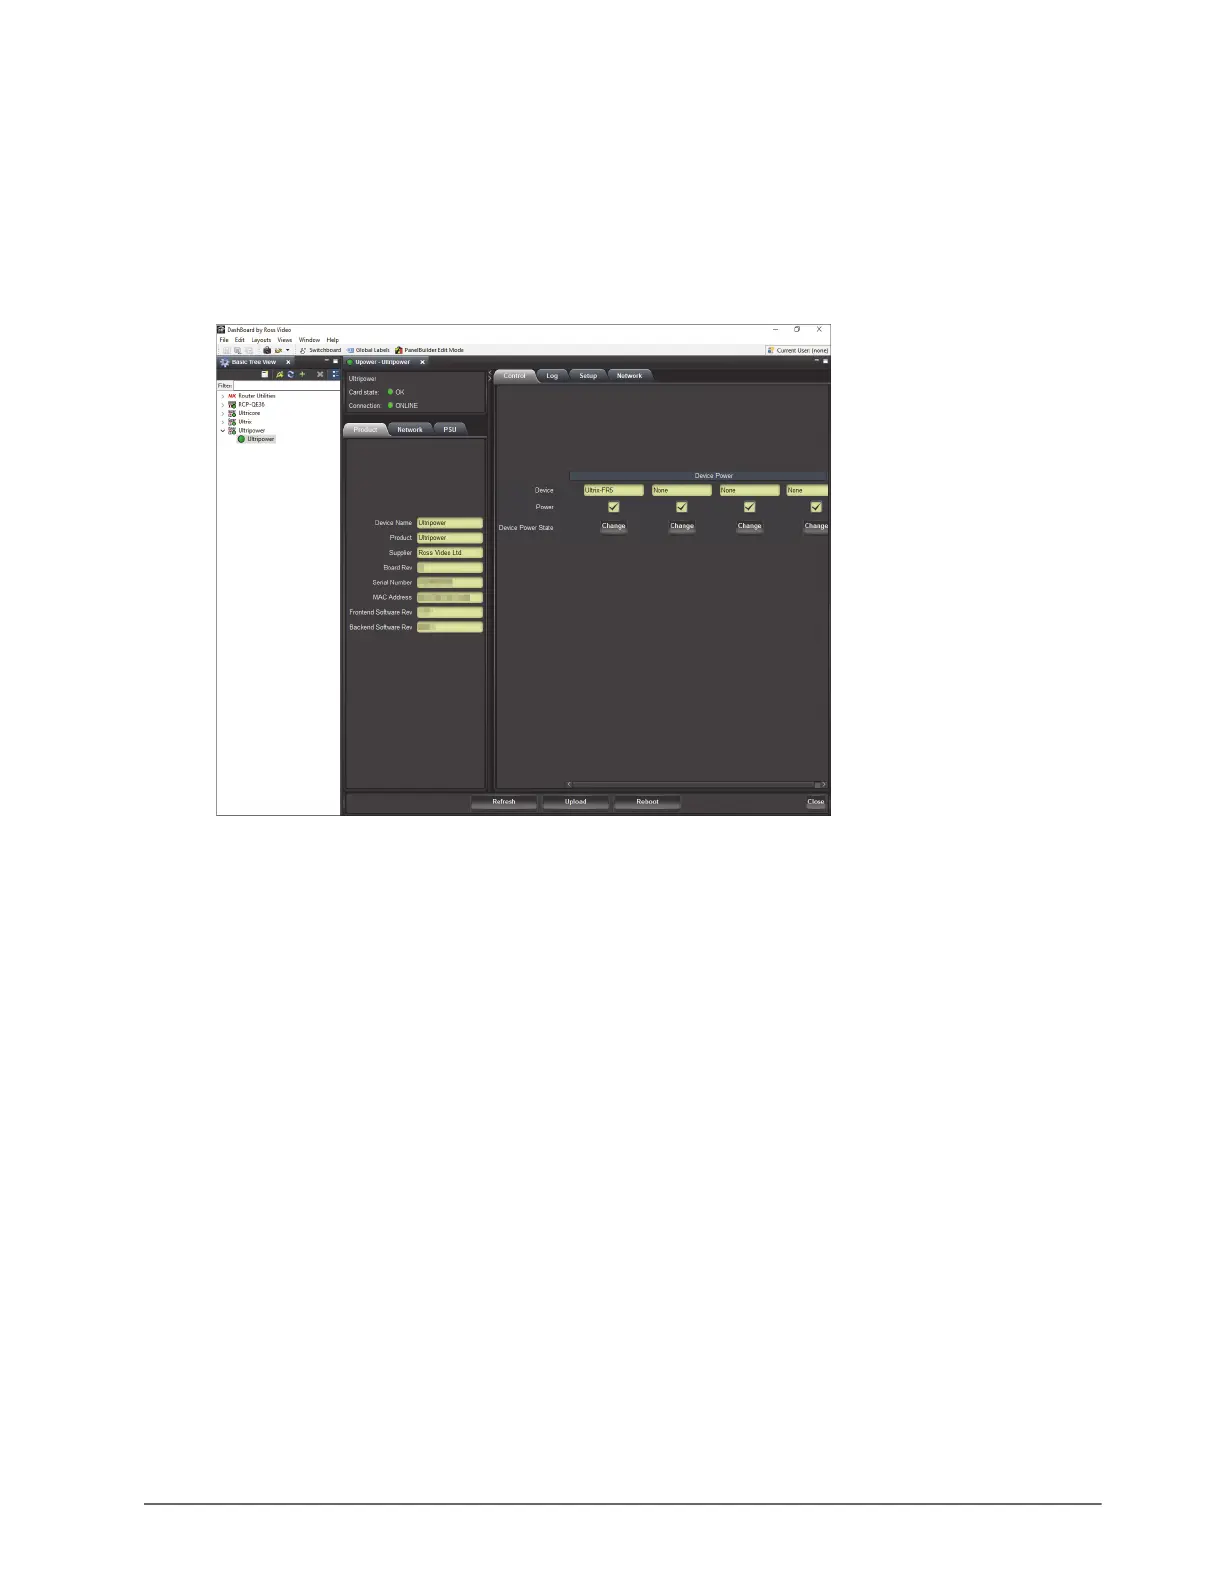
3. Double-click the Ultripower sub-node to display its interface in the right-side of the DashBoard window.
4. Select a tab to displays its contents in the DashBoard window.
In the example below, the Product and Setup tabs are selected.
For More Information on...
• the Status tabs, refer to the section “Monitoring via DashBoard” on page 28.
Restricting Access to the Ultripower
The Network tab provides an option to specify which DashBoard clients in your facility can access the Ultripower.
To add a DashBoard client to the Ultripower DB Whitelist
1. Display the Ultripower interface in DashBoard as outlined in the procedure “To access the Database
interfaces in DashBoard” on page 23.
2. Select the Network tab.
3. Use the DB Whitelist area to specify up to four DashBoard clients that are allowed to communicate with the
Ultripower.
4. Click
Apply.
Configuring the PSU OUT Ports
The four PSU OUT ports on the rear panel may be treated individually or grouped together depending on the
physical cabling to Ultrix routers. Each PSU OUT port may be assigned to an external device using a user-defined
label. For example, if you wired an ULTRIX-FR2 router to PSU OUT 1 and 2, you would enter a device label (e.g.
Ultrix-FR2) in one of the device labels fields, then using the drop-down, select boxes in the Connected Device area,
assign Ultrix-FR2 to OUT 1 and OUT 2.