3 x Installation
22
FA ROTEX Solaris - 08/2007
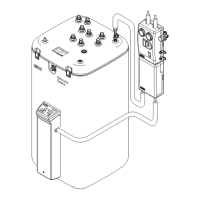
7. Fix return flow pipe to the return flow connection of the 2nd storage tank using swivel nuts. To do this, first insert the
supplied flat seal in the swivel nut.
8. Remove the lower sealing cap on the corresponding side of the silencer hood.
9. Attach cover hood on the storage container
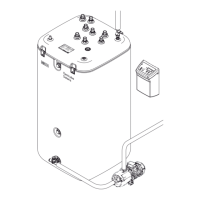
10. Mount Solar feed connections with one FlowGuard each (optional) (see Section 3.2.2).
11. Mount the feed connection pipe to the connection T-piece (left/right).
12. Place flat seal on both FlowGuards and with swivel nuts fix both FlowGuards on the feed connection pipe.
13. Place seal on the connection T-piece and screw on double swivel nut (1").
14. Insert seal in double swivel nut (1").
15. Screw FlowSensor into double swivel nut (1") (see Section 3.2.2).
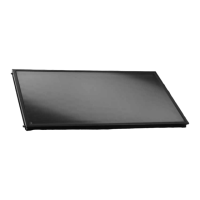
3.4 Installing the solar panel components
Notes for safe and trouble-free operation
• For solar panels with connections on same side (up to 3 solar panels permitted), the lower edges of all the solar panels must
be absolutely horizontal.
• Mount the solar panel array with a gradient to the lower solar panel coupling (return flow).
• The entire run of the connection pipe between the solar panels and the storage tank must always have a continuous gradient
to prevent siphon action.
The upper edge of the solar panels may not be more than 12 m above the storage tank(s) mounting floor level.
DANGER!
There is increased risk when working on a roof.
• Installation work on the roof may only be carried out by authorised and trained persons (heating
technicians, roofers, etc.) under observance of the relevant Accident Prevention Regulations.
• Material and tools must be secured from falling off.
• Barriers must be erected to prevent persons from entering the area below the roof where the work is being
carried out.
WARNING!
After their packaging is removed, the solar panels will become hot very quickly if they are exposed to the sun's
rays.
• Wear protective gloves.
• Remove the protective caps (they are not temperature resistant).
CAUTION!
Frost or overheating can damage the system.
• Permit the system to drain. Make sure that the solar panels are installed so that their lower edge is always
higher than the feed coupling of the Solaris storage container.