3 x Installation
29
FA ROTEX Solaris - 08/2007
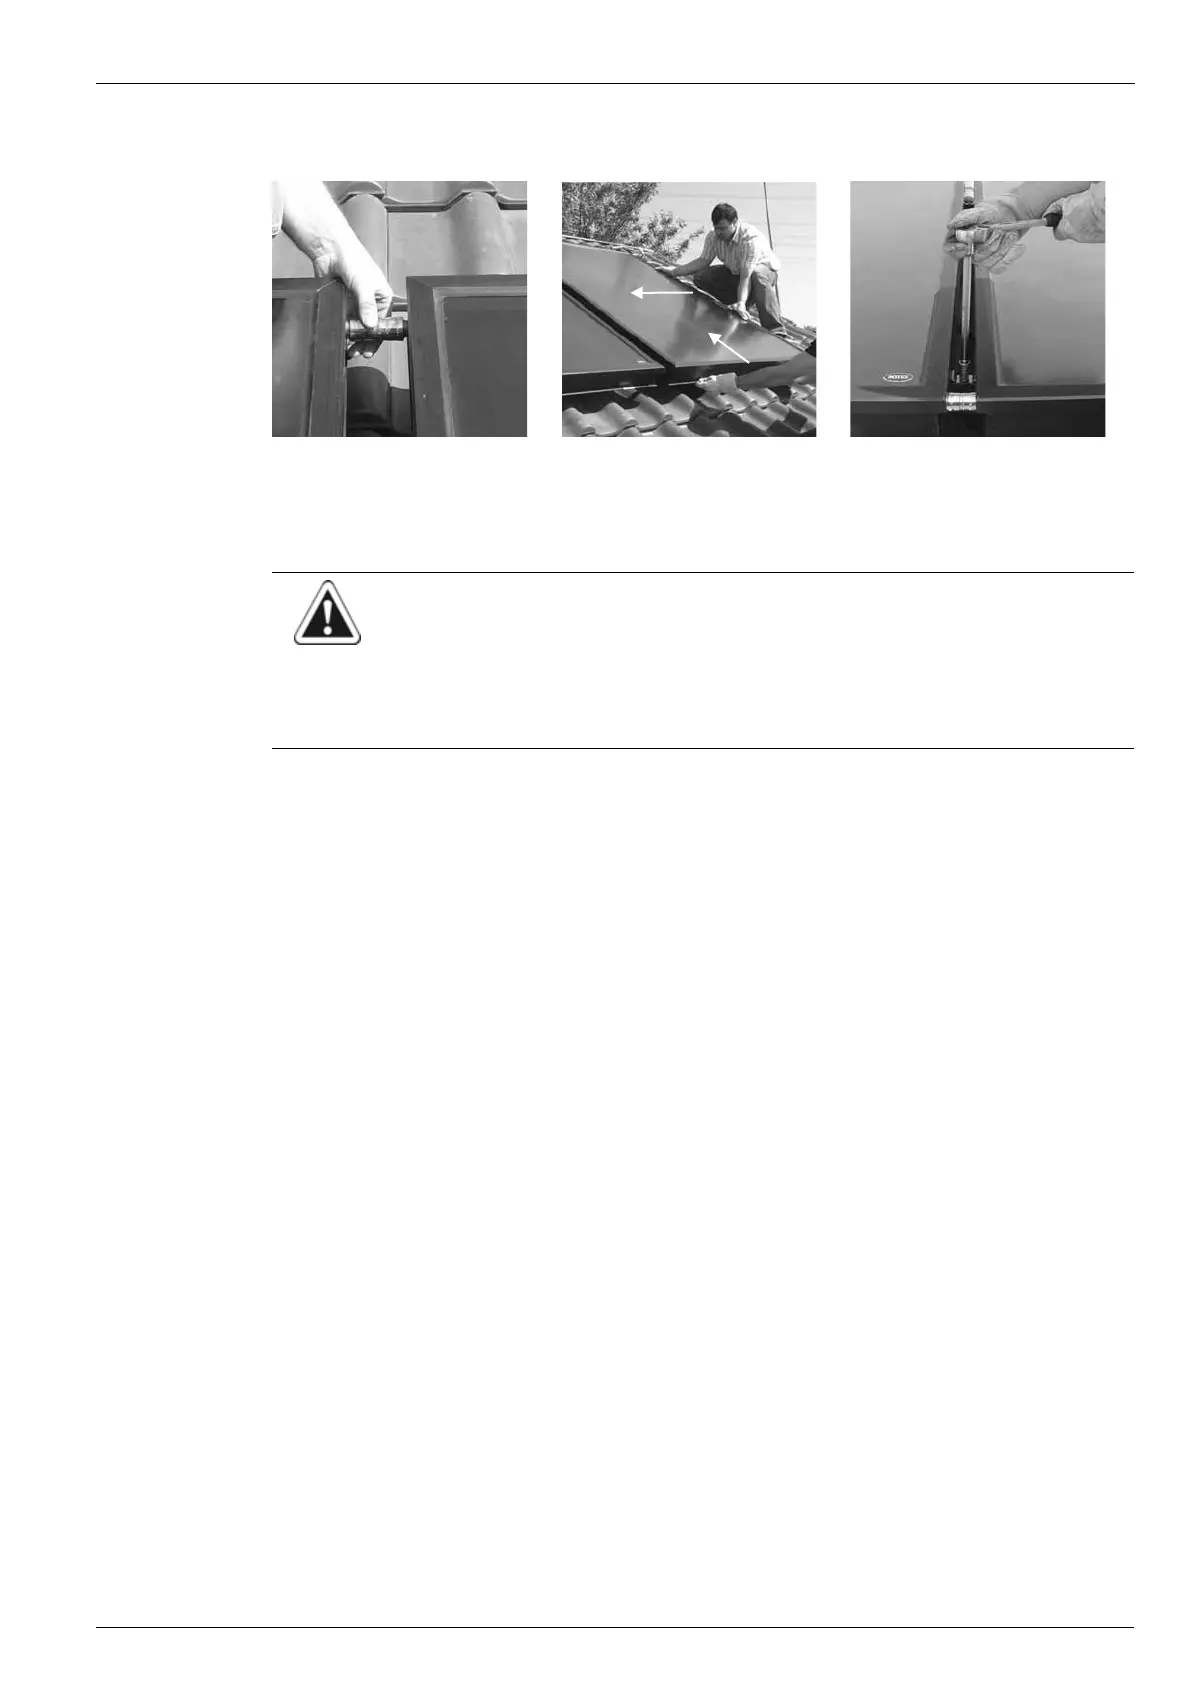
4. Slide the fitting over the new solar panel connection, leaving a gap between the solar panels and start of the fitting and
between the solar panels and end of the fitting (to protect the O-ring) (Fig. 3-67).
5. Now push the next solar panel against the fitting and then further up to the previously installed solar panel (Fig. 3-68). The
distance between the solar panels is determined automatically by the the connection fittings.
6. Tighten the dual clip (Fig. 3-69).
7. Insert the mounting clips for the last solar panel and tighten them.
Fig. 3-67 Position the fitting before pushing
the solar panels together
Fig. 3-68 Push solar panels together Fig. 3-69 Tightening the dual clip
CAUTION!
Unless utmost care is taken when assembling the solar panel connections (CON V), the fitting could get
damaged. This would result in a leaking system. For this reason:
• Be very careful when assembling the connections on the solar panel (CON V).
• When pushing the parts together, move the next solar panel upwards slightly or align it with the connection
pipes of the previous solar panel.