Operating Instructions 4 SG9M Manual
Utilize the grooves in the table to align the trunion supports square to the machine.
CYLINDER HEAD ALIGNMENT
To align Cylinder Heads which have Canted Valve Guides, refer to Cylinder Head & Workhead Alignment
(Canted) It will be easy to align the cylinder when you use the Canted alignment Fixture.
To align Heads with Standard Valve Guides, proceed as follows:
1. Install Cylinder Head.
2. Loosen Pivot Locks and rotate Cylinder Head 180º, so combustion chambers are in up position and
Valve
Guides are approximately vertical.
3. Tighten Fine Adjustment Lock. DO NOT tighten Pivot Locks.
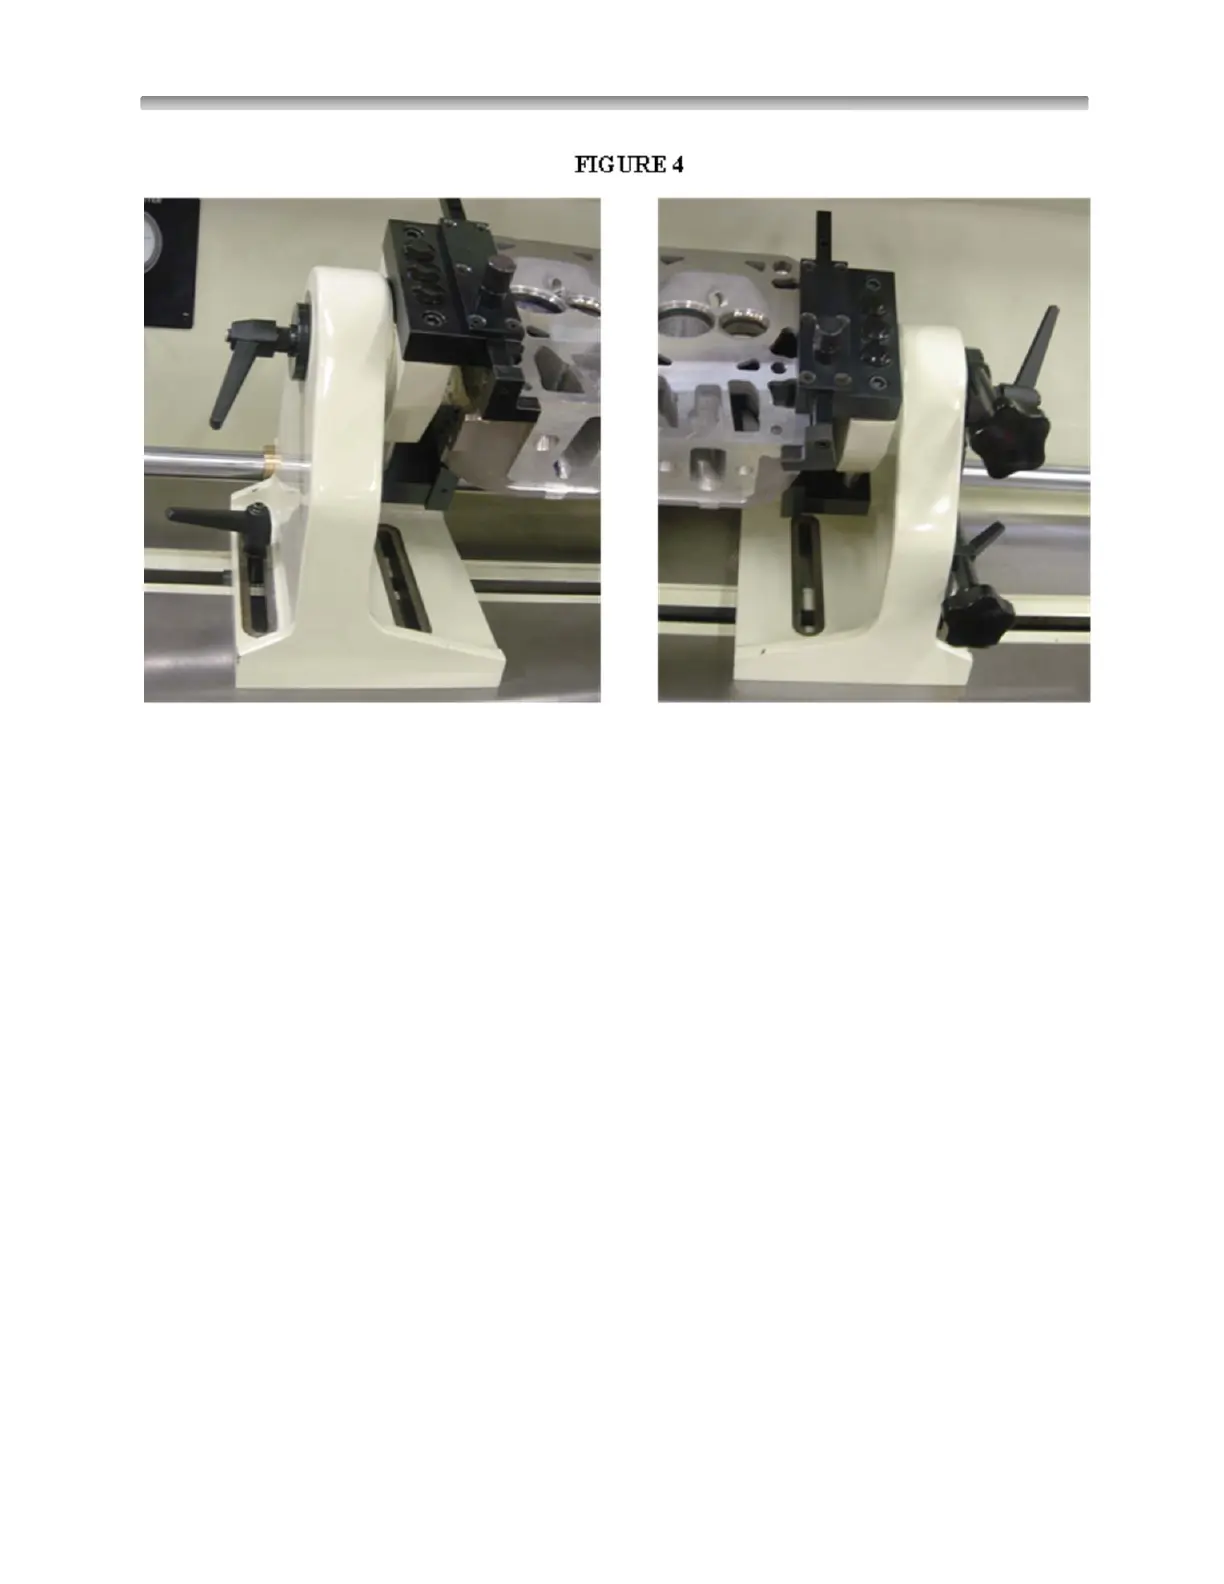
Each support has an adjustable stop, located to the front. The stops have indents, allowing a number of
different settings. Position of the stops must be checked for each cylinder head put on the supports. In
most cases we will install the cylinder head deck side down with the exhaust side of the head against the
adjustable stops. This is particularly true of wedge style heads. It is necessary for the clamps to thrust the
cylinder head against the stops when clamped. When heads are mounted in this fashion, the tallest
portion of the combustion chamber will be at the rear of the machine when the head is rotated into the working
position. Try to keep the valve guide center line parallel to the trunion centerline. (Figure 4)
Utilize the grooves in the table to align the trunion supports square to the machine.
The Quick-Clamp head mounting fixture is provided to accommodate cylinder heads that are difficult to
mount directly into the trunions. Some machine operators prefer to use the Quick-Clamp fixture for the
majority of heads they do as the mounting is very quick.