USB Storage Media · Print a List of Available Documents on USB Storage Medium 37
EN
5
Confirm with OK.
6
Using [, select whether you would like to save
the file as an image file or as a PDF file.
7
Confirm with OK.
8
Select the desired resolution using [:
DRAFT—Greyscale scan with low resolution, for
instance, for using on the Internet.
TEXT—Black and white scan with medium resolu-
tion for text documents
GREY—Greyscale scan with medium resolution
PHOTO—Greyscale scan with high resolution, for
instance, for photographs
9
Confirm with OK.
10
Set the desired contrast using [.
-/1—Reduces the contrast / typeface appears
lighter
4 (Factory settings)—Optimized adaptation for all
documents
+/7—Increases the contrast / typeface appears
darker (for example, documents with faint print)
11
Confirm with OK.
12
Using [, select the desired level of brightness:
-/1—Reproduction is lighter
4 (Factory settings)—Optimized adaptation for all
documents
+/7—Reproduction is darker
13
Confirm with OK. The document is scanned and
saved on the USB storage medium.
PRINT A LIST OF AVAILABLE
DOCUMENTS ON USB STORAGE
MEDIUM
Introduction
You can print a list of all the TXT-, JPEG-, and TIFF
files on the connected USB storage medium.
1
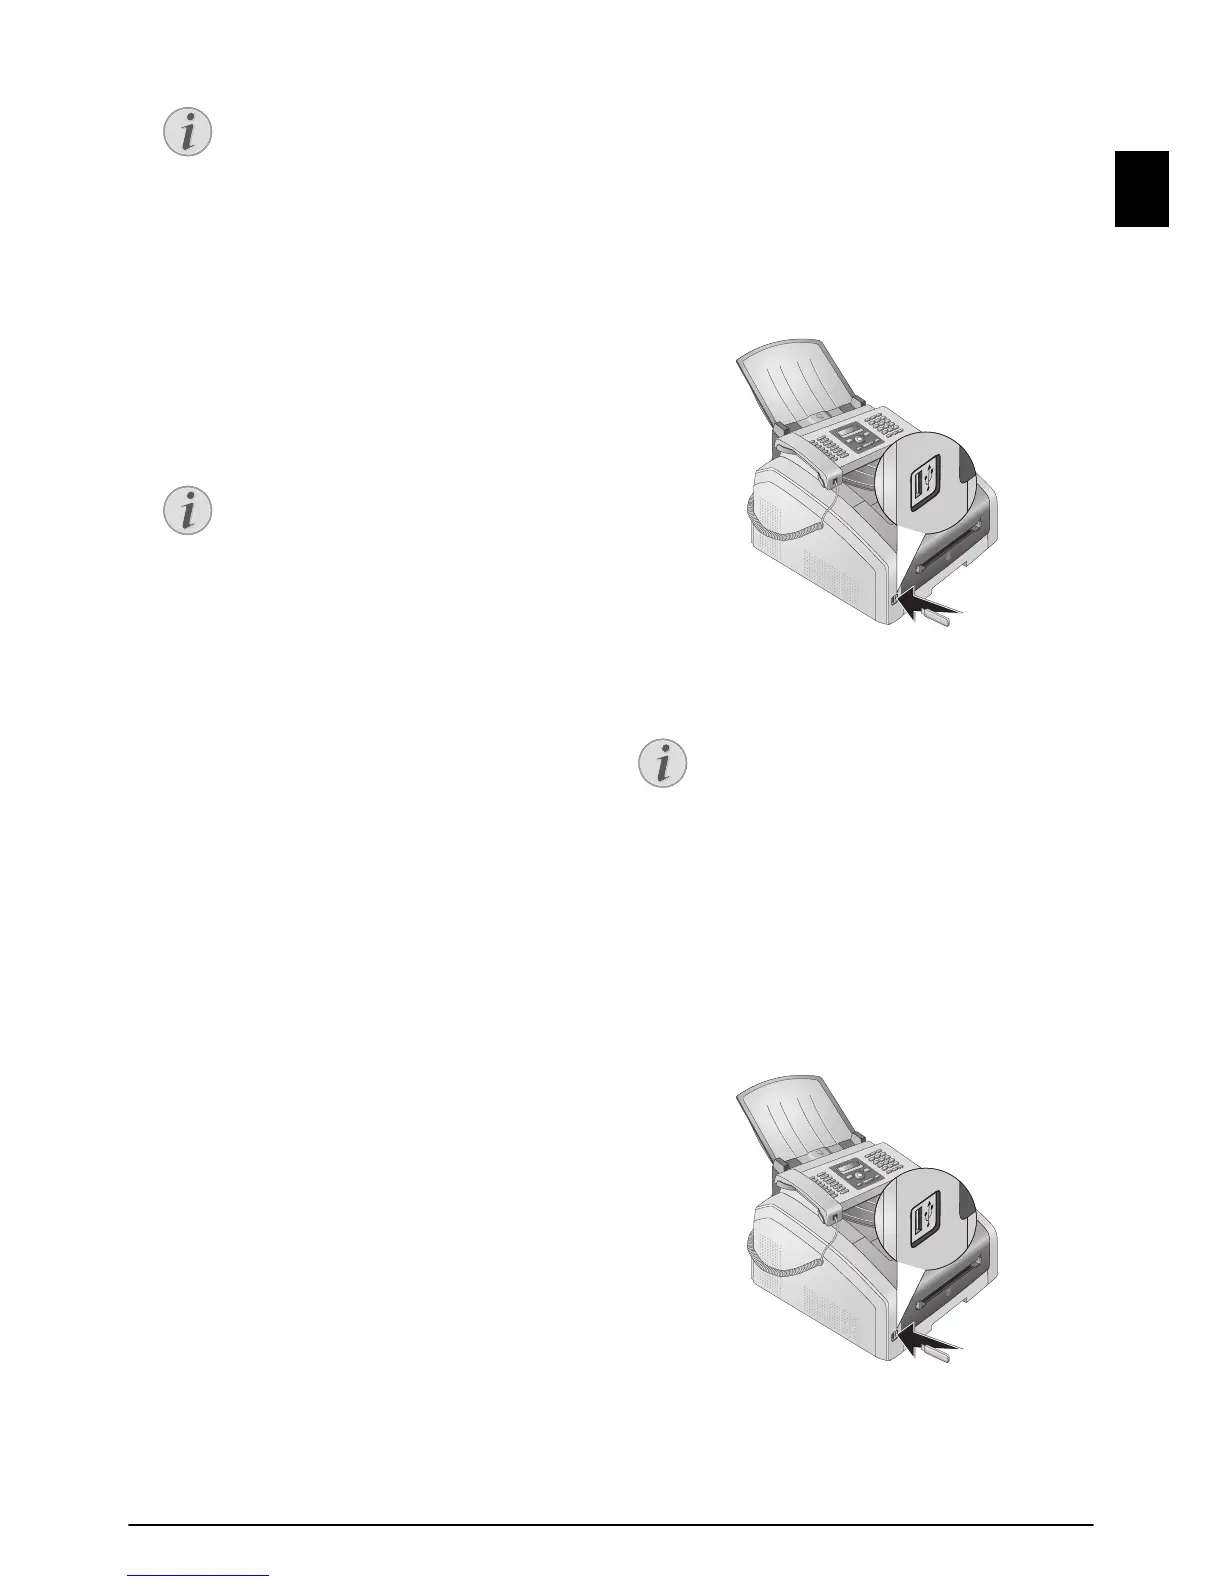
Make sure that a USB storage medium is con-
nected to the USB host port on the front of the
device. Connect a USB storage medium to the USB
host port as required.
2
Using [ PRINT LIST select from the menu or
press
OK, 911 and OK. The list is printed.
Print a List of Available Documents on USB Storage Medium
PRINT DOCUMENT FROM USB
STORAGE MEDIUM
Introduction
You can print one or more of the TXT-, JPEG-, and
TIFF files on the connected USB storage medium.
1
Make sure that a USB storage medium is con-
nected to the USB host port on the front of the
device. Connect a USB storage medium to the USB
host port as required.
2
Using [ PRINT FILE select from the menu or
press OK, 912 and OK.
ENTER LETTERS
Enter capital letters by pressing and
holding
ú key. You can enter space
using ½.
To insert special characters and sym-
bols, press
;ü. Press ûü to insert lan-
guage specific special characters. Select
with [. Confirm with OK.
You can move the cursor using
[. Use
C to delete individual characters.



 To Next Page