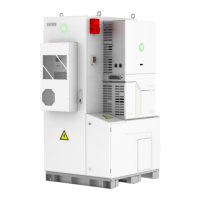
7.Connect the positive and negative connectors into positive and negative DC input terminals of the inverter,
a “click” should be heard or felt when the contact cable assembly is seated correctly.
Figure 5.22
Plug in PV connectors
8. Install the crossbeam suspended in the middle of the inverter and the baffle under the inverter back to
their original positions.
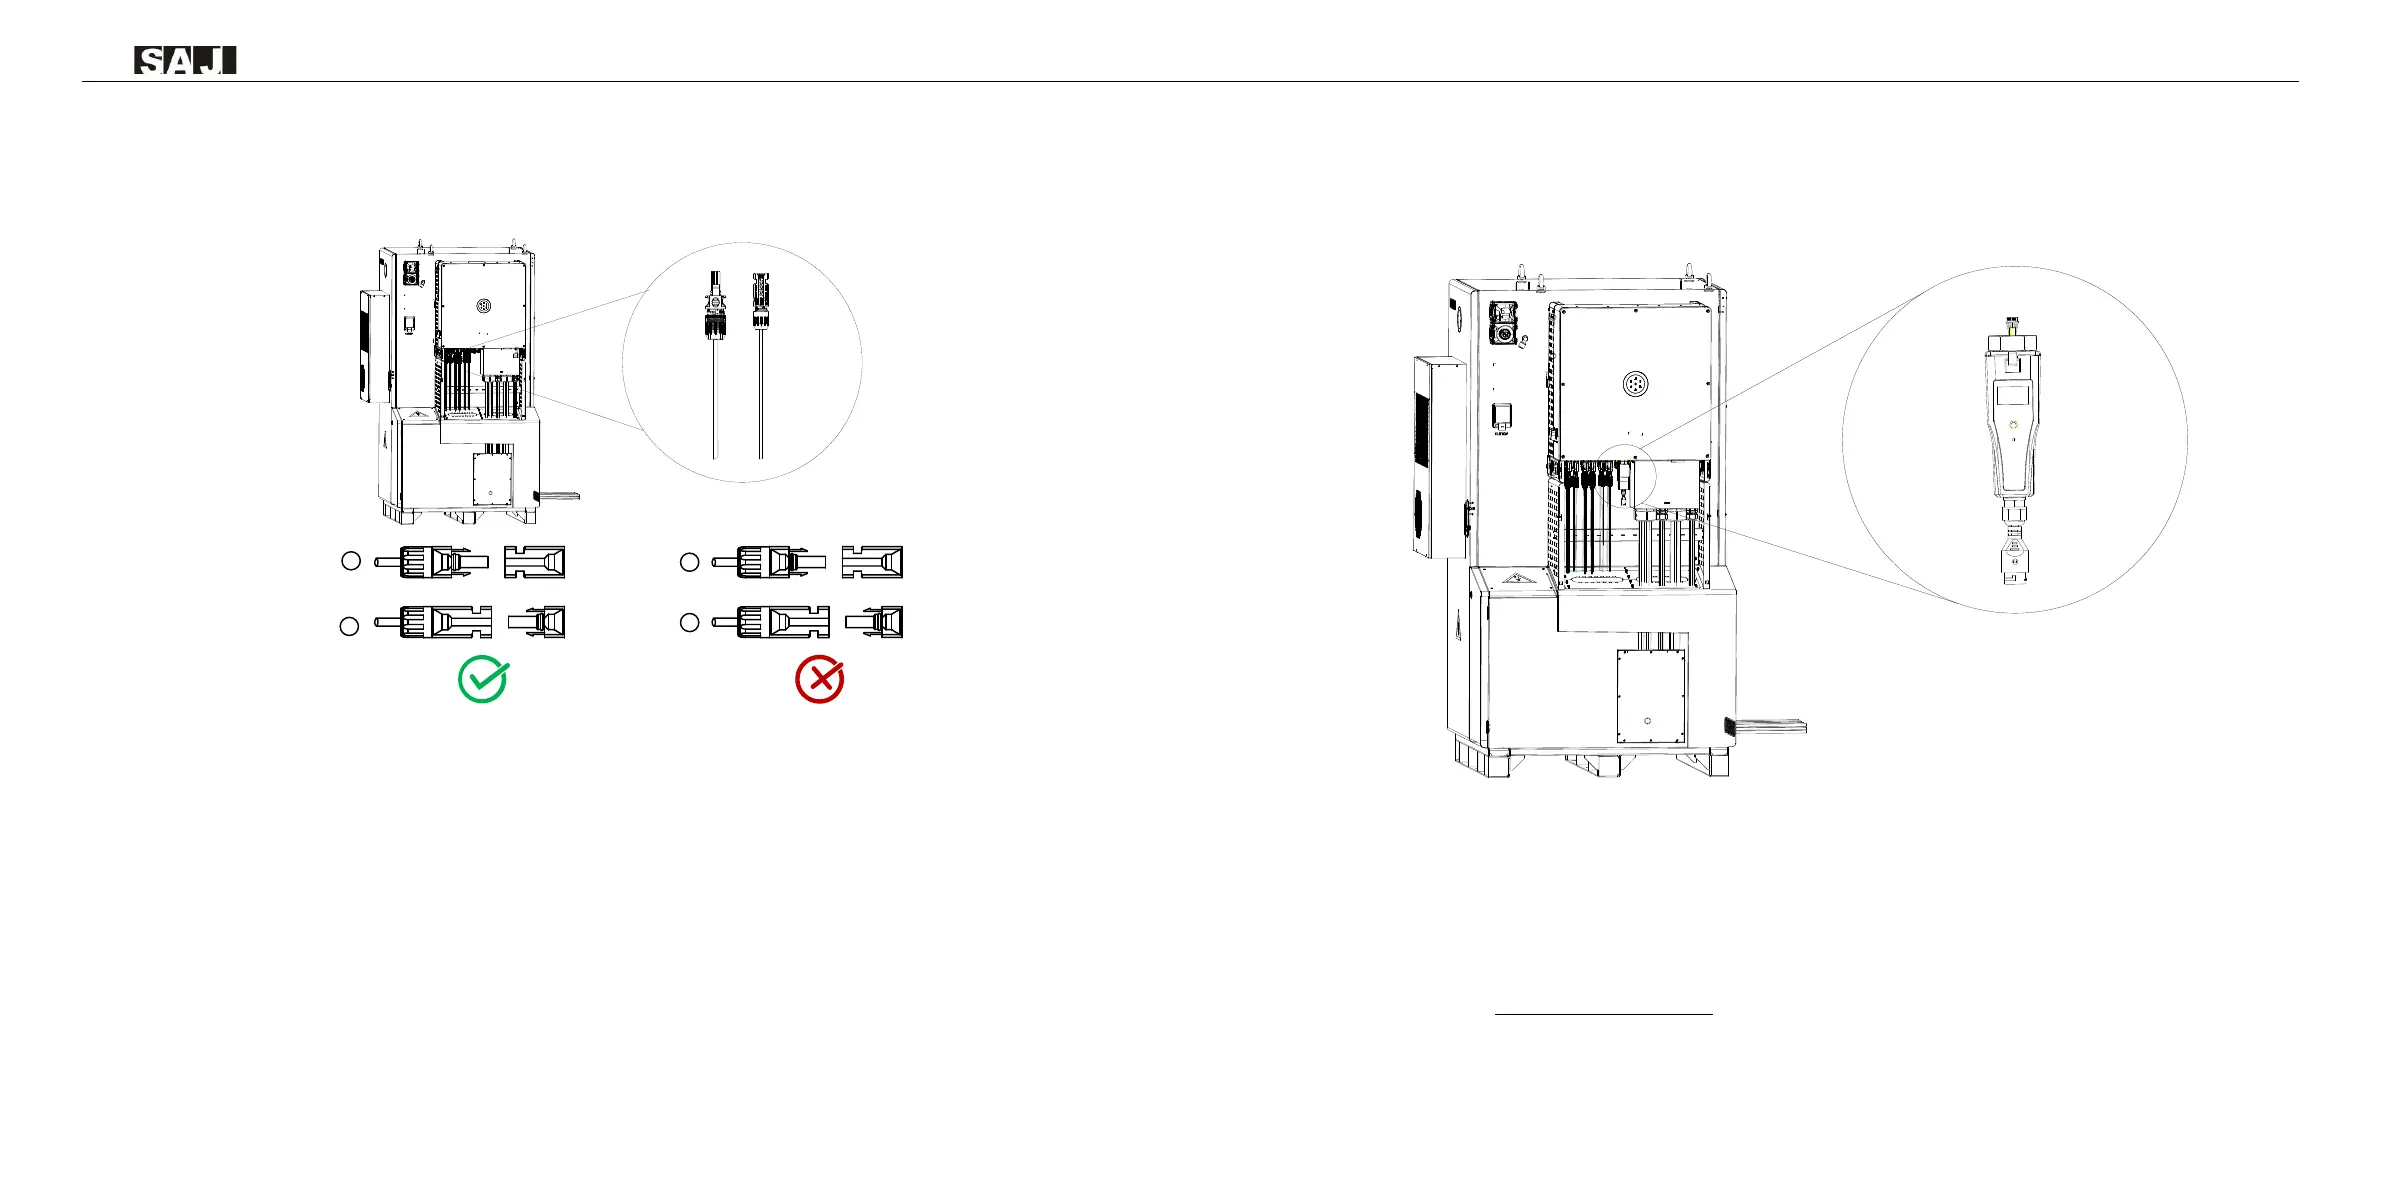
5.6 Communication Module Installation
Plug in the communication module to 4G/WIFI port and secure the module by rotating
the nut.
Figure 5.23
4G/WiFI port
1. 4G/Wi-Fi port could be externally connected with eSolar 4G module, eSolar Wi-Fi module or eSolar AIO3
module, for operation in details please refer to communication module Quick Installation Guide in
https://www.saj-electric.com/ .
 Loading...