LED R&D Lab(VD)
25
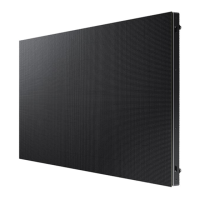
2. Preparation for Cabinet Installation
④ Connect the power and check for a problem with the screen. (See Fig.4.)
※ See page 12 for details on how to check for a screen problem.
⑤ Guide Pin (Accessory Enclosed) 2EA is assembled on top of the cabinet. (Excluding the capinet on the top row)
⑥Unfasten the screws (four screws in total) and remove the corner covers. (See Fig.5.)
Fig.4 Checking the screen Fig.6 Removing the corner covers
Switch Button
SCREW
Guide
Pin
Switch Button
SCREW
◆ Preparation for installation
Fig.5 Guide Pin Assembly
※ IER / IFR
※ IER- F / IFR-F
 Loading...