Do you have a question about the Samsung SHS-3321 and is the answer not in the manual?
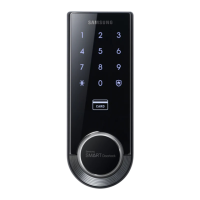
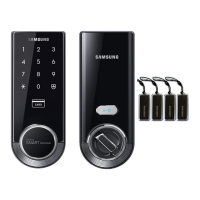
Lists and illustrates all parts included with the lock.
Lists the necessary tools for installing the door lock.
Verifies door thickness compatibility, checks for obstructions, and notes door handedness.
Details using a template to mark drilling locations and the deadbolt centerline on the door.
Instructions for drilling the main hole, mortise hole, and strike plate holes using specific tools.
Guides on marking and drilling the door frame for the strike plate and attaching it.
Steps for inserting and securing the dead bolt into the door.
Guides on aligning and attaching the exterior unit to the door.
Instructions for attaching the interior mounting plate to the interior unit and door.
Details on mounting the magnetic sensor on the door and frame, ensuring proper gap.
Steps for connecting the cable between the exterior and interior units.
Guides on securing the interior unit, installing batteries, and verifying operation.
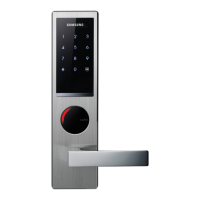
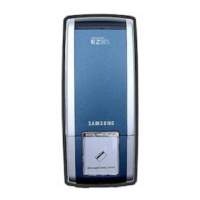
Identifies and describes key components on both the exterior and interior units of the lock.
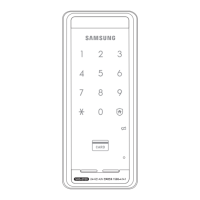
Explains various symbols used in the manual and their corresponding actions or functions.
Details symbols for user PIN, user card, management numbers, and buttons like OPEN/CLOSE.
Step-by-step guide to changing the primary Master PIN Code for the lock.
Instructions on how to register new User PIN Codes, including user number selection.
| Type | Digital Door Lock |
|---|---|
| Door Thickness Compatibility | 35-55mm |
| Power Source | 4 AA Batteries |
| PIN Length | 4-12 digits |
| Auto Lock | Yes |
| Waterproof | No |
| Fireproof | No |
| Access Methods | PIN, RFID |
| Backup Power | 9V Battery |
| Material | Zinc, Aluminum, ABS |
| RFID Capacity | Up to 20 Cards |