Installation
41
Connecting the Assembly Cable(Cooling Only)
1. Extend the assembly cable if necessary.
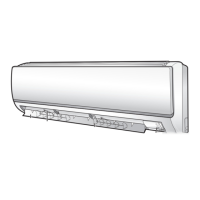
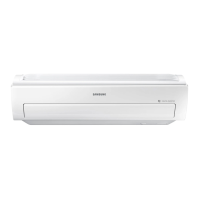
2. Open the front grille by pulling on the tab on the lower right and
left sides of the indoor unit.
3. Remove the screw securing the connector cover.
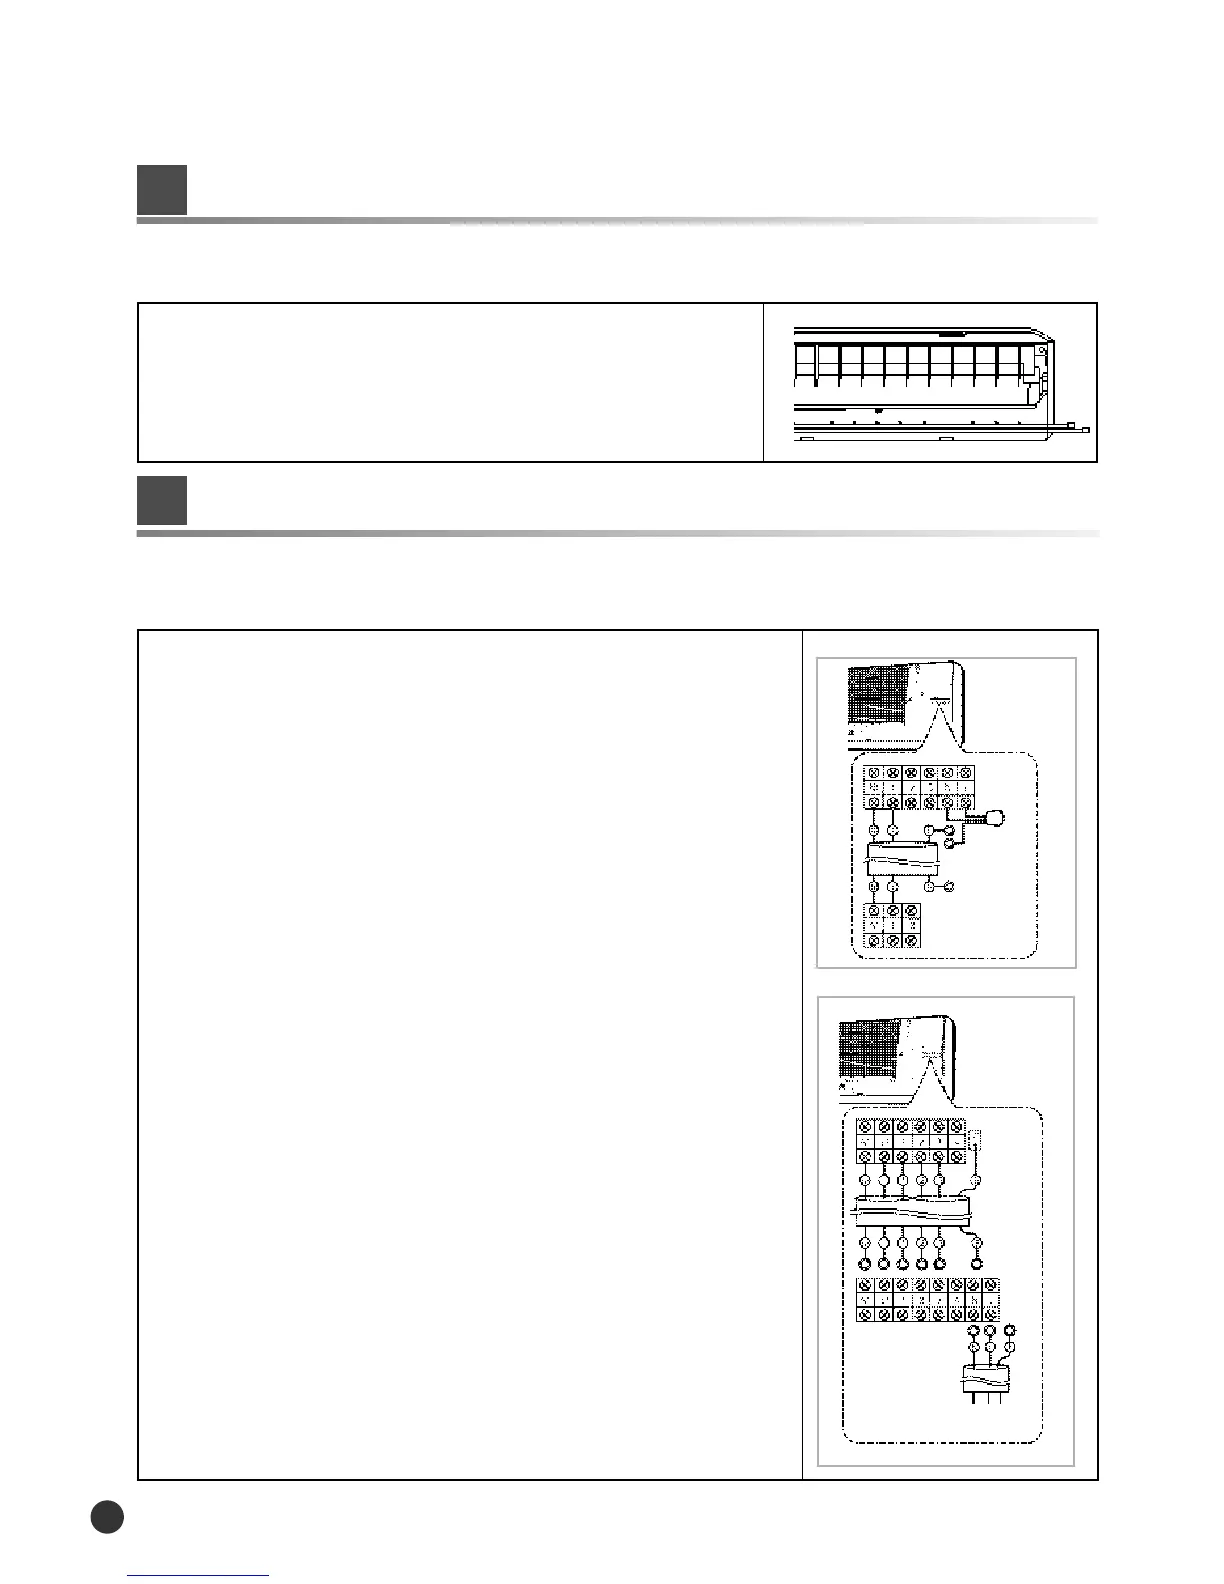
4. Pass the assembly cable through the rear of the indoor unit and
connect the assembly cable to terminals.
◆
Each wire is labelled with the corresponding terminal number.
5. Firmly fix the ass’y cable with clamp wire holder.
6.
Pass the other end of the cable through the 65mm hole in the wall.
7. Replace the connector cover, carefully tightening the screw.
8. Close the front grille.
9. For further details on how to plug the other end of the assembly
cable into the outdoor unit.
3
The outdoor unit is powered from the indoor unit via the assembly cable. (7K/9K/12K)
The indoor unit is powered from the outdoor unit via the assembly cable. (18K/ 24K) If the outdoor unit is
more than five metres away from the indoor unit, the cable must first be extended to a maximum.
On delivery, the indoor unit is loaded with an inert gas. All this gas must therefore be purged
before connecting the assembly piping. To purge the inert gas, proceed as follows.
Unscrew the cap at the end of each pipe.
◆
To prevent dirt or foreign objects from getting into the pipes during
installation, do NOT remove caps completely until you are ready to
connect the piping.
Result
All inert gas escapes from the indoor unit.
Purging the Unit
2
Indoor unit
Outdoor unit
Earth
terminal
Earth
terminal
7K/ 9K/ 12K
18K/ 24K
Indoor unit
Outdoor unit
Circuit Breaker
(Main Power)
00150A(2)-37~53 2/5/01 11:44 AM Page 41