- 101 -
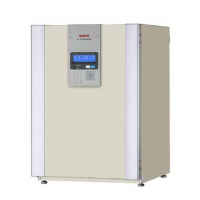
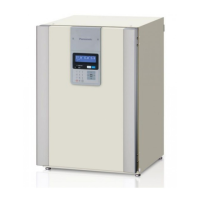
How to install Automatic CO2 density
calibration add-on kit
MCO-SG
䕔Parts descriptions㻌㻌㻌 䕔Tools
䐟 Remove rear cover and sensor BO
cover.
䐠 Cut 30mm off from the tube and inser
tube connect to the place as the left
picture specified.
䐡 Follow the procedure (1)~(6) to fit each
parts.
(1) Fit the tube joint.
(2) Apply clips to the holes.
(3) Paste the label between clips.
(4) Fit the filter. Make sure the orientation.
(5) Fit the plate meeing.
(6) Apply clips as left picture specified.
Place the tube as the left picture specified.
Note䠅 Take care for the tube should not be
bent.
䐢 Connect each parts with connectors.
Plate meeting Filter
Tube joint
Clip
Label
Tube connect Screw (M4×10)
Clip
Philips screwdriver Monkey wrench
Sensor BOX
Rear cover
(1) Tube joint
(4) Filter
(3) Label
(5) Plate meeting
(2) Clip
Connector (White㻌 5P)
Connector (White, 2P)
(6)Clip
(Put into the hole)
Cut 30mm off from the tube
Tube connect
Sensor BOX
 Loading...