- 81 -
䐠䠱䠲 lamp cover
䐟䠱䠲 lamp
Fig. 4
䐡 Screw
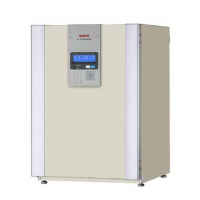
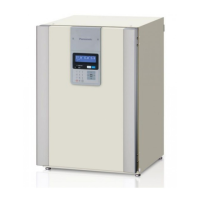
How to install UV lamp add-on kit (MCO-19UVS)
㻌
1. Unplug the unit and make sure that power is
not supplied to the unit.
2. Remote the duct from inside the unit, then
take 2 caps and 2 screws off as shown in
Fig.1
㻌
㻌
㻌
㻌
㻌
㻌
㻌
㻌
㻌
㻌
㻌
㻌
3. Take the rear cover off as shown in Fig. 2.
㻌
㻌
㻌
㻌
㻌
㻌
㻌
㻌
㻌
㻌
㻌
㻌
Insulation
Fig. 3
Rear cover
Fig. 2
4. Take 2 insulations out for the UV lamp lead
wire hole as shown in Fig. 3. Insulations can
be easily taken out by pushing it from inside
of the chamber. Keep them for reuse.
5. Set the UV lamp (䐟) to the hole and make sure
to fit correctly. Fix the UV lamp cover (䐠) by 2
screws (䐡).
Screw
Fig. 1
Cap
䐟 1 UV lamp
䐠 1 UV lamp cover
䐡 6 Screws 䠄M4䠅
䐣 1 Ballast
䐥 1 UV label
(Unused for MCO-19M)
䐢㻌 2 Glow ass’y
䐦 1 UV caution label
䐧 1 UV door switch caution label
䐨 5 Name plate
Kit includes:
 Loading...