8. Place the welding backer into the rocker panel
backer reinforcement. Insert the welding backer
about 50 mm (2 in), or about half-way.
9. Clamp the welding backer in place and weld at
the plug weld locations.
10. Cut the outer center pillar in corresponding
locations to fit the remaining original panel. The
sectioning joint should be trimmed to allow a
gap of 1
1
⁄
2
times the metal thickness at the
sectioning joint.
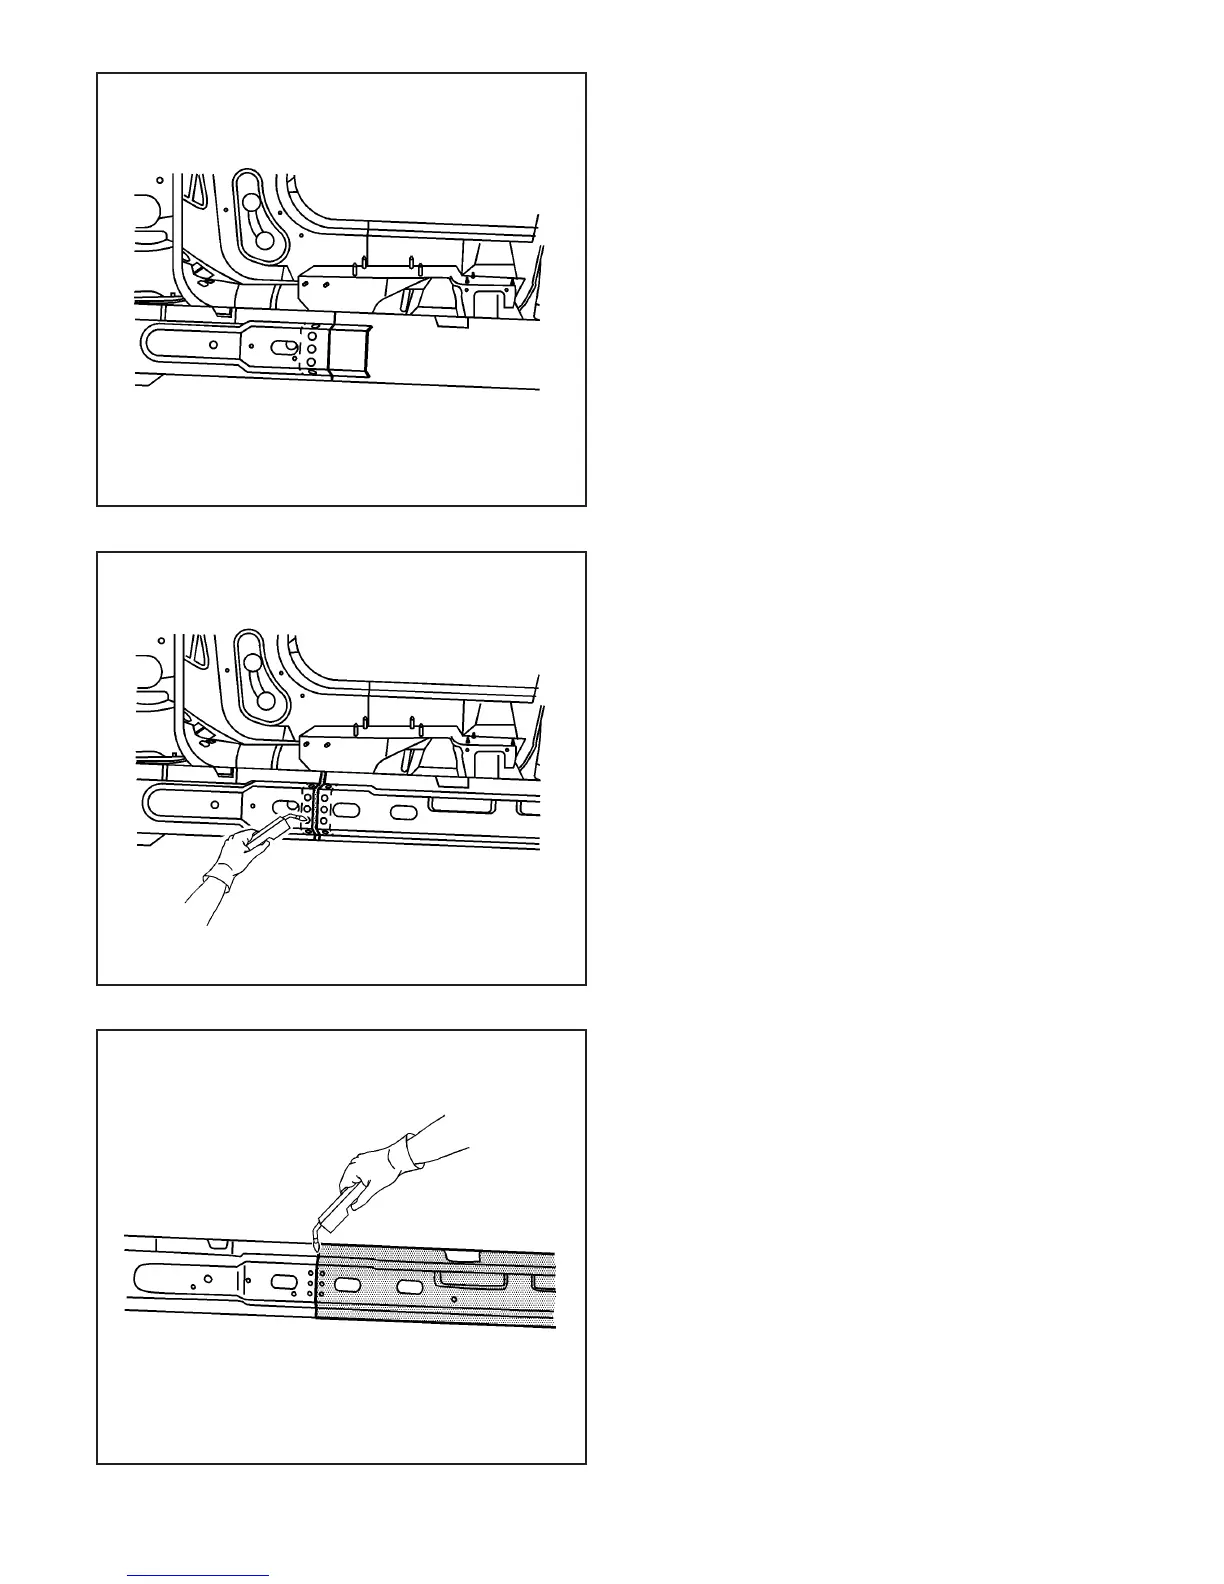
11. Position the reinforcement to the vehicle. Clamp
the reinforcement in place.
12. Stitch weld along the sectioning area at the butt
weld location. Make 25 mm (1 in) stitch welds
with 25 mm (1 in) between each weld. Complete
the stitch weld.
13. Plug weld accordingly.
14. Clean and prepare all of the welded surfaces.
15. Install all of the related panels and components.
16. Apply the sealers and anti-corrosion materials
to the repair area, as necessary.
17. Paint the repaired area.
18. Connect the negative battery cable.
19. Enable the SIR system.
870928
870930
870926
3-102 2003 Saturn Ion

 Loading...