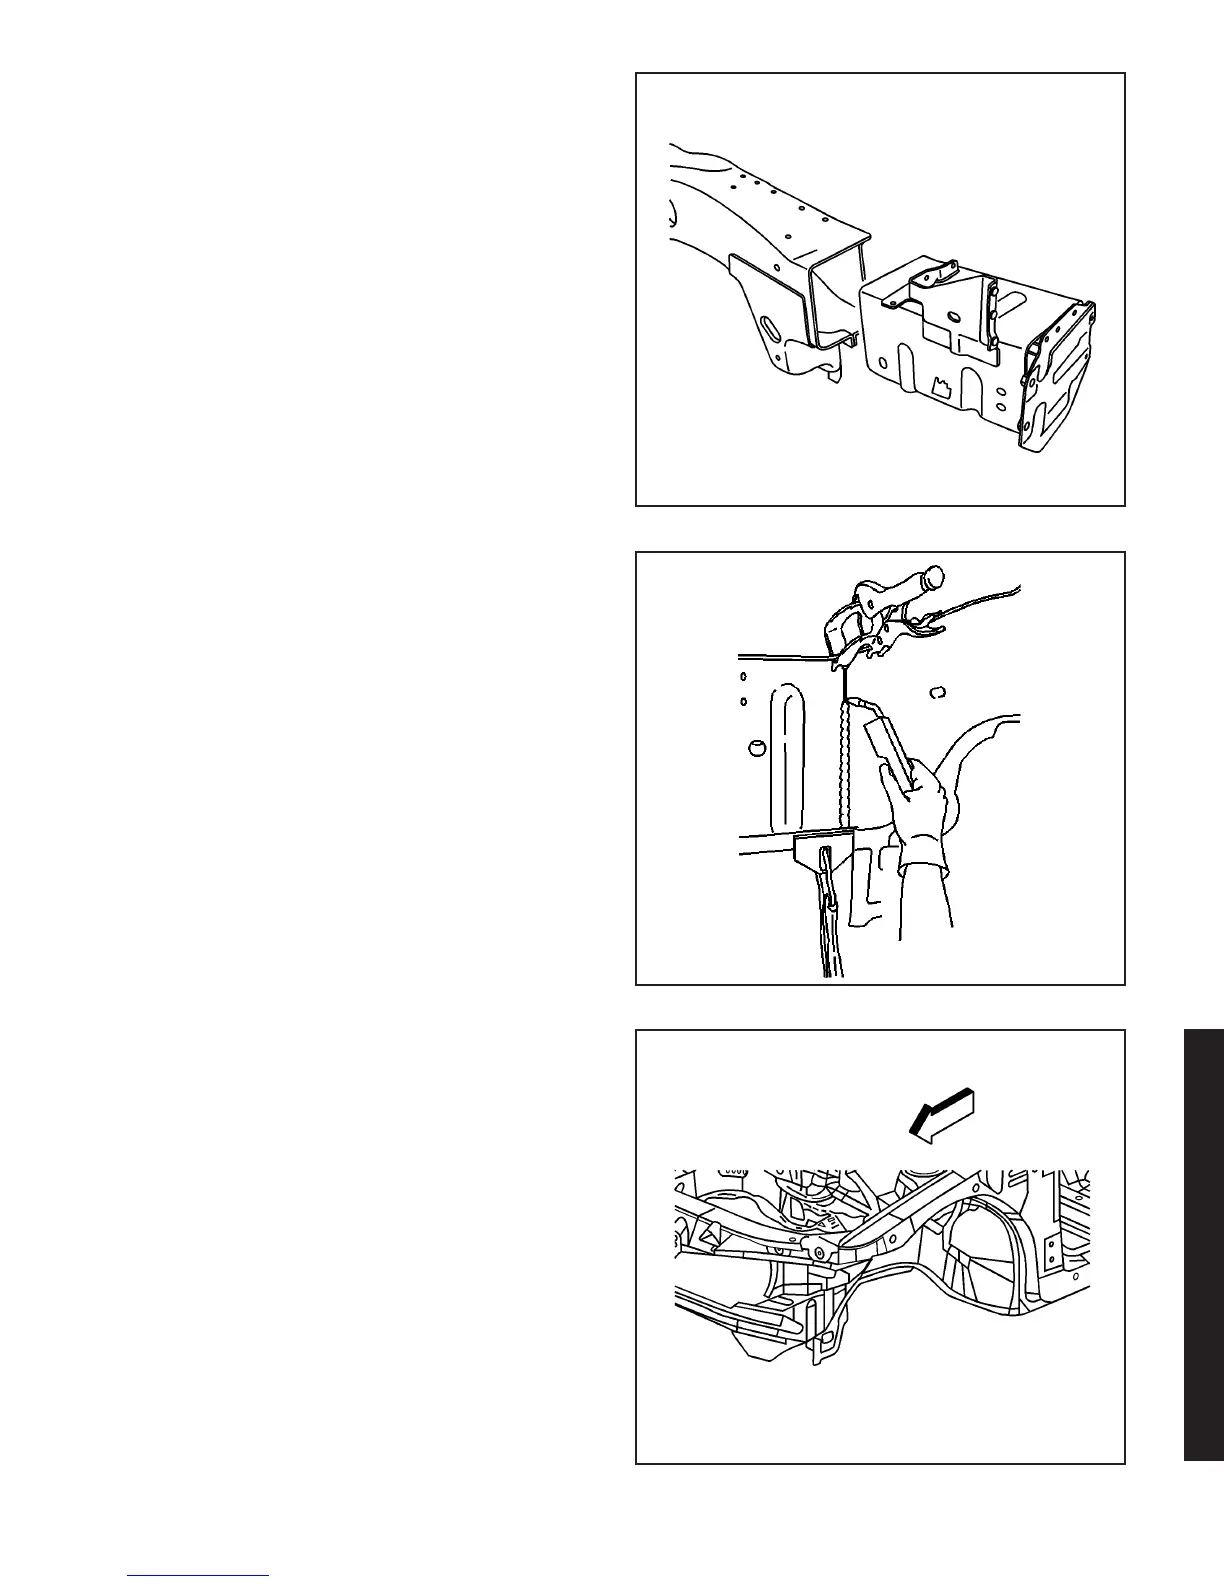
10. Position the front rail section using 3-dimensional
measuring equipment. Clamp the service part
in place.
11. Tack weld the part into position.
12. Inspect the service rail for proper dimensions
using 3–dimensional measuring equipment.
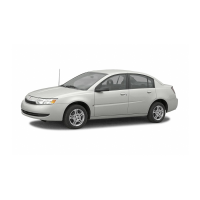
13. Stitch weld along the entire sectioning joint. Make
25 mm (1 in) welds along the seam with 25 mm
(1 in) gaps between.
14. Complete the stitch weld.
15. Clean and prepare the welded surfaces.
16. Install all of the related panels and components.
17. Apply the sealers and anti-corrosion materials
to the repair area, as necessary.
18. Paint the repaired area.
19. Enable the SIR system.
20. Connect the negative battery cable.
Rail Replacement Front Side
Underbody - Outer
Removal Procedure
Caution: To avoid personal injury when exposed
to welding flashes or to galvanized (Zinc Oxide)
metal toxic fumes while grinding/cutting on
any type of metal or sheet molded compound, you
must work in a properly ventilated area, wearing
an approved respirator, eye protection, earplugs,
welding gloves, and protective clothing.
Caution: Refer to SIR Caution on page 1-1 in
General Information.
1. Disable the SIR system.
867586
876346
867556
2003 Saturn Ion
3-63
2003 Saturn Ion