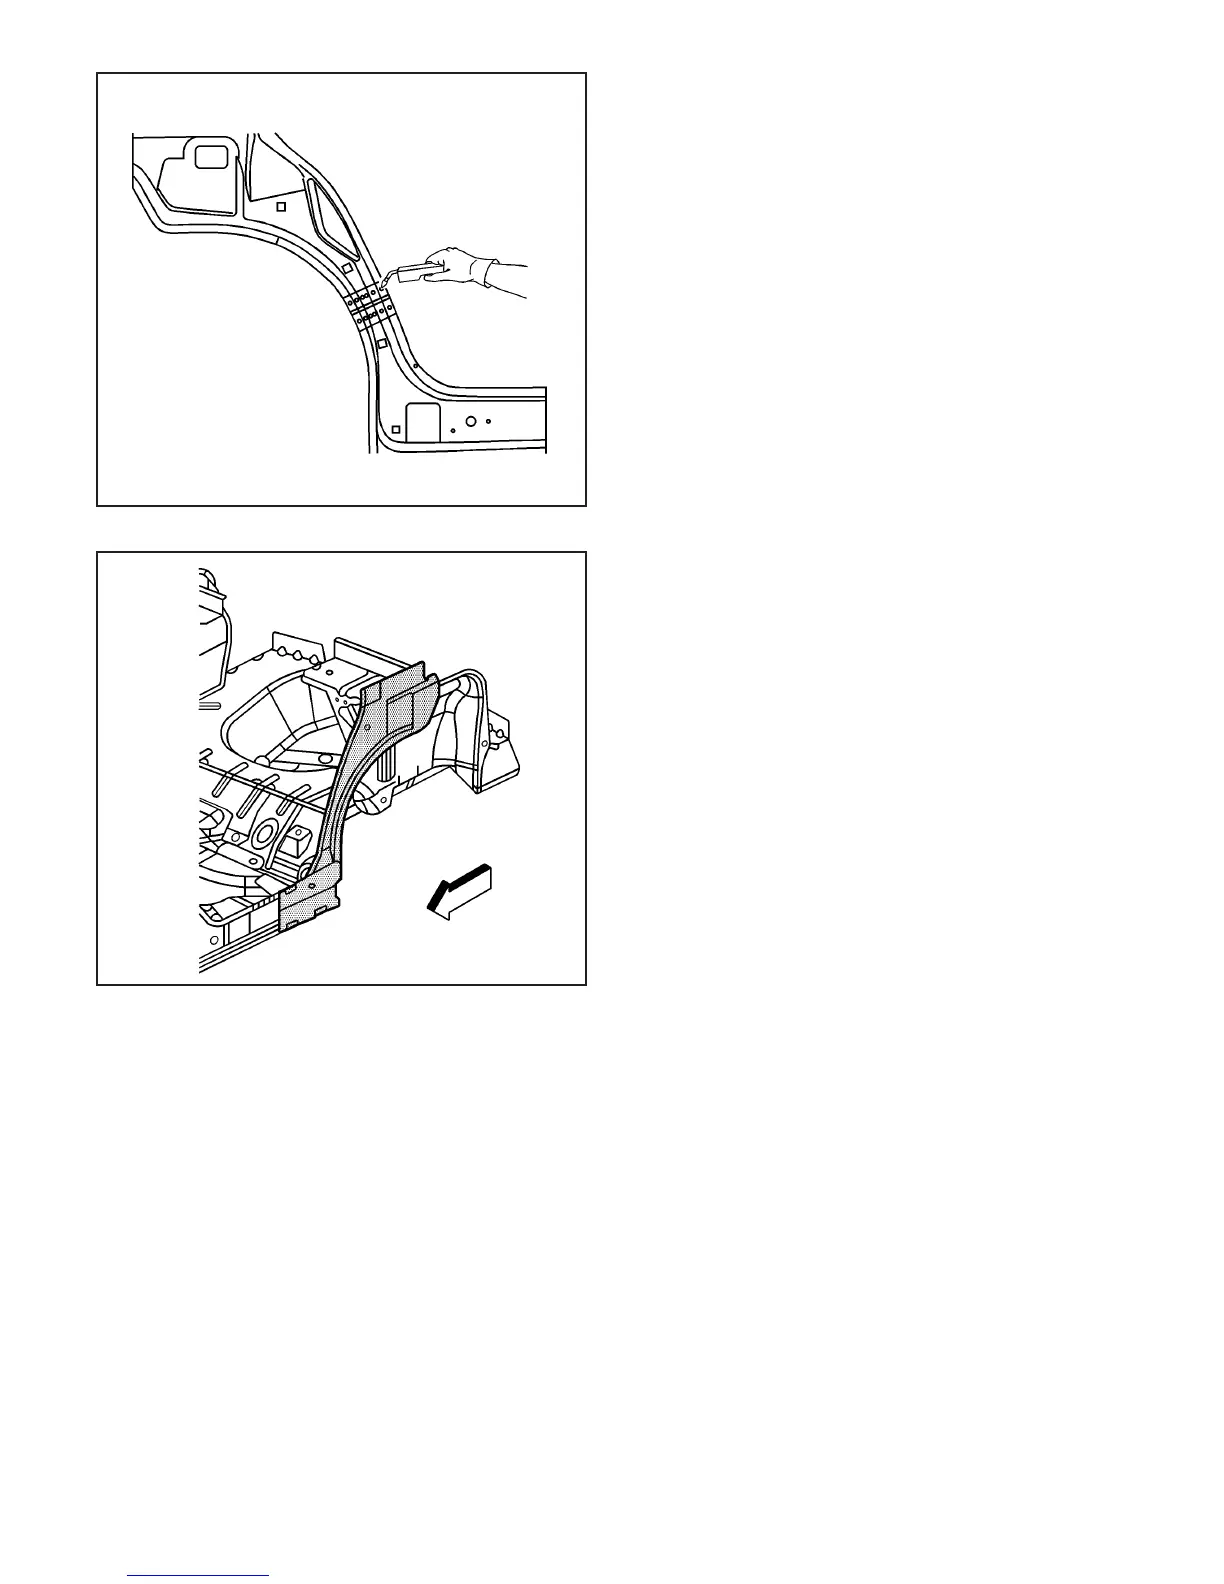
Important: The dogleg illustration is shown. The
rocker panel section joint is similar.
13. Plug weld accordingly.
14. To create a solid weld with minimum heat
distortion, make a 25 mm (1 in) stitch weld along
the seam with gaps of 25 mm (1 in). Go back
and complete the stitch weld.
15. Clean and prepare all of the welded surfaces.
16. Apply the sealers and anti-corrosion materials to
the repair area, as necessary.
17. Paint the repaired area.
18. Install all of the related panels and components.
19. Connect the negative battery cable.
20. Enable the SIR system.
Quarter Panel Replacement - Inner
Removal Procedure
Caution: To avoid personal injury when exposed
to welding flashes or to galvanized (Zinc Oxide)
metal toxic fumes while grinding/cutting on
any type of metal or sheet molded compound, you
must work in a properly ventilated area, wearing
an approved respirator, eye protection, earplugs,
welding gloves, and protective clothing.
Caution: When performing service on or near the
SIR components or the SIR wiring, the SIR
system must be disabled. Refer to SIR Disabling
and Enabling Zones. Failure to observe the correct
procedure could cause deployment of the SIR
components, personal injury, or unnecessary SIR
system repairs.
1. Disable the SIR system.
Caution: Before servicing any electrical
component, the ignition key must be in the OFF or
LOCK position and all electrical loads must be
OFF, unless instructed otherwise in these
procedures. If a tool or equipment could easily
come in contact with a live exposed electrical
terminal, also disconnect the negative battery
cable. Failure to follow these precautions
may cause personal injury and/or damage to the
vehicle or its components.
2. Disconnect the negative battery cable.
3. Remove all related panels and components.
4. Repair as much of the damage as possible. Refer
to
Dimensions - Body on page 3-7
.
5. Note the location and remove the sealers and
anti-corrosion materials from the repair area, as
necessary.
875638
872409
3-136 2003 Saturn Ion
 Loading...