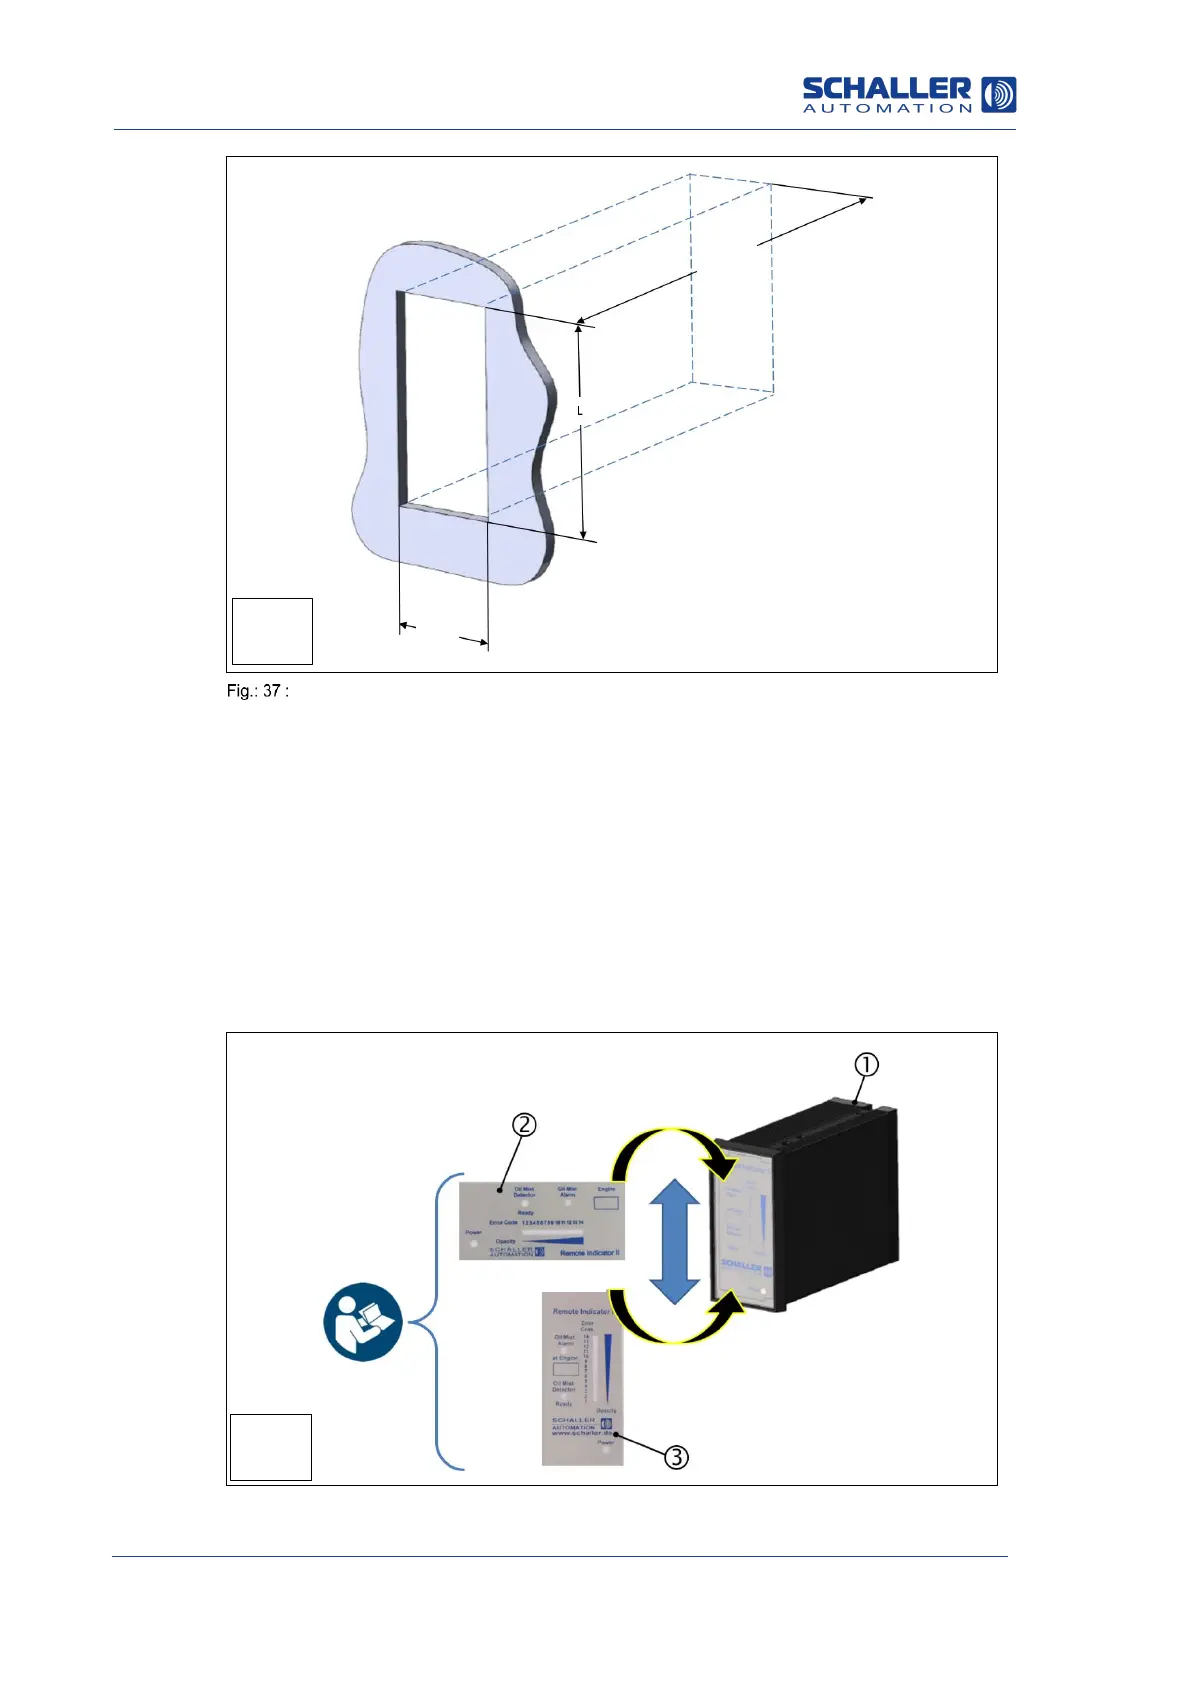
Dimensions of installation space for Remote Indicator II
Description of the installation steps:
Step 1: Produce the required installation space, according to Figure 37
Step 2: Select and install the appropriate front glass panel (vertical or horizontal) in
Remote Indicator II
Step 3: Insert Remote Indicator II into the previously prepared installation space and fit
the retaining brackets
Step 5: Insert the fixing screws
Step 6: Secure Remote Indicator II with the fixing screws

 Loading...