Page 3.4
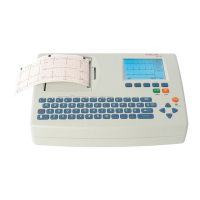
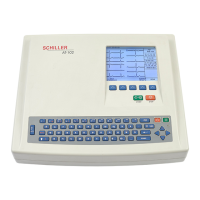
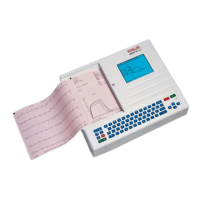
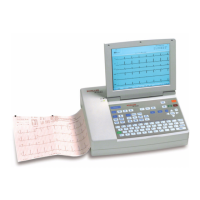
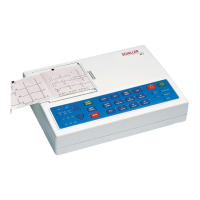
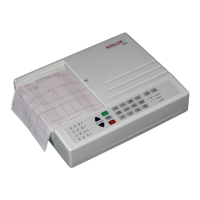
SCHILLER AT-2 6-Channel ECG Unit
SERVICE HANDBOOK Issue 2.1 November 1998
Chapter 3
Fault Diagnosis
General Check Procedures
The procedure detailed here is a general confidence check of the unit after an internal module or
board has been replaced. It is not a full functional test (which can only be carried out with dedicated
equipment in the factory) but is intended to provide a general confidence check in all the major
AT-2plus functional areas. The instructions given here are guides to the basic functions. If more
operating information is required (general settings, comprehensive menu guides etc.) please refer
to Chapter 1 in this publication or the relevant User Manual.
To carry out the general AT-2 functional check procedure, proceed as follows:
1. Connect mains power to the unit and ensure that the green mains LED lights.
2. Switch the unit on by pressing the key on the keyboard. Ensure that the LED lights
flash for about a second.
3. Carry out the printer check detailed on the next page.
4. Connect an ECG simulator to the ECG connector on the side panel and switch on.
5. Press the key and ensure that six leads are printed and are of good quality.
6. Press the key and wait approximately 10 seconds for the printout to commence.
Ensure that the printout is accurate and of good quality.
7. Switch the unit off and leave connected to the mains supply for 10 hours or more to
charge the battery.
8. Disconnect the mains and switch the unit on. Ensure that the Battery LED is lit. Run the
unit on battery power for approximately an hour. Ensure that the battery LED flashes when
the battery has limited capacity (not before 6 hours).