HARRIER 3D Instruction Manual
17
1) Set the tail wheel assembly in place on
the plywood plate. The pivot point of the tail
wheel wire should be even with the rudder
hinge line and the tail wheel bracket should
be centered on the plywood plate.
2 Using a pen, mark the locations of the
two mounting screws. Remove the tail wheel
bracket and drill 1mm pilot holes at the loca-
tions marked.
MOUNTING THE TAIL WHEEL BRACKET
3) Secure the tail wheel bracket in place
using two 3mm x 15mm wood screws. Be
careful not to overtighten the screws.
1) Align the tail wheel wire so that the wire
is parallel with the bottom of the rudder. The
control clasp has a predrilled hole through the
top of it. Slide this hole onto the tail wheel wire
while sliding the clasp over the bottom of the
rudder.
MOUNTING THE CONTROL CLASP
2) Using a ruler and a pen place a mark
onto the bottom of the rudder, in front of the
rear edge of the tail wheel wire. The back edge
of the clasp should line up with this mark.
You may find it necessary to bend the tail wheel
wire down slightly so it lines up with the clasp
without binding.
3) While holding the clasp firmly in place,
use a pen and outline the clasp onto the rud-
der.
4) Remove the clasp, and using a model-
ing knife, remove the covering from inside the
lines you drew. Use 220 grit sandpaper and
carefully roughen the inside surface of the ny-
lon clasp.
INSTALLING TAIL STRUST SUPPORT
Tail strut system assembly follow pictures
below:
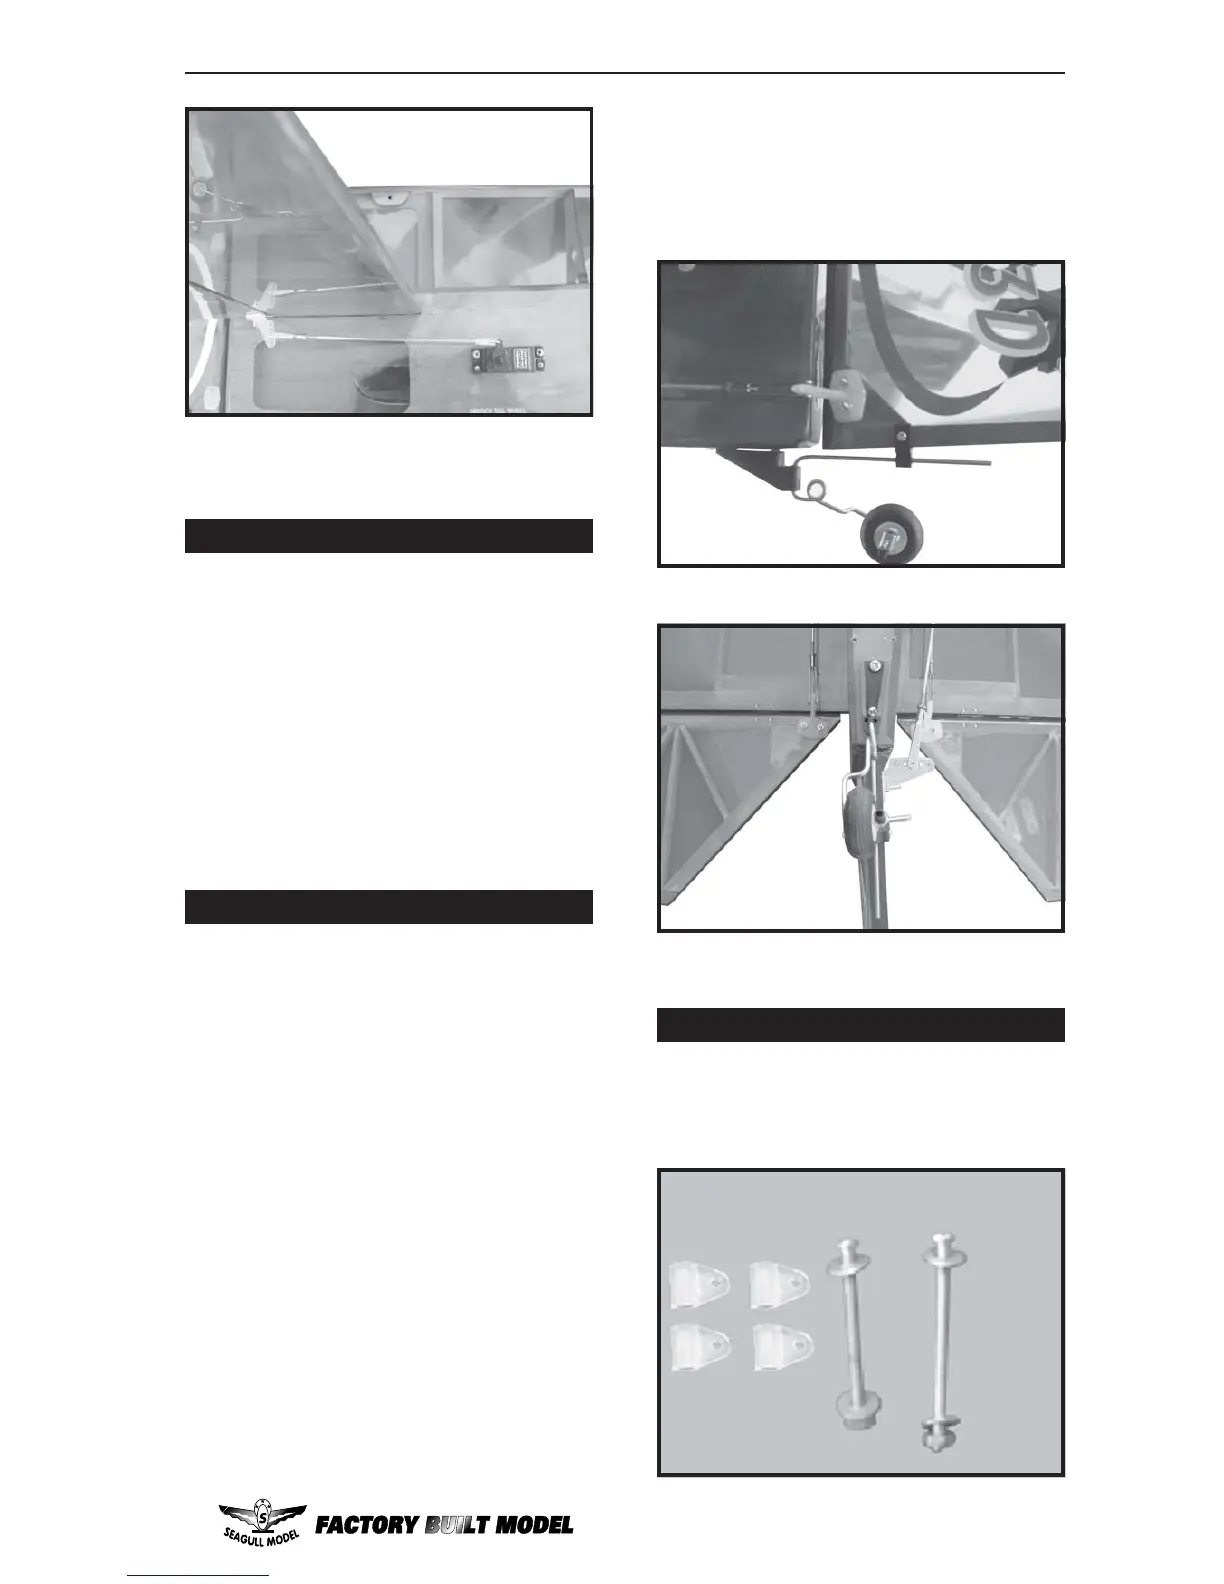
5) Rudder pushrods assembly follow
picture below.
5) Slide the clasp back into position and
carefully glue it into place using Kwik Bond Thin
C/A. Hold the clasp in place until the glue com-
pletely cures. Rescue the clap with bolt and
nut as picture below.
M3 x 4cm.
M3 x 4cm.
 Loading...