HARRIER 3D Instruction Manual
20
CANOPY HATCH
1) Plug the six servo leads and the switch
lead into the receiver. Plug the battery pack
lead into the switch also.
2 Wrap the receiver and battery pack in
the protective foam rubber to protect them
from vibration.
INSTALLING THE RECEIVER AND BATTERY
3) Position the battery pack in the fuel
tank compartment and the receiver just be-
hind the fuel tank . Use extra foam pieces to
hold them in position.
Antenna
Rubber
Band
Modified
Servo Arm
Cut
When balancing the airplane you may
need to move the battery or receiver for-
ward or after to achieve proper balance.
4) Using a 1/16” drill bit, drill a hole through
the side of the fuselage, near the receiver, for
the antenna to exit. Route the antenna out of
the fuselage and secure it to the vertical stabi-
lizer using a rubber band and a modified servo
arm. See picture as below.
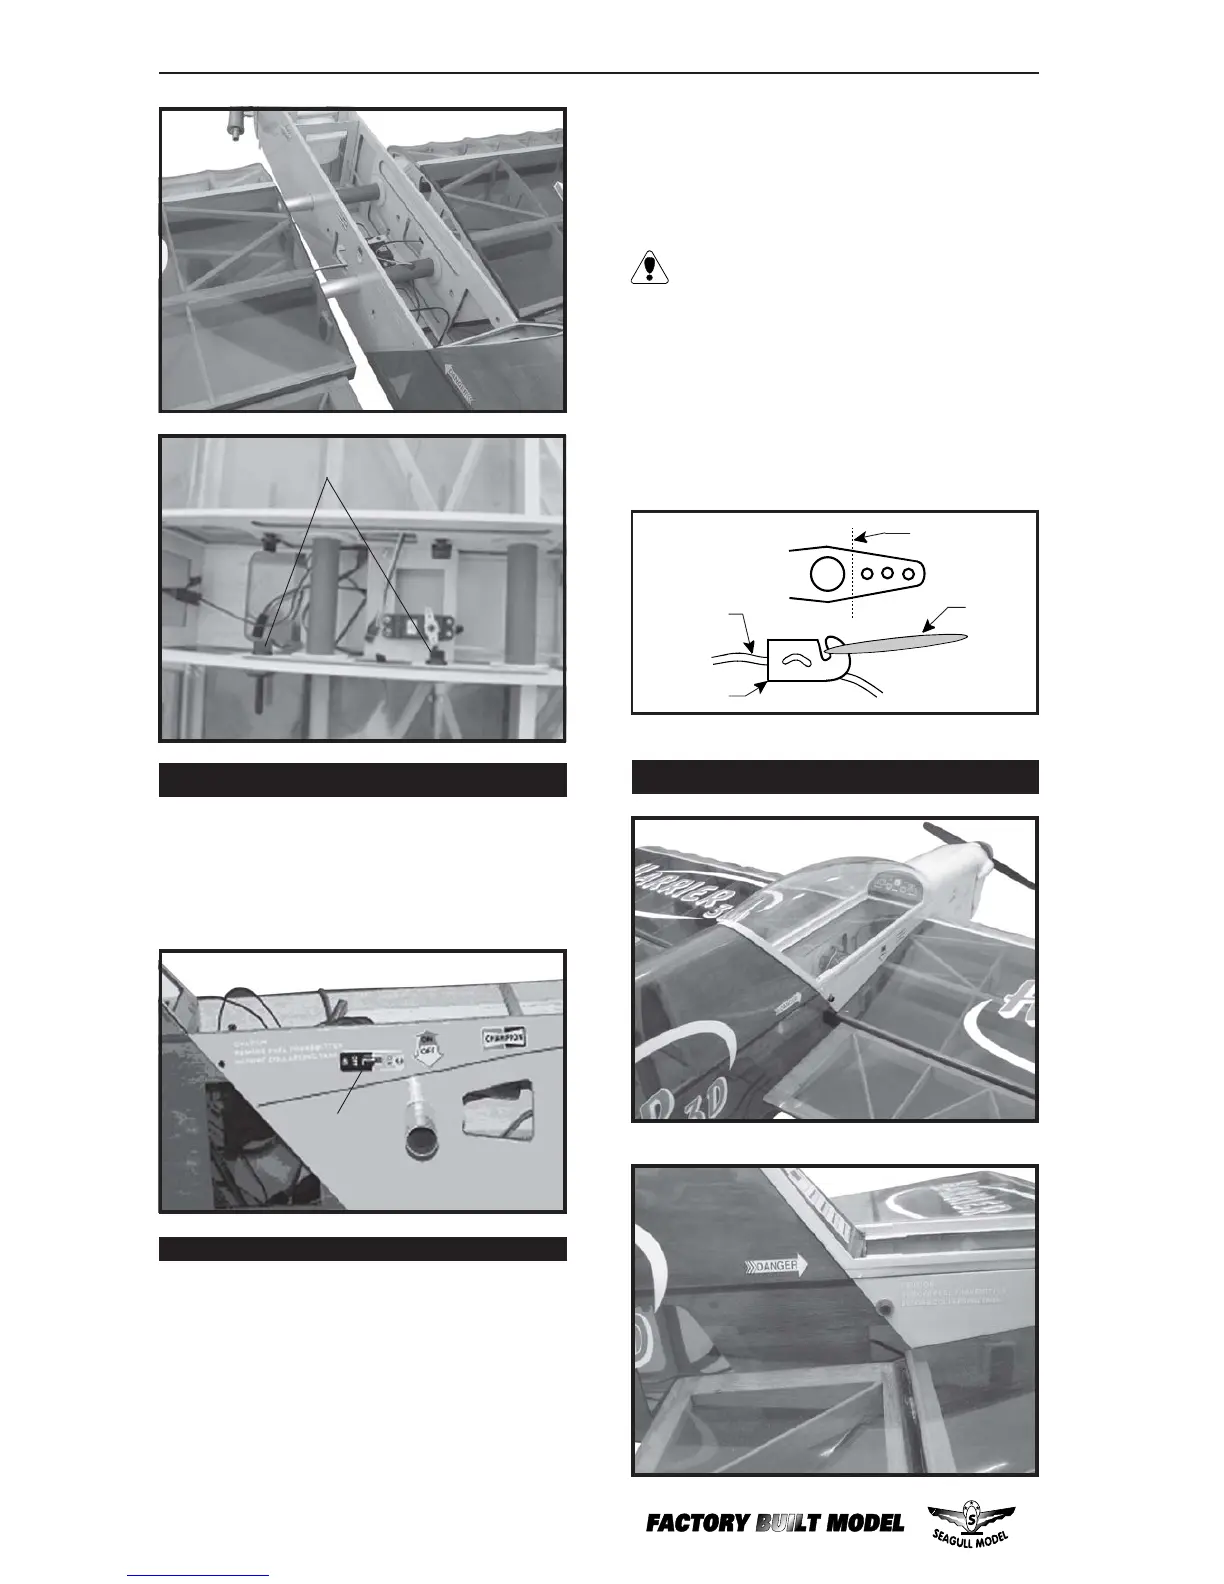
INSTALLING THE SWITCH
Install the switch into the precut hole in the
fuselage side. Use the two screws provided
with the switch to secure it in place. Drill two
3/32” holes through the tray for the screws to
pass through.
Wing bolts( 4 pcs).
Switch.
 Loading...