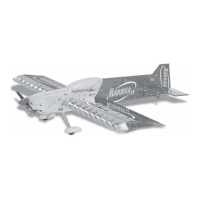
HARRIER 3D Instruction Manual
11
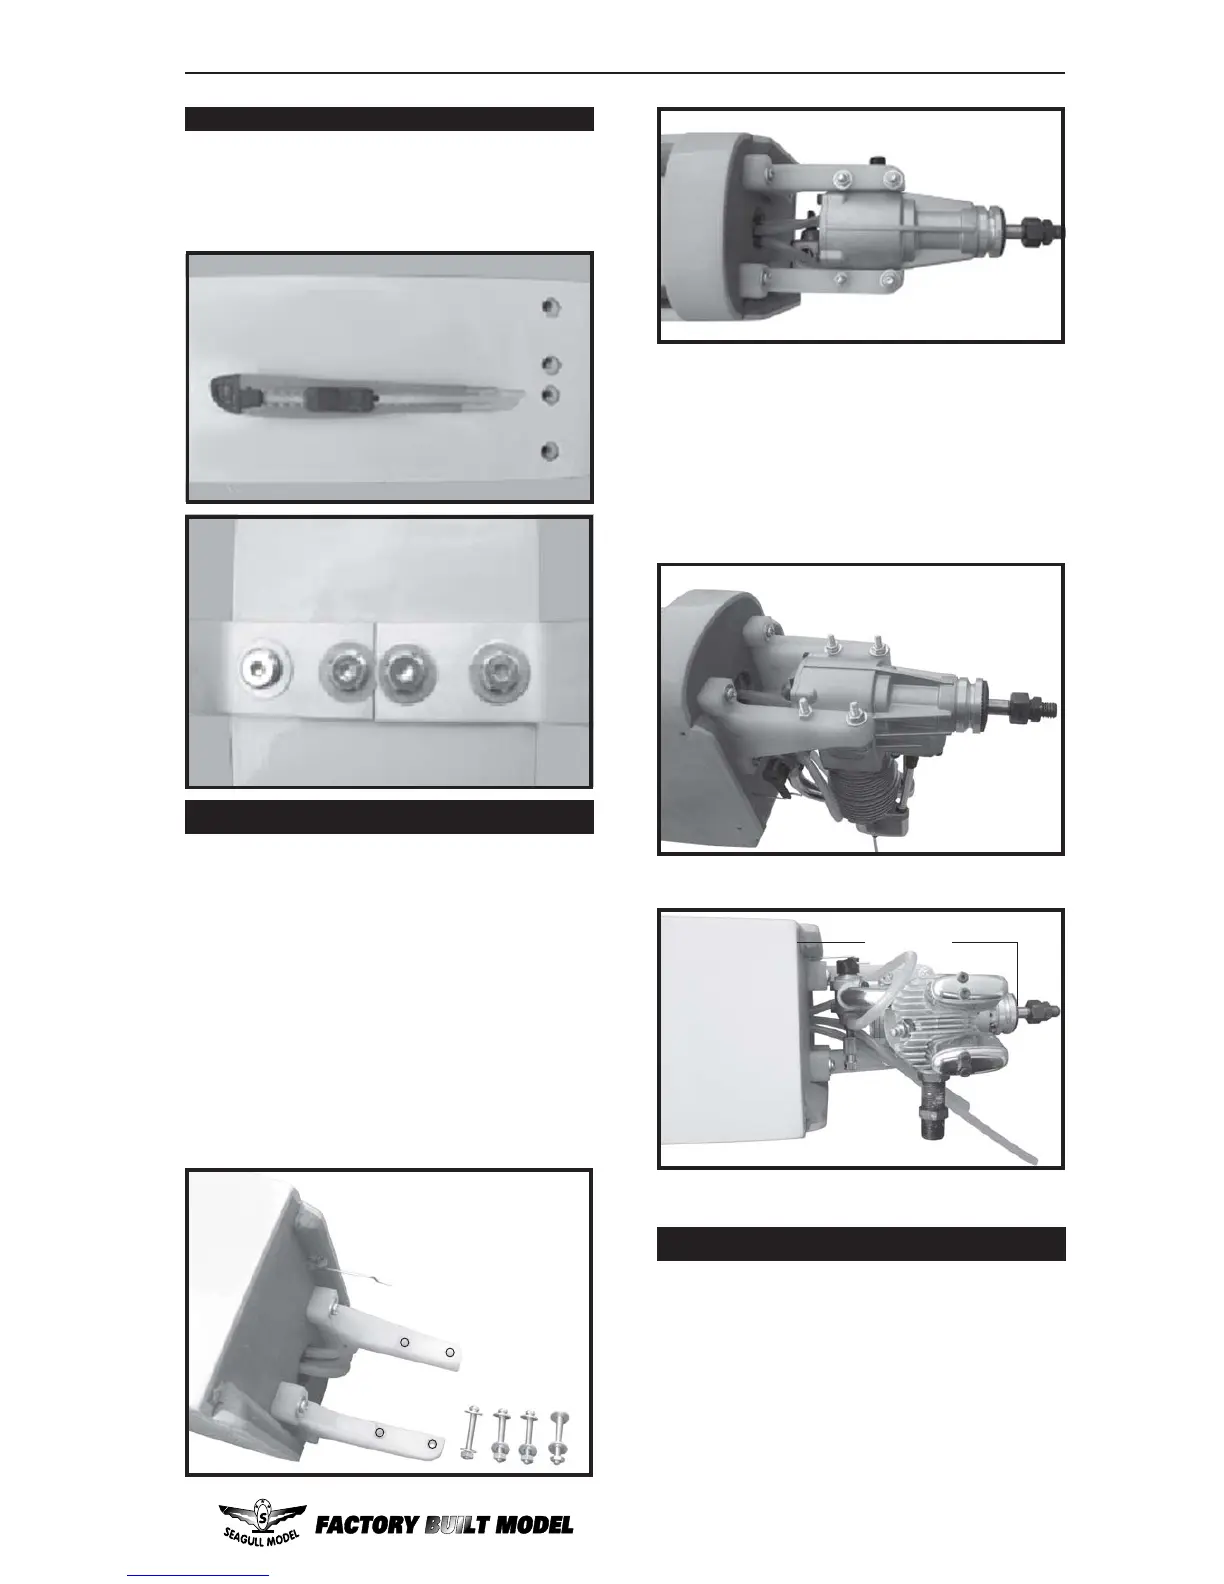
MOUNTING THE ENGINE
1)Trial fit your engine on the motor mount.
The engine should be positioned so there is
ample clearance in the cowling for spinner
backplate mounted to the prop drive shaft.
2)Marking 4 points on the plastic motor
mount.
3)Screw 4 pilot holes with 5 mm diameter.
4) Secure your engine on the motor mount
by mounting with 4 bolts, 8 washers, and 4
nuts provided.
A drop C/A glue on the bolt threads will help
prevent loosening in flight.
5) Attach the Z-Bend in the pushrod wire
to the throttle arm on the carburetor. You will
need to remove the throttle arm from the car-
buretor to be able to attach the Z-bend. When
complete, reattach the throttle arm to the car-
buretor.
PARTS REQUIRED
COWLING
{1} Molded Fiberglass Cowling
{4} 3mm x 12mm Wood Screws
1) Slide the fiberglass cowl over the en-
gine and line up the back edge of the cowl with
the marks you made on the fuselage.
INSTALLING THE MAIN LANDING GEAR
1) The blind nuts for securing the landing
gear are already mounted inside the fuselage.
2) Using the hardware provided, mount
the main landing gear to the fuselage.
131mm
 Loading...