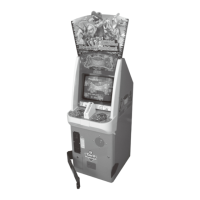
67
1
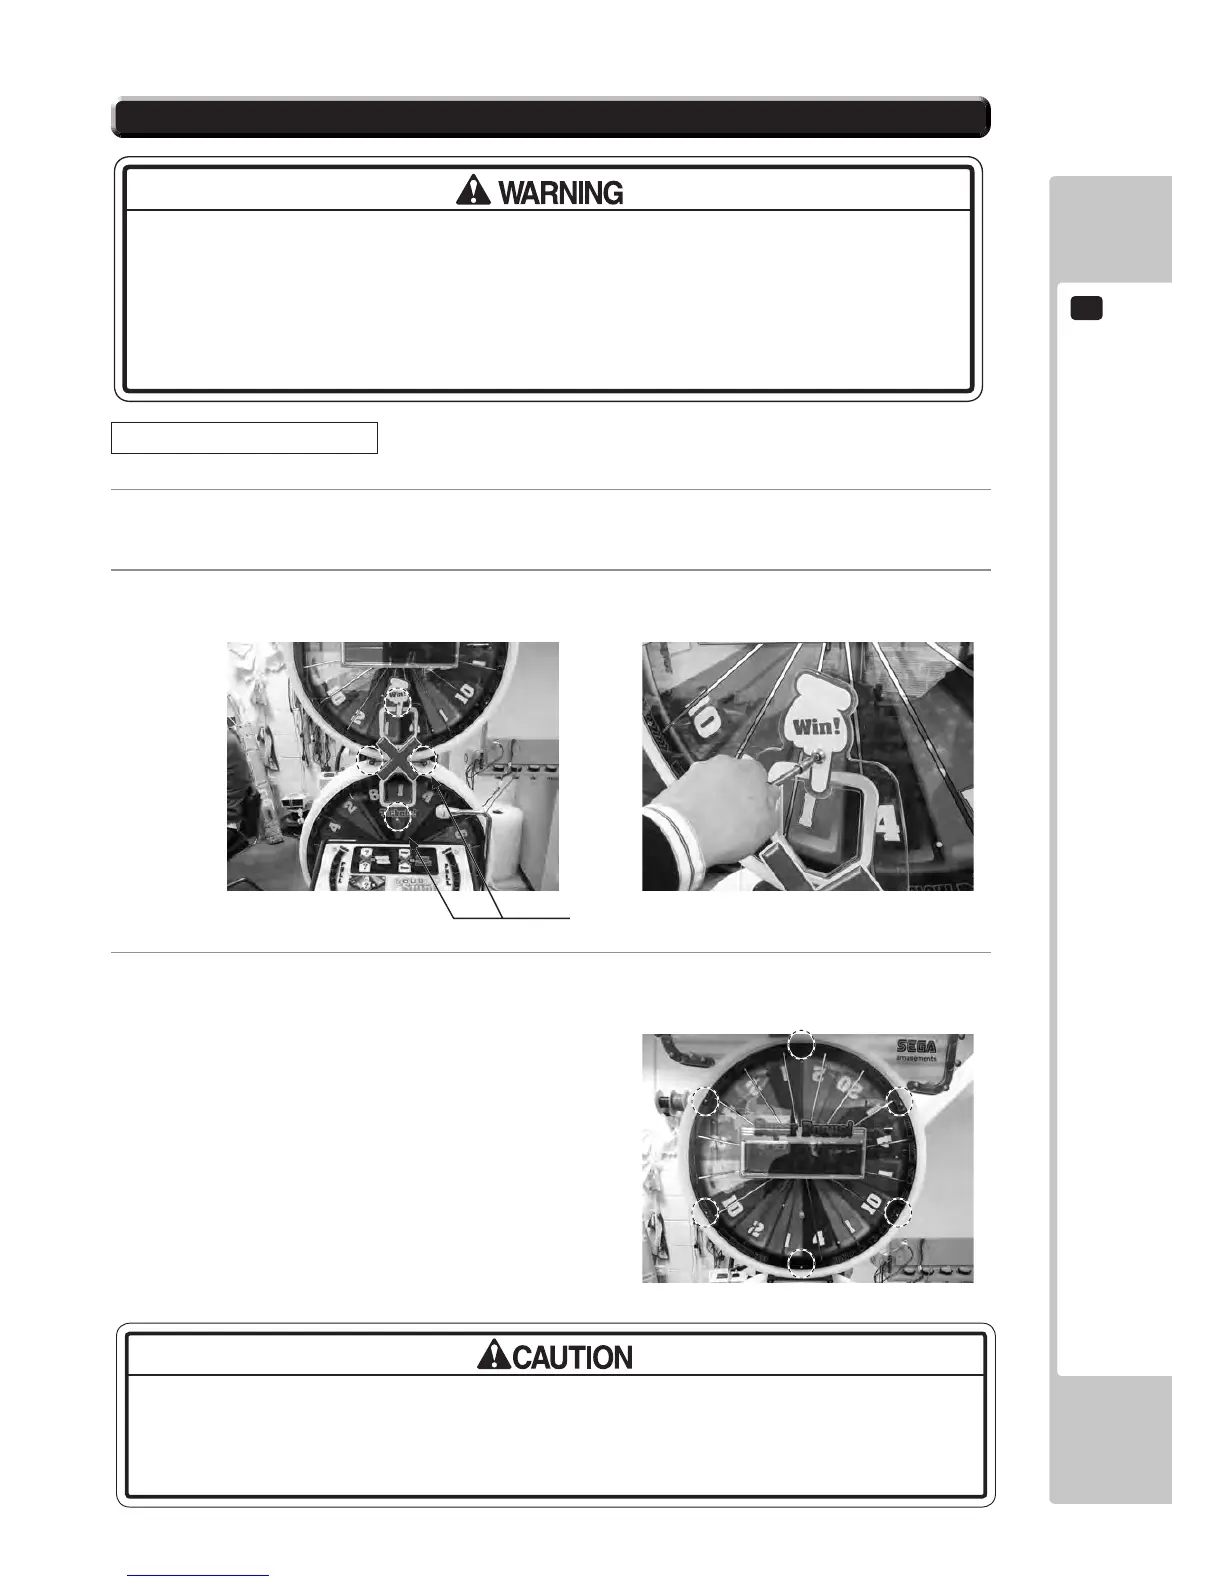
TURN THE POWER OFF.
2
Remove the WINLINE window by unscrewing the (4) M5 inner hex xings and place to one side.
3
Remove the (6) self Tapping Screws from around the outer edge of the outer disc leaving the top xing until
last. Please support the disc when all xing are removed. The disc may fall if not supported.
13-2 REPLACING THE LED (WHT) UPPER/LOWER DISC
TAKE CARE WHEN ACCESSING THE INTEGRAL PARTS OF THE MACHINE.
MAKE SURE POWER IS REMOVED BEFORE SERVICING.
ONLY TOUCH PARTS WHICH ARE OUTLINED IN THE INSTRUCTIONS BELOW. FAILURE
TO OBSERVE THIS CAUTION MAY RESULT IN INJURY OR COMPONENT DAMAGE.
M5 Inner Hex xings (4)
Important - Leave the top xing until last
SUPPORT THE DISC WHEN REMOVING THE FIXINGS. FAILURE TO SUPPORT THE
DISC MAY RESULT IN THE DISC FALLING AND CAUSING INJURY OR DAMAGE TO
COMPONENTS.
REMOVING THE WHT LED ARRAY