Service Manual
Integra E-Z Oxygen Concentrators
Chart SeQual Technologies Inc. Page 29 of 34 P/N 2917
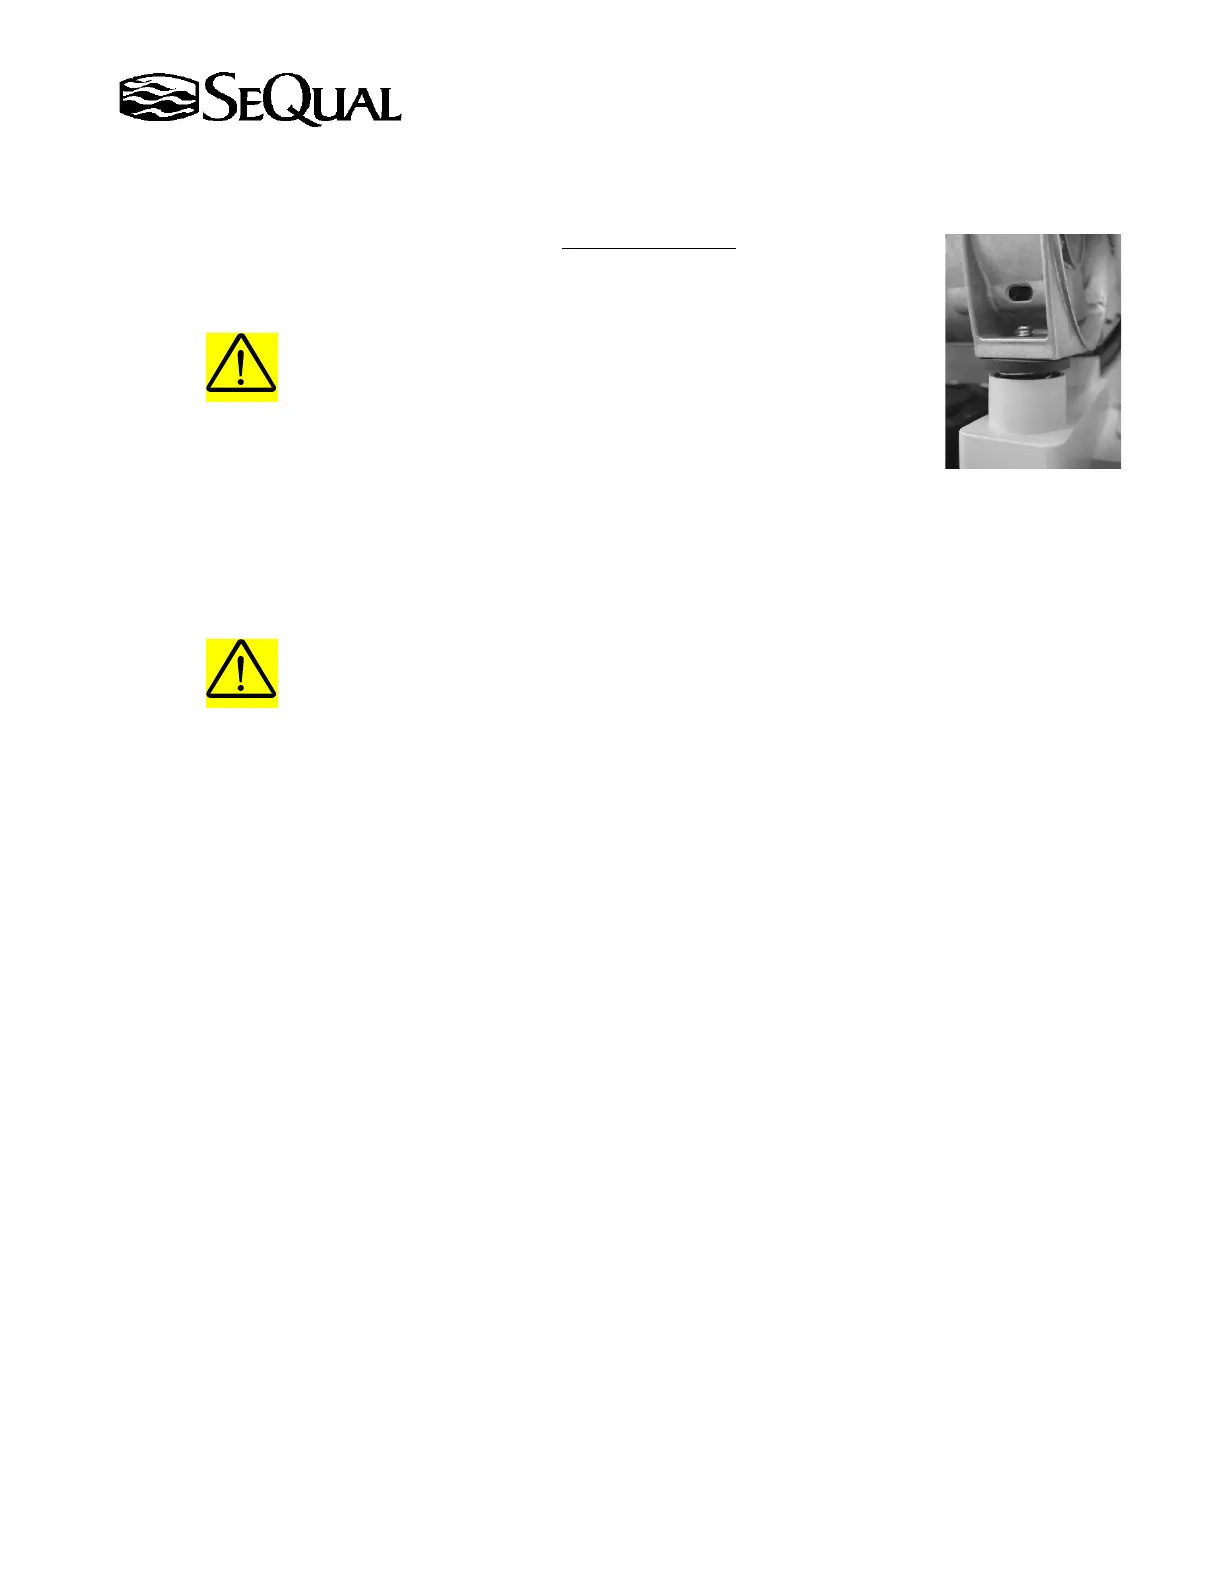
6.5.13 Ensure the rubber washer of the compressor shoulder bolt is positioned between the base and
the steel washer. Apply Loctite 271 or equivalent to the threads of the shoulder bolt prior to
installation. Torque shoulder bolts to "31 inch-pounds".
CAUTION:
Thread locking compounds may soften plastics. Do not
apply excessive thread locker to the bolts. Do not allow the
thread locker material to remain in contact with plastic parts
if spilled or dropped. Clean any affected area with
isopropyl alcohol.
6.5.14 Install the compressor bolt inspection covers. Tighten the screws only as
required to seat them against the plate.
6.5.15 Attach the capacitor leads and reconnect the two-pin power plug. Close the center frame wire
harness clamps around the complete harness by pressing the enclosing loop firmly into the seat.
CAUTION:
Carefully inspect the completed wire routing to ensure that the
compressor wires do not interfere with the cooling fan operation.
Confirm Zip Ties are installed. If the cooling fan is blocked or
prevented from turning, the unit will overheat and shut down after
approximately fifteen minutes of operation.
6.5.16 Re-install the clear air feed tube to the barb on the compressor. Re-attach the hose to the heat
exchanger barb fitting and tighten clamp to 70 inch-ounces.
6.5.17 Start the unit and check for leaks. If compressor is noise refer to section 5.7 for
troubleshooting.
6.5.18 Shut down unit and install covers.
6.6 Compressor Top-End rebuild
NOTE:
Refer to Replacement Parts Section for proper rebuild kit. Contact
SeQual Customer Service for all other compressor accessories.
Compressor manufacturer instructions supersede SeQual’s if
differences occur.
NOTE:
Experienced technicians with proper tools may elect to perform the
compressor top end rebuild without removing the compressor from
the unit. Removing the filter muffler assembly allows adequate
clearance for the removal and replacement of the compressor
heads. If in doubt, remove the compressor for rebuilding.
6.6.1 Unplug unit from the AC power source. Confirm that Flow Indicator Backlight is off.
6.6.2 Remove the covers.
6.6.3 Remove the clear air inlet tube from the barb(Cap/Cork the tubing to prevent moisture ingress).
Disconnect the heat exchanger coil from the fitting on the compressor.
6.6.4 For compressor rebuild, follow the service instructions provided with the rebuild kit.