19
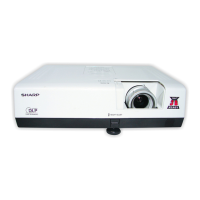
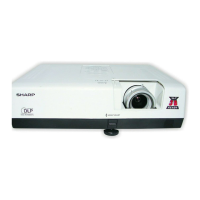
PG-B10S
3. Detaching the main PWB
3-1. Remove the two lock screws from the main PWB unit, and detach the main PWB.
4. Removing the optical unit
4-1. Remove the two lock screws from the lamp socket, and detach the lamp socket.
4-2. Remove the lock screw from the bimetal, and detach the bimetal.
4-3. Remove the five lock screws from the optical unit, and detach the optical unit, side shield and power insulating
board.
3-1
[FD]
[EA]
[FA]
[SP]
[TI]
[FB]
[RP]
[GP]
[RP]
[LF]
[TH]
Main PWB
4-3
4-2
4-3
4-3
4-1
Lamp socket
Bimetal
Optical unit
Side shield
Power insulating board