3 Installation and Commissioning
B4A−14
CP 443-1 Advanced for Industrial Ethernet / Manual Part B4A
Release 01/2007
C79000-G8976-C193-06
3 Installation and Commissioning
3.1 Procedure / Steps in Installation
Installing the CP 443-1 Advanced involves the following steps:
Step Explanation / Meaning
1. Turn off the power supply in the following
situations:
− You want to insert the CP in a central rack;
− You want to insert the CP in a universal rack
operating as the central unit.
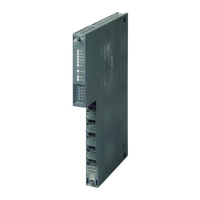
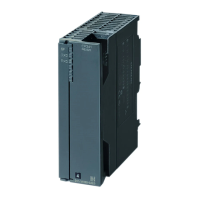
2. Inserting the CP 443−1 Advanced: Fit in the CP
onto the rack from the top and push in at the
bottom.
3. Secure the CP with screws.
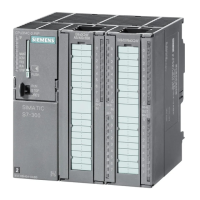
The CP 443-1 Advanced can be plugged into all
racks with slots for P and K bus attachment. The
following racks are suitable:
S Central rack CR2 (central unit
S Universal rack UR1 or UR2
− as central unit
− as expansion rack with rack number 1−6
(only possible if PROFINET IO is not being
used)
When the CP is installed in an expansion rack,
you only need to turn off the power supply for
the expansion unit.
Notice
When using the universal rack UR1 or UR2 as an expansion rack, a communication bus transceiver is
necessary!
Suitable slots in the rack:
With the exception of the slots reserved for the
power supply, the CP 443-1 Advanced can be
inserted in all slots with a P and K bus attachment.
4. Connect the CP to Industrial Ethernet over an
RJ−45 jack.
You will find examples of network attachments in
the general Part A of this manual.

 Loading...