3 Installation and Commissioning
B4A−18
CP 443-1 Advanced for Industrial Ethernet / Manual Part B4A
Release 01/2007
C79000-G8976-C193-06
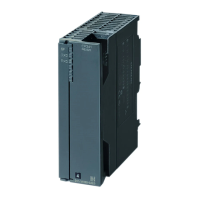
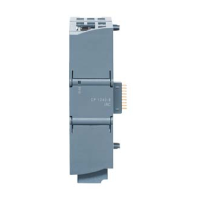
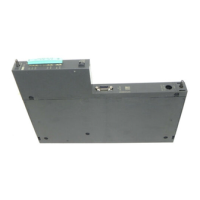
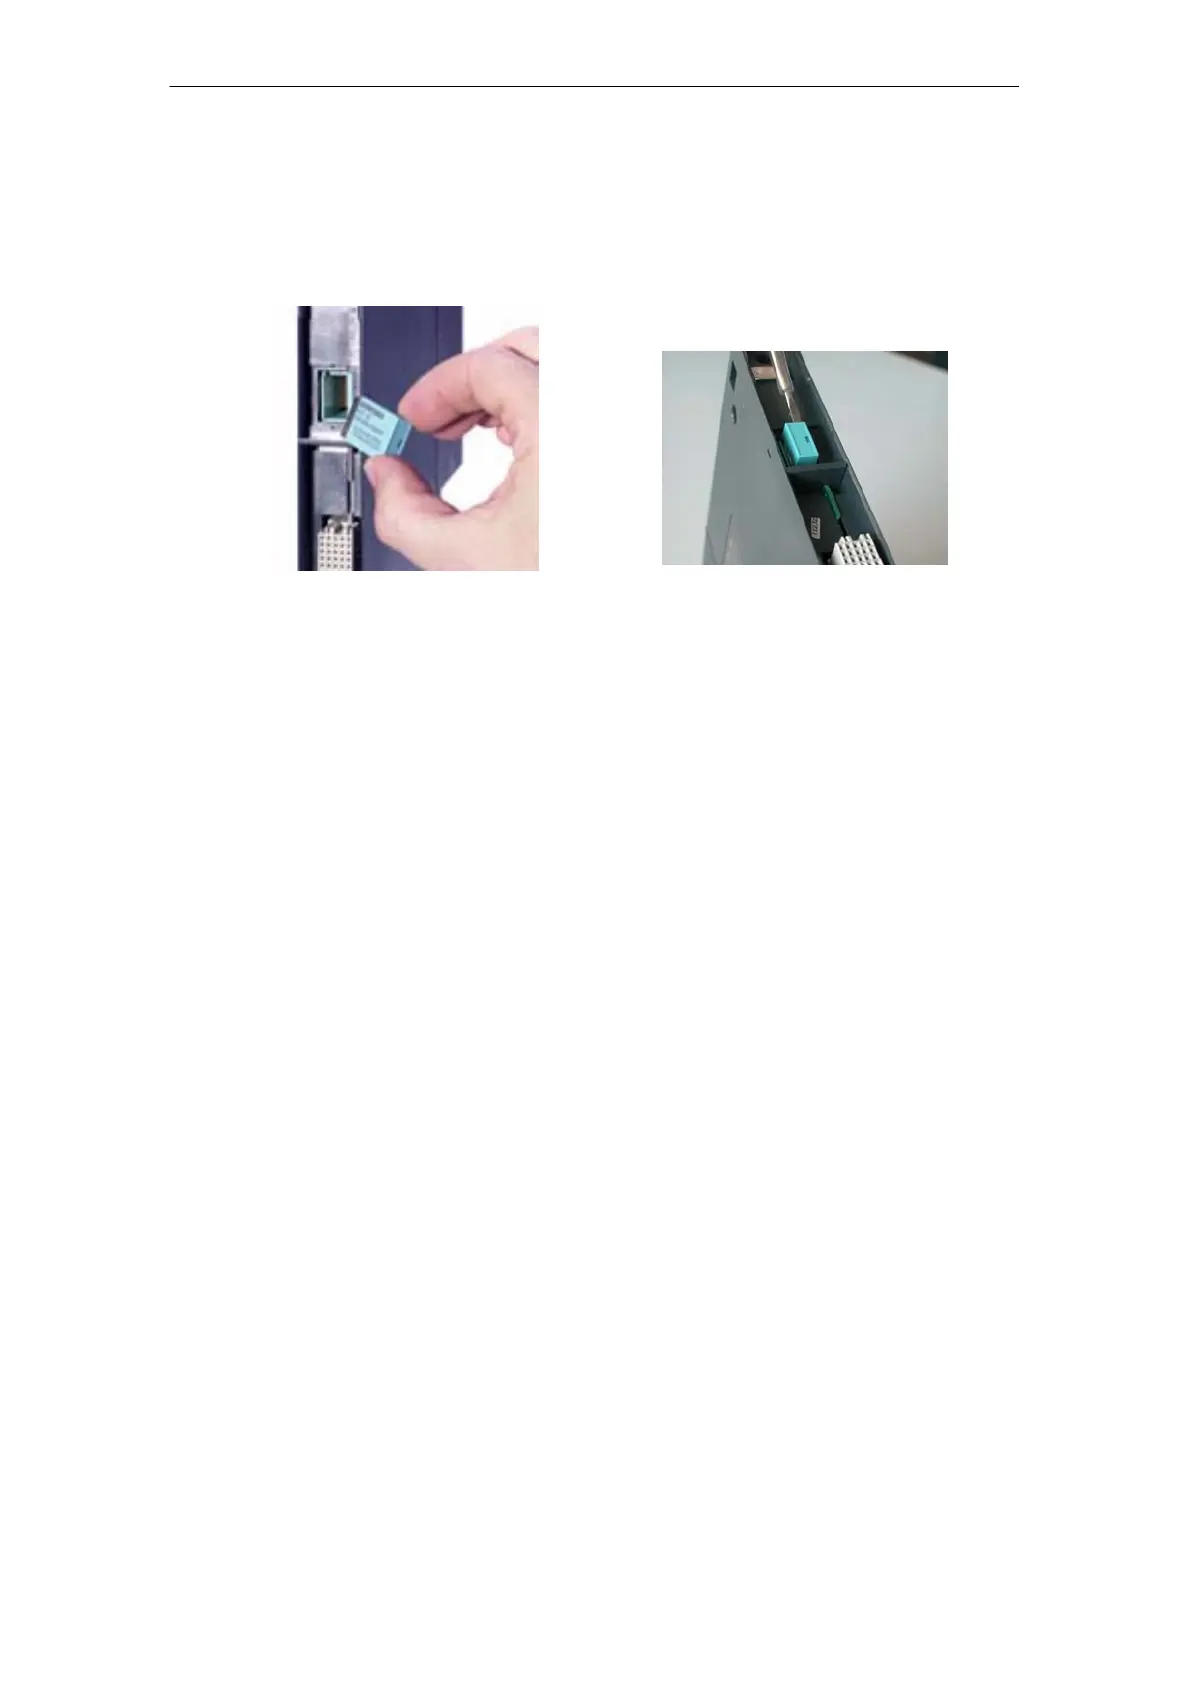
Inserting in the C−PLUG Slot
The slot for the C−PLUG is on the rear panel of the device.
The C−PLUG is inserted in the receptacle.
Figure 3-1 Fitting the C−PLUG in the CP and Removing It from the CP with a Screwdriver
Function
If the C−PLUG has not yet been written to (as shipped), when the device starts up,
all the configuration data of the CP is saved automatically on it.
If the C−PLUG is inserted, the basic device automatically uses the configuration
data of the C−PLUG. This assumes that the data was written by a compatible
device type.
If a fault occurs, the basic device can then be replaced much faster and more
simply. If a device needs to be replaced, the C−PLUG is simply taken from the
failed component and inserted in the replacement. As soon as it starts up, the
replacement automatically has the same device configuration as the failed device.
Using a C−PLUG with old Configuration Data
Use only C−PLUGs that are formatted for the CP 443−1 Advanced. C−PLUGs that
have already been used and formatted in other device types must first be
formatted for the CP 443−1 Advanced.
You do this with STEP 7 / NCM Diagnostics. For more detailed information, refer to
the online help in the topic ”General Diagnostics Functions − C−PLUG Diagnostics
Object”.
After formatting, all data areas are deleted on the C−PLUG. Project engineering
data is adopted by the CPU only after reloading or after turning on the power
supply again.
Removing the C−PLUG
It is only necessary to remove the C−PLUG if a fault occurs on the CP (see
Figure 3-1).

 Loading...