w The adjustment device is connected to the detector and must be set to 'Adjust'.
w The two safety screws(2) are loosened.
1.
Turn the knurled screws(1, 8) until the standardized signal value on the
adjustment device is as high and constant as possible (point A in the figure
above).
2.
Turn the knurled screws back until the standardized signal value decreases
considerably (pointB).
3.
Note point B. Count e.g. the number of knurled screw turns or mark the scale.
4.
Turn the knurled screws forwards again until the standardized signal value is
as high and constant as possible. Continue turning until the standardized signal
value decreases considerably (pointC).
5.
Note point C. Count e.g. the number of knurled screw turns or mark the scale.
6.
Turn the knurled screws back until you reach the middle between points B and
C (pointD).
a The detector optics are optimally set.
a The detector indication matches the detection distance with an accuracy of
10%.
7.
Carefully tighten the two safety screws(2). The values indicated on the
adjustment device must not change significantly.
8.
Pull the MC-Link cable from the detector.
9.
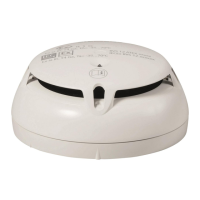
Fix the hood(3) on the detector with four screws. The alarm indicator(4) must
point downwards.
Commissioning
Fine-tuning of the detector optics
4
A6V10332811_e_en_-- 31 | 44
 Loading...