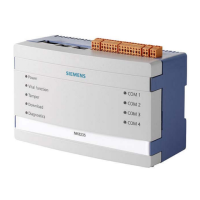
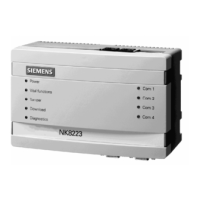
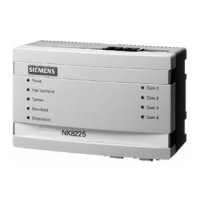
While the download is being performed, the FTP Diagnostic window is
displayed with the current status of the download.
Once the operation has been performed, a final status notification and
instruction window will be displayed.
NW8202 download status window (FTP status OK)
NW8202 final instruction window
9. Follow the instructions displayed in the final instruction window.
Note: Set DIP switch n.2 for NK822x and DIP switch n.1 for NK823x.
10. Disconnect the NK82xx from the PC, and replace the cover.
11. Repeat steps 3–10 for the next NK82xx.
12. Reset the Service PC IP address back to the original address.
Now the NK82xx is reachable from the DMS, and is ready to receive the full
configuration download, which is performed from Composer.
7.3 Configuring the relay output
The relay output can be activated because of cable disconnection on Ethernet
ports or other NK823x failures, such as low memory, logging failures and software
errors.
To enable the relay output for diagnostic purposes, proceed as follows:
1. Select the NK823x node and expand the subtree.
2. In the toolbar on the left, click the Onboard I/O icon .
A new Onboard I/O node appears.
3. Select the new I/O Onboard node.
4. In the toolbar on the left, click the Relay Output icon .
A new Relay Output node appears under the Onboard I/O node.

 Loading...


