16
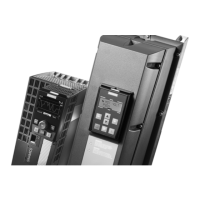
Connecting the Power Module to the motor
Depending on the required EMC class, different cable length limits are applicable for the connection
between the Power Module and motor. Always use shielded cables. If longer cables are needed, make
sure that a sine-wave filter is used.
Wiring the Power Module (motor cable)
• Connect the equipotential bonding conductor to the Power Module (only for IP55. For IP20 ensure
that the cabinet is connected to the equipotential bonding conductor and that the metal heatsink
is properly connected to the rear of the cabinet)
• Connect the phases and the ground conductor to terminals U2, V2, W2 and PE. Make sure that the
cable is properly shielded. For IP55 devices use an EMC gland, route the screen through the cable
gland and connect it inside the housing
1
2
The motor and Power Module are now connected.
Wiring the motor
• Unscrew the cover of the terminal box on the motor (the inside cover of Siemens’ motors
illustrates the wiring for star and the delta connections)
• Remove the jumper bars from the connecting block and loosen the screws
• Place the jumper bars on the terminal block and screw them into place (depending on the
type of connections required – star or delta – in this example, a star connection is shown)
• Insert the cables from the Power Module through the opening of the terminal box to the motor
• Connect the PE connection first
• Introduce the phase conductors into the connections according to the phase assignment
• Replace the terminal box cover and ensure that it is secured with the four screws, tightened to the
required torque
• Use an EMC cable gland on the motor as well and make sure that the cable is properly shielded
inside the cable gland
3
The electrical wiring is now complete.
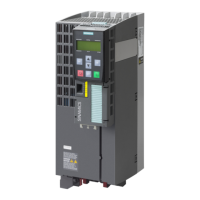
Wiring the power supply
• Connect the phases and the earth conductor to the terminal clamps L1, L2, L3 and PE
4
Converter family SINAMICS G120P: Mounting and wiring
 Loading...