Operating manual - English BRAVO MAXIMA II
Copyright Silca 2011 29
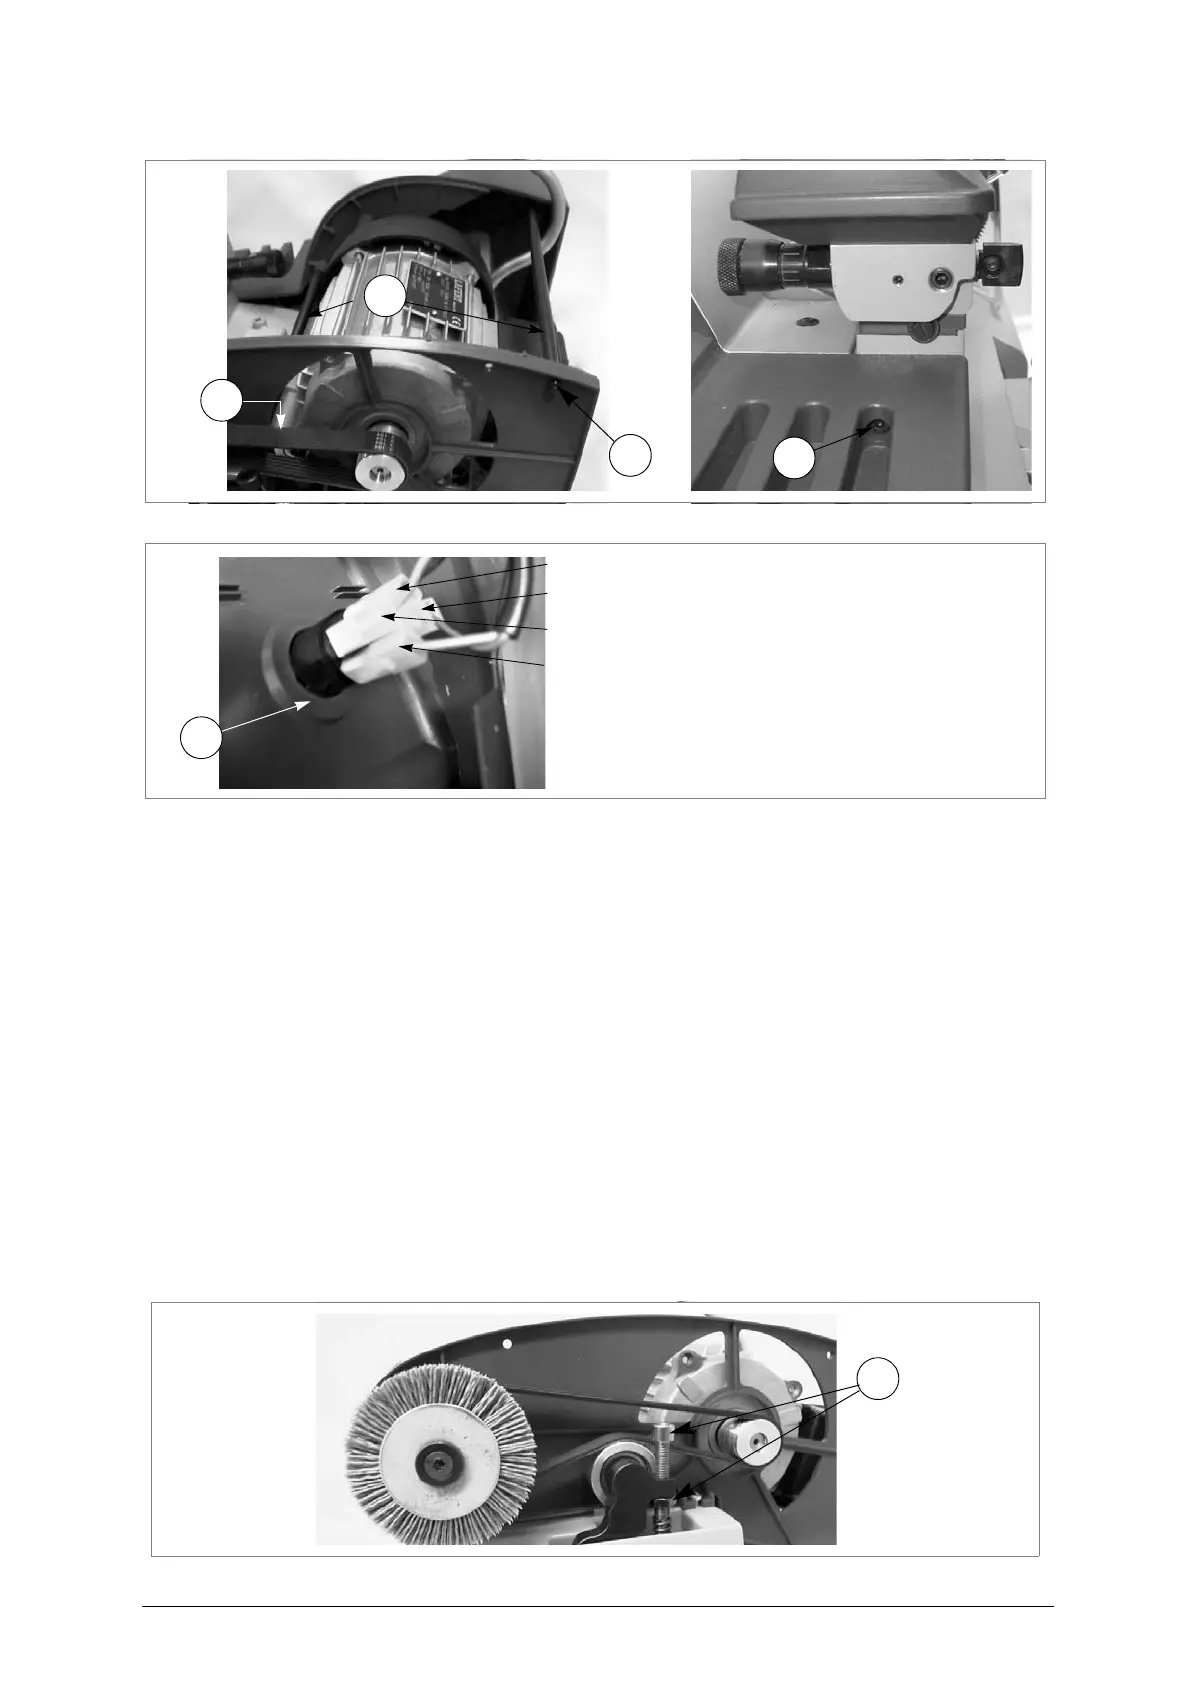
Fig. 40
Fig. 41
7.13 Replacing and/or tightening the belt
1) Turn the machine off and unplug it.
2)
Loosen the 2 screws (H1) on the cutter cover (H) and remove
(fig. 38, page 28).
3)
Loosen the 3 screws (T1) on the central cover (fig.38), raise slightly and remove, tipping a little
.
4)
Loosen the 3 screws (T2) (fig. 39, page 28) on the belt cover and remove (pull towards the front
of the machine
).
TIGHTENING
:
-
screw the screw/nut (U4) until the belt is properly tightened
(fig.42).
REPLACEMENT
:
-
loosen the screw/nut (U4) to lower the belt tightening pulley
.
-
remove the existing belt, turn the bigger pulley manually, exerting a little pressure on the belt (on
the motor pulley) and take out of its seat
.
-
fit the new belt, placing it in the motor pulley then (forcing a little) in the bigger pulley, turning it
manually
.
5) Tighten the screw/nut (U4) until the belt is properly tightened.
6) Replace the belt cover and fix with the 3 screws (T2) (fig. 39, page 28).
7) Replace the central cover and fix with the 3 screws (T1) (fig. 38, page 28).
8) Replace the cutter cover and fix with the 2 screws (H1).
(*) Should the tightening be difficult to do, loosen the 4 fixing screws and move the motor until
it is properly placed. Tighten the 4 fixing screws.
Fig. 42