44
– measure the CO2 and verify that it corresponds to the value
appearing in the table. If not, turn the “CO
2 adjuster screw
(splitter)” (7) of the gas valve until you obtain the CO
2 value
of the table. Make any other necessary measurements.
Edea
CO2 (G20) CO2 (G31)
Qmax
(% ± 0,2)
Qmax
(% ± 0,2)
30
9,2 10,2
40
9,3 10,0
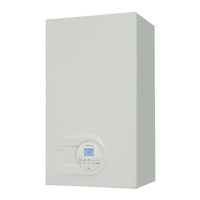
– press the button
<
to make the boiler operate at minimum
power "Lo". The message
"Lo"
will appear on the display
together with the flashing symbols
l
and
n
– measure the CO2 and verify that it corresponds to the value
appearing in the table. If not, turn the “CO
2 adjuster screw
to the minimum power (offset)” (8) of the gas valve until you
obtain the CO
2 value of the table. Make any other necessary
measurements.
– record in Benchmark commissioning Check list (page 50).
Edea
CO2 (G20) CO2 (G31)
Qmin
(% ± 0,2)
Qmin
(% ± 0,2)
30
9,2 10,0
40
9,1 10,0
NOTE: There are negligeable losses of working gas pressure
attributable to the boiler as the gas cock is connected directly
to the gas valve.
– press the button
y
to exit the "Chimney sweeper Proce-
dure”. The boiler water delivery temperature will appear on
the display
– disconnect the pressure gauge, carefully close the pressure
point (6), put the control panel back to the original position
and refit the front panel (2).
7.7 Domestic hot water comfort function
(preheating)
Edea
models have a "domestic hot water comfort" function
which ensures the best performance in terms of domestic hot
water, reducing the time necessary for the hot water to be-
come available and ensuring that the temperature is stable.
To activate the function:
– select parameter
"PAR 22"
(see "Parameter setting and dis-
play") and set it to
a 1
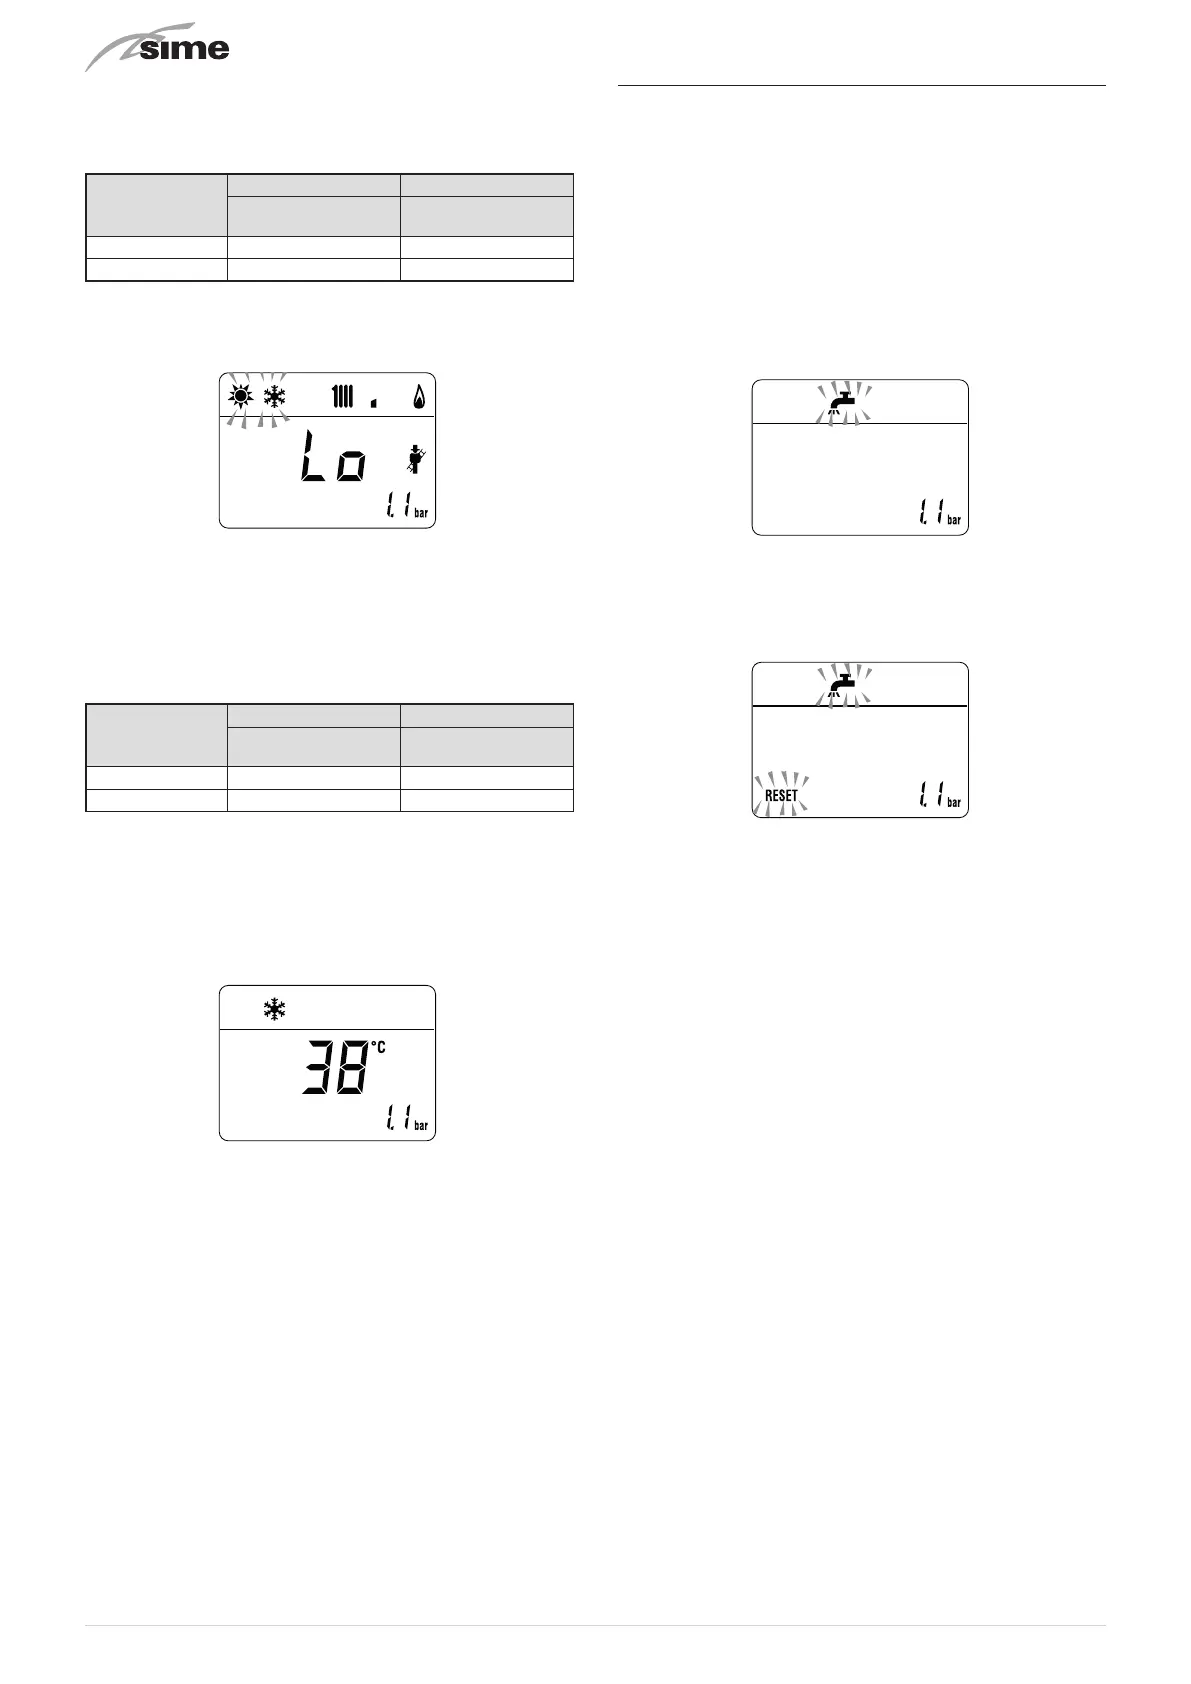
– exit parameter settings and press button
>
for approximately
5 seconds until the symbol
r
appears on the display and be-
gins to flash indicating that the function has been activated.
To deactivate the function:
– press button
>
again for approximately 5 seconds until the
symbols
r
and
R
appear on the display and begin to
flash indicating that the function has been deactivated.