19
7. operating inStructionS
7.1 Using Pressure Washer
1. Start the engine.
2. Install appropriate spray nozzle.
3. Release the trigger safety lock if it is locked.
4. Purge the air by squeezing the trigger on the gun until there
is a steady stream of water.
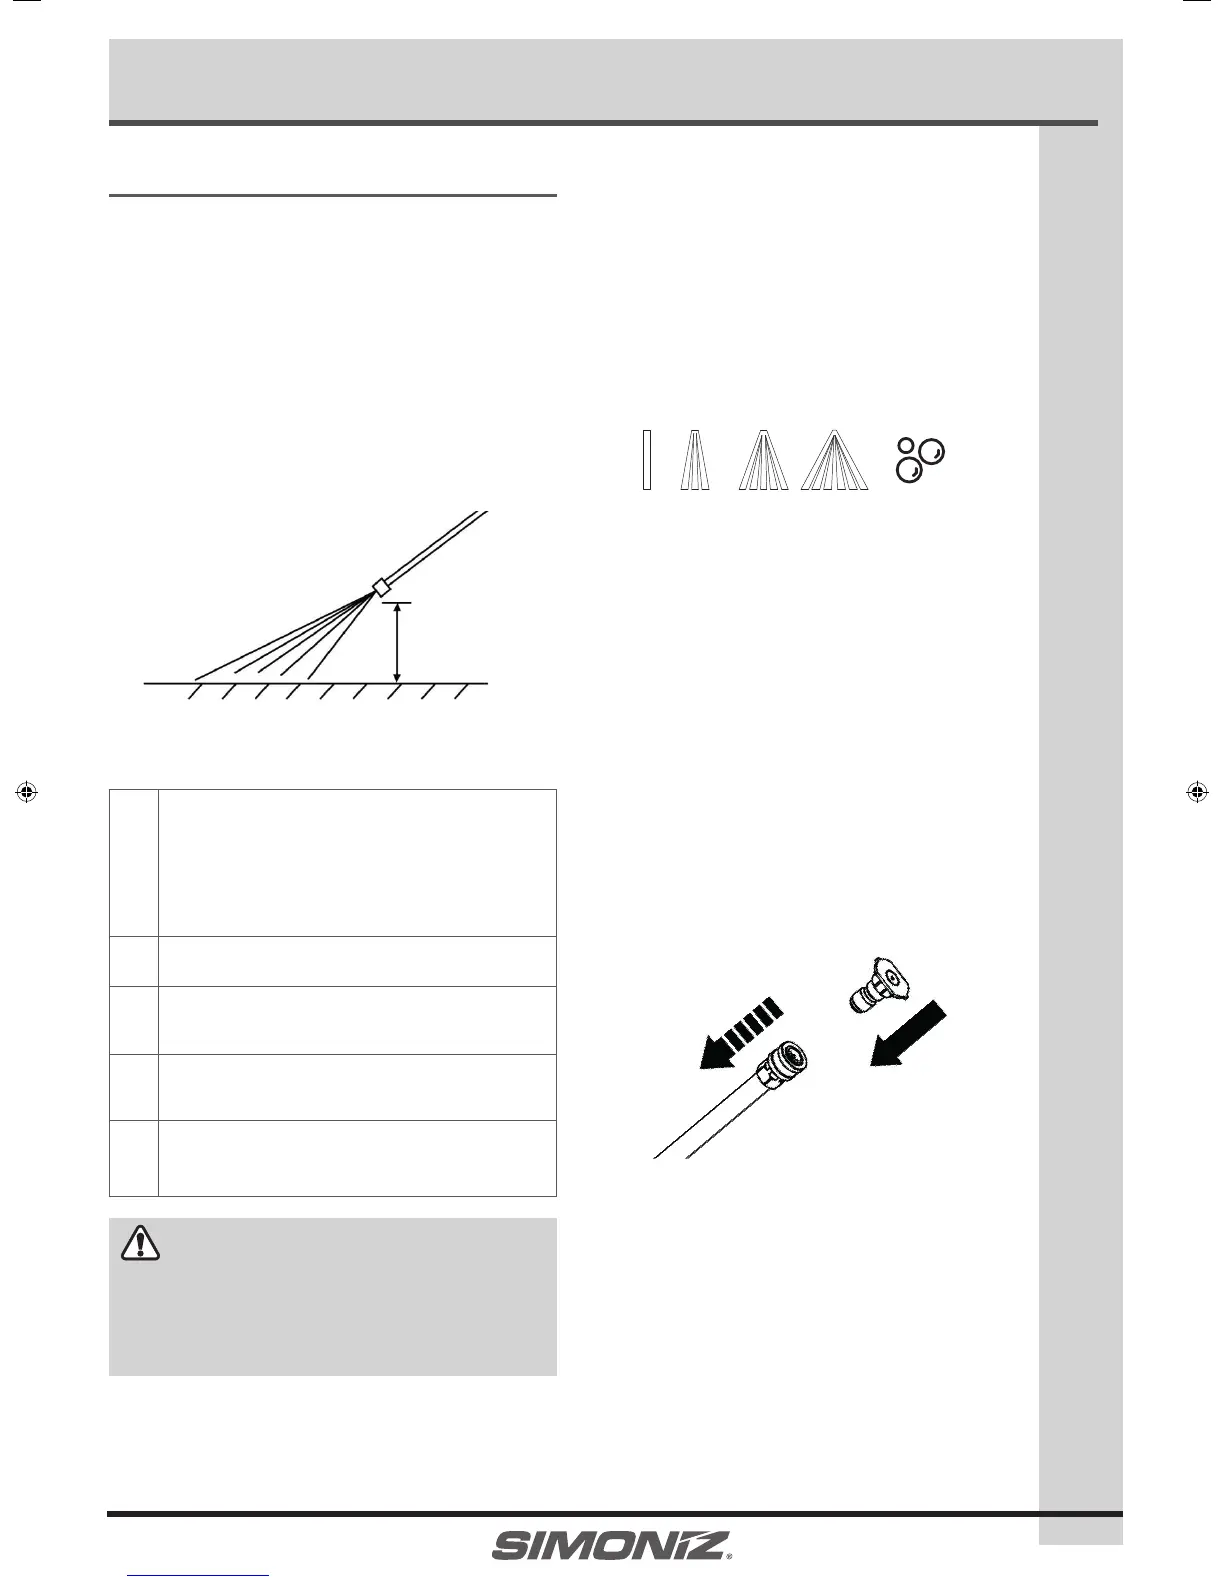
5. Position the tip of the wand 15-20 cm (6-8”) away from the
surface to be cleaned, at an angle appropriate to the spray
nozzle used (0˚, 15˚, 25˚ or 40˚).
7.2 Shutting Down and Cleaning Up
a
(Skip this step if you are not using detergent.)
After cleaning with detergent, ll the detergent tank
with clean water. Spray water at a low pressure for
one minute, so that all detergent is ushed out of the
system.
s
Stop the engine.
d
Turn o the water supply and disconnect the water
supply from the water inlet.
f
Pull the gun trigger to release any remaining water
pressure.
g
Engage the trigger safety lock on the spray gun and rest
the gun on lower and upper supports.
WARNING
Turn o the water supply and pull the trigger to depressurize
the unit. Failure to do so might result in personal injury due to
discharge of pressurized water.
7.3 Using Spray Nozzle
This pressure washer comes with 5 dierent nozzles that
can be installed on the stainless steel wand. The spray
pattern is adjusted by installing the appropriate spray
nozzle.
º
15º
40º Detergent
• 0° (Red): Thin and powerful stream of water
for dicult stains and debris
removal.
• 15° (Yellow): Thin-angled spray for detailed
cleaning.
• 25° (Green): Medium-angled spray for detailed
cleaning.
• 40° (White): Large pattern for wider cleaning
applications.
• Detergent (Black): This nozzle must be used when
applying detergents with the
on-board detergent injection
system. Applies detergents in low
pressure only.
Installing spray nozzle to the quick-connect
coupler:
1. Pull the coupler ring back and insert the desired nozzle.
2. Release the coupler ring to lock it back in place.
Operating Instructions
6-8” (15-20 cm)
UG01_2700PSI_E.indd 19 2016-12-01 5:32 PM