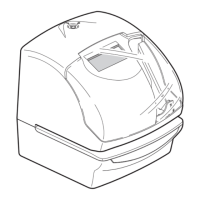
9. SETTING THE PRINT ORDER
9
9
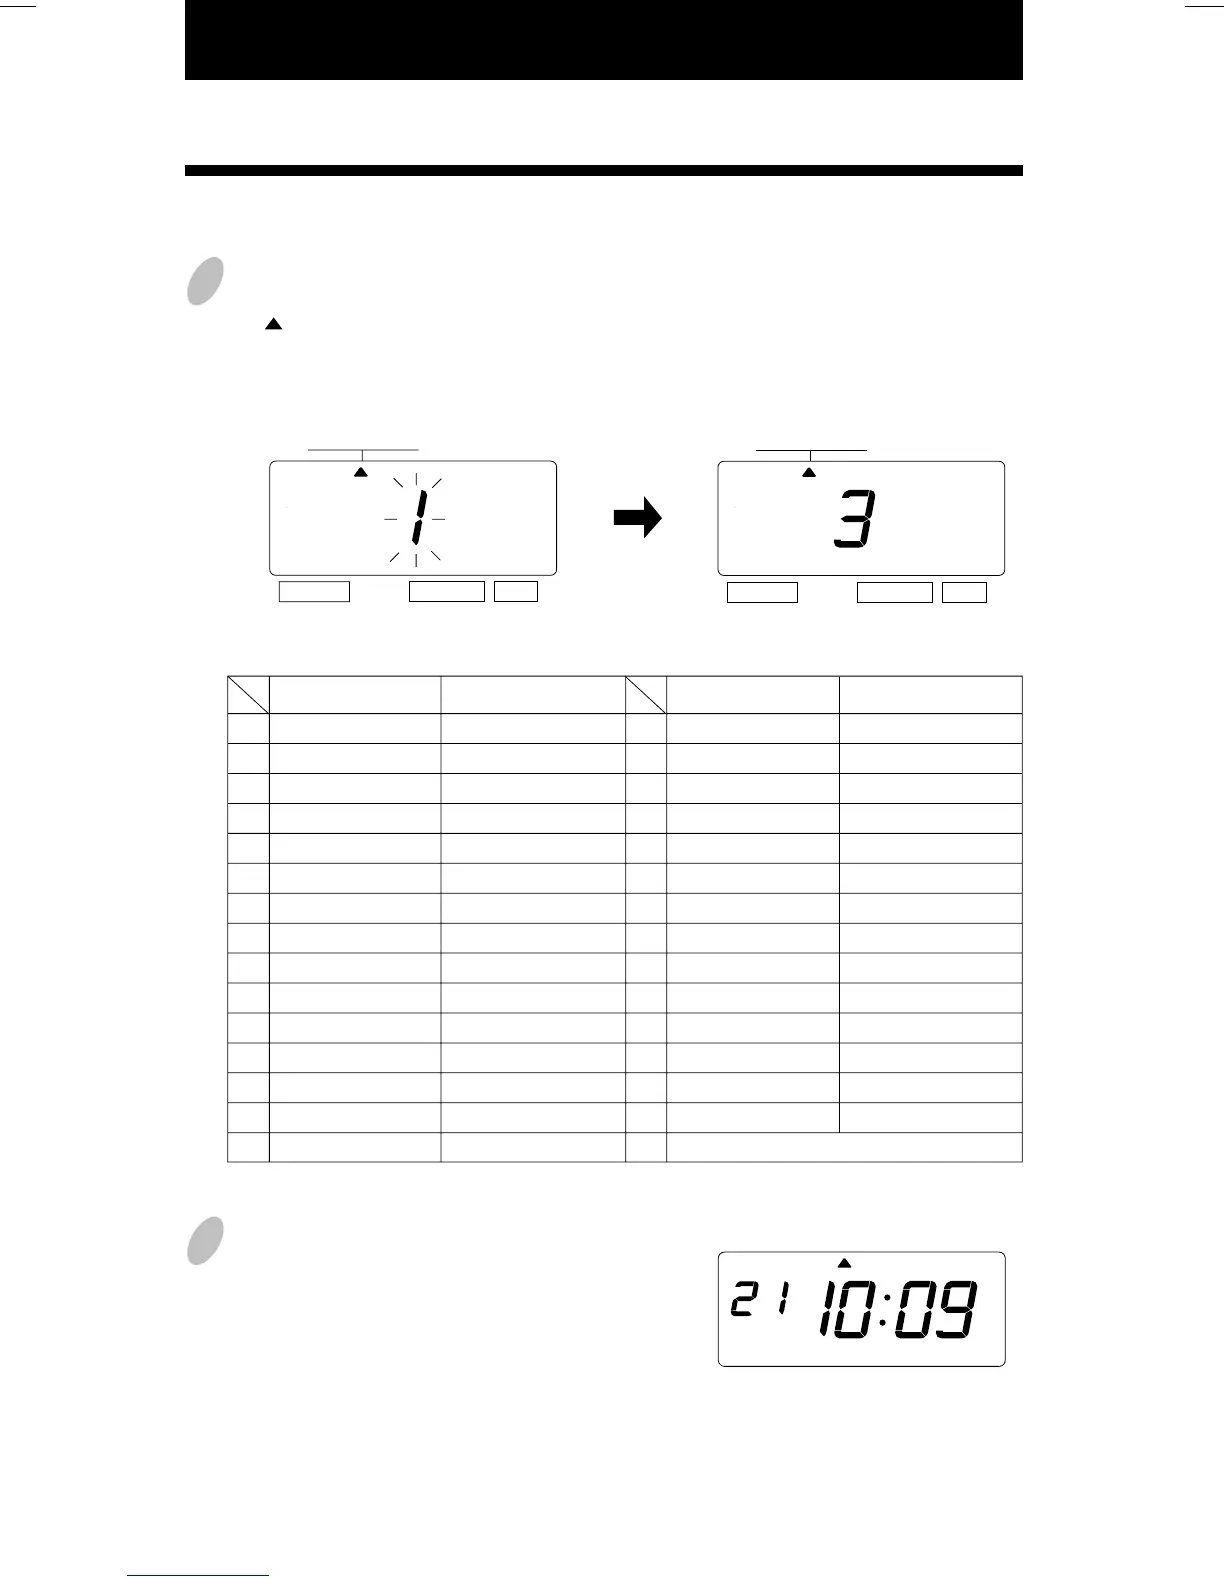
1
Press the [SELECT] button and position
the " " under the "PRINT ORDER" mark.
At that moment, the flashing digit
indicates "Print Order Options".
(The flashing means it can be changed.)
2
After you finish setting the print order,
press the [SET] button once again.
Now the print order setting has been
completed. Replace the cover and
lock.
Important: If you do not complete Step
2, the Time Recorder will not print.
Change the "Print Order Options".
In case of the example, press the
[CHANGE] button to set at "3". And
then press the [SET] button.
Example: Set the print order to "Month, Date, Year, Hour, Minute".
SELECT CHANGE SET
PRINT ORDER
PRINT ORDER
SELECT CHANGE SET
MO TU WE TH FR SASU
1.
2.
3.
4.
5.
6.
7.
8.
9.
10.
11.
12.
13.
14.
15.
Print Order Options
M.D.H.Min
D.M.H.Min
M.D.Y.H.Min
D.M.Y.H.Min
Y.M.D.H.Min
Y.M.D.H.Min.S
D.H.Min
DOW.D.H.Min
Y.M.D
M.D
DOW.D.M.Y
C.M.D.Y
C.D.M.Y
C.Y.M.D
M.D.Y.C
Print Example
JAN 31 10:00
31 JAN 10:00
JAN 31 '03 10:00
31 JAN '03 10:00
'03 JAN 31 10:00
'03 JAN 31 10:00:00
31 10:00
FR, 31 10:00
'03 JAN 31
JAN 31
FR, 31 JAN '03
SENT JAN 31 '03
SENT 31 JAN '03
SENT '03 JAN 31
JAN 31 '03 SENT
Print Order Options
D.M.Y.C
Y.M.D.C
C.D.H.Min
N.M.D.Y
N.D.M.Y
N.Y.M.D
M.D.Y.N
D.M.Y.N
Y.M.D.N
N.D.H.Min
N.M.D.H.Min
N.Y.M.D.H.Min
N.Y.M.D.H.Min.S
N
Print Example
31 JAN '03 SENT
'03 JAN 31 SENT
SENT 31 10:00
000123 JAN 31 '03
000123 31 JAN '03
000123 '03 JAN 31
JAN 31 '03 000123
31 JAN '03 000123
'03 JAN 31 000123
000123 31 10:00
123 JAN 31 10:00
123 '03 JAN 31 10:00
123 '03 JAN 31 10:00:00
000123
16.
17.
18.
19.
20.
21.
22.
23.
24.
25.
26.
27.
28.
29.
30.
Y=Year, M=Month, D=Date, DOW=Day of the week, H=Hour, Min=Minute, S=Second
C=Comment, N=Number
Customized Comments
10. SETTING THE PRINT PATTERN
17
10
1
Press the [SELECT] button and position
the " " under the "PRINT PATTERN"
mark.
At that moment, the flashing digit
indicates "Year Digit Options".
(The flashing means it can be changed.)
2
Change the "Type of Minute".
In case of the example, press the
[CHANGE] button to set at "2". And
then press the [SET] button.
At that moment, the flashing changes
from "Type of Minute" to "Leading
Zero".
Change the "Year Digit".
In case of the example, press the
[CHANGE] button to set at "2". And
then press the [SET] button.
At that moment, the flashing changes
from the "Year Digit Options" to
"Type of Minute".
In this setup, the printing of Year digit, the printing type of Minutes, and change of Leading
Zero can be set.
Example: Change the Year imprint to 4 digits and the Minutes to 1/100 min. and the Leading
Zero to enabled.
1.
2.
Year Digit Options
2 Digits
4 Digits
Print Example
JAN 31 '03 10:00
JAN 31 2003 10:00
1.
2.
3.
4.
Type of Minute
1/60 Min.
1/100 Min.
1/20 Min. (= 5/100 Min.)
1/10 Min.
Print Example
JAN 31 2003 10:10
JAN 31 2003 10.17
JAN 31 2003 10.15
JAN 31 2003 10.1
SELECT CHANGE SET
SELECT CHANGE SET
Leading
Zero
Type of
Minute
PRINT
PATTERN
PRINT
PATTERN
PRINT
PATTERN
SELECT CHANGE SET
Year
Digit
ENGLISH