5. HOW TO PROGRAM THE TIME RECORDER
12
2
5
2
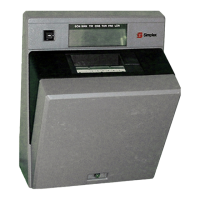
To enter the program setting mode, you must plug the AC cord into the AC outlet and remove
the cover. Next press the [SELECT] button once. Then the Time Recorder goes into the
program mode showing the " "on the display positioned under the "TIME" mark.
Function of 3 control buttons
[SELECT]: You can select the desired program setting mode by pressing this [SELECT]
button. Selected program setting mode is indicated by the " " on the display.
[CHANGE]: When you press the [CHANGE] button, you can increment the set value.
[SET]: You can set the value selected on the display by pressing the [SET] button.
Thereafter you press this [SET] button again, you can return the Time
Recorder to the normal operation mode.
Control buttons
Program modes
6. SETTING THE TIME
6
3
1
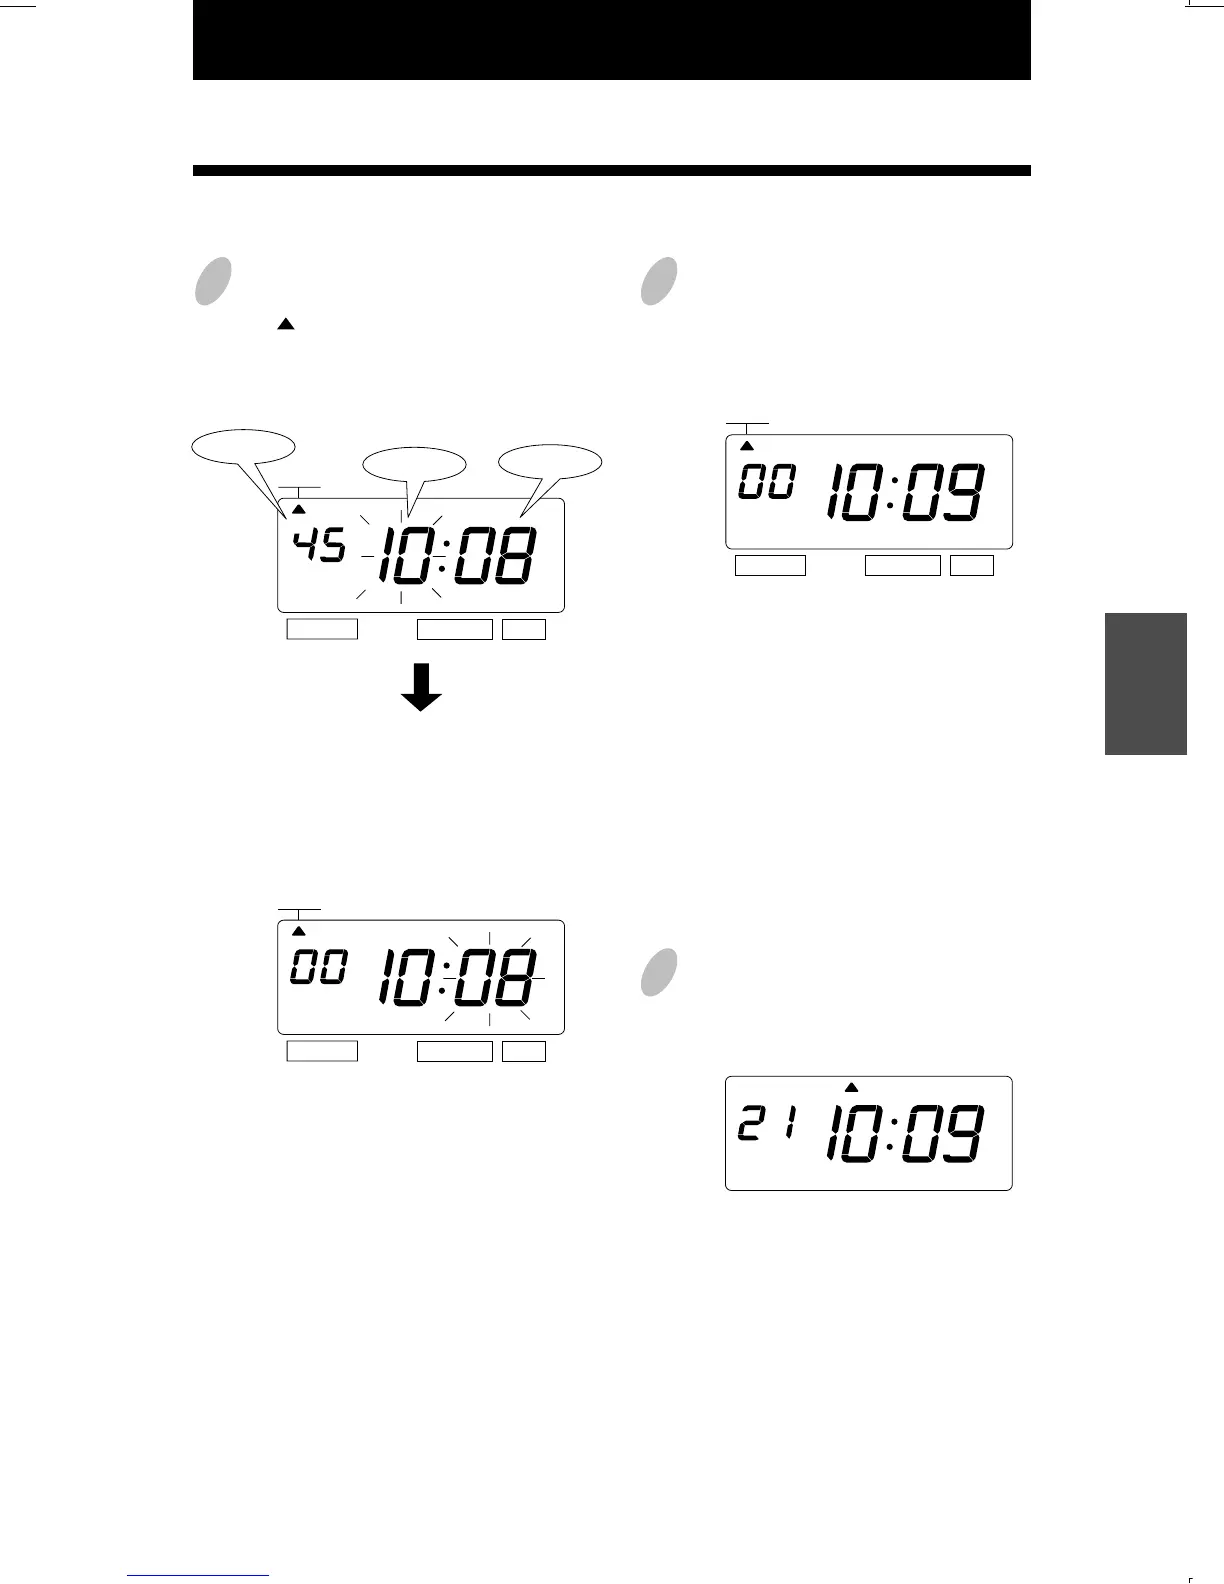
Press the [SELECT] button and position
the " " under the "TIME" mark.
At that moment, the "Hour" flashes.
(The flashing means it can be changed.)
Change the "Hour".
In case of the example, press the
[SET] button because the hour is not
to be changed.
At that moment, the flashing changes
from "Hour" to "Minute".
2
Change the "Minute".
Press the [CHANGE] button to set at
"09". And then press the [SET] button.
3
After you finish setting the time, press
the [SET] button once again.
Now the time setting has been
completed. Replace the cover and
lock.
Important: If you do not complete Step
3, the Time Recorder will not print.
At that moment, the "Second" starts to
run from "00".
Example: Change the time from 10:08 to 10:09.
SELECT CHANGE SET
TIME
SELECT CHANGE SET
TIME
TIME
SELECT CHANGE SET
Seconed
Hour
Minute
MO TU WE TH FR SASU
ENGLISH