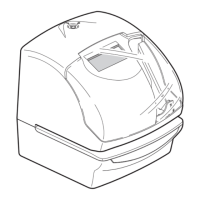
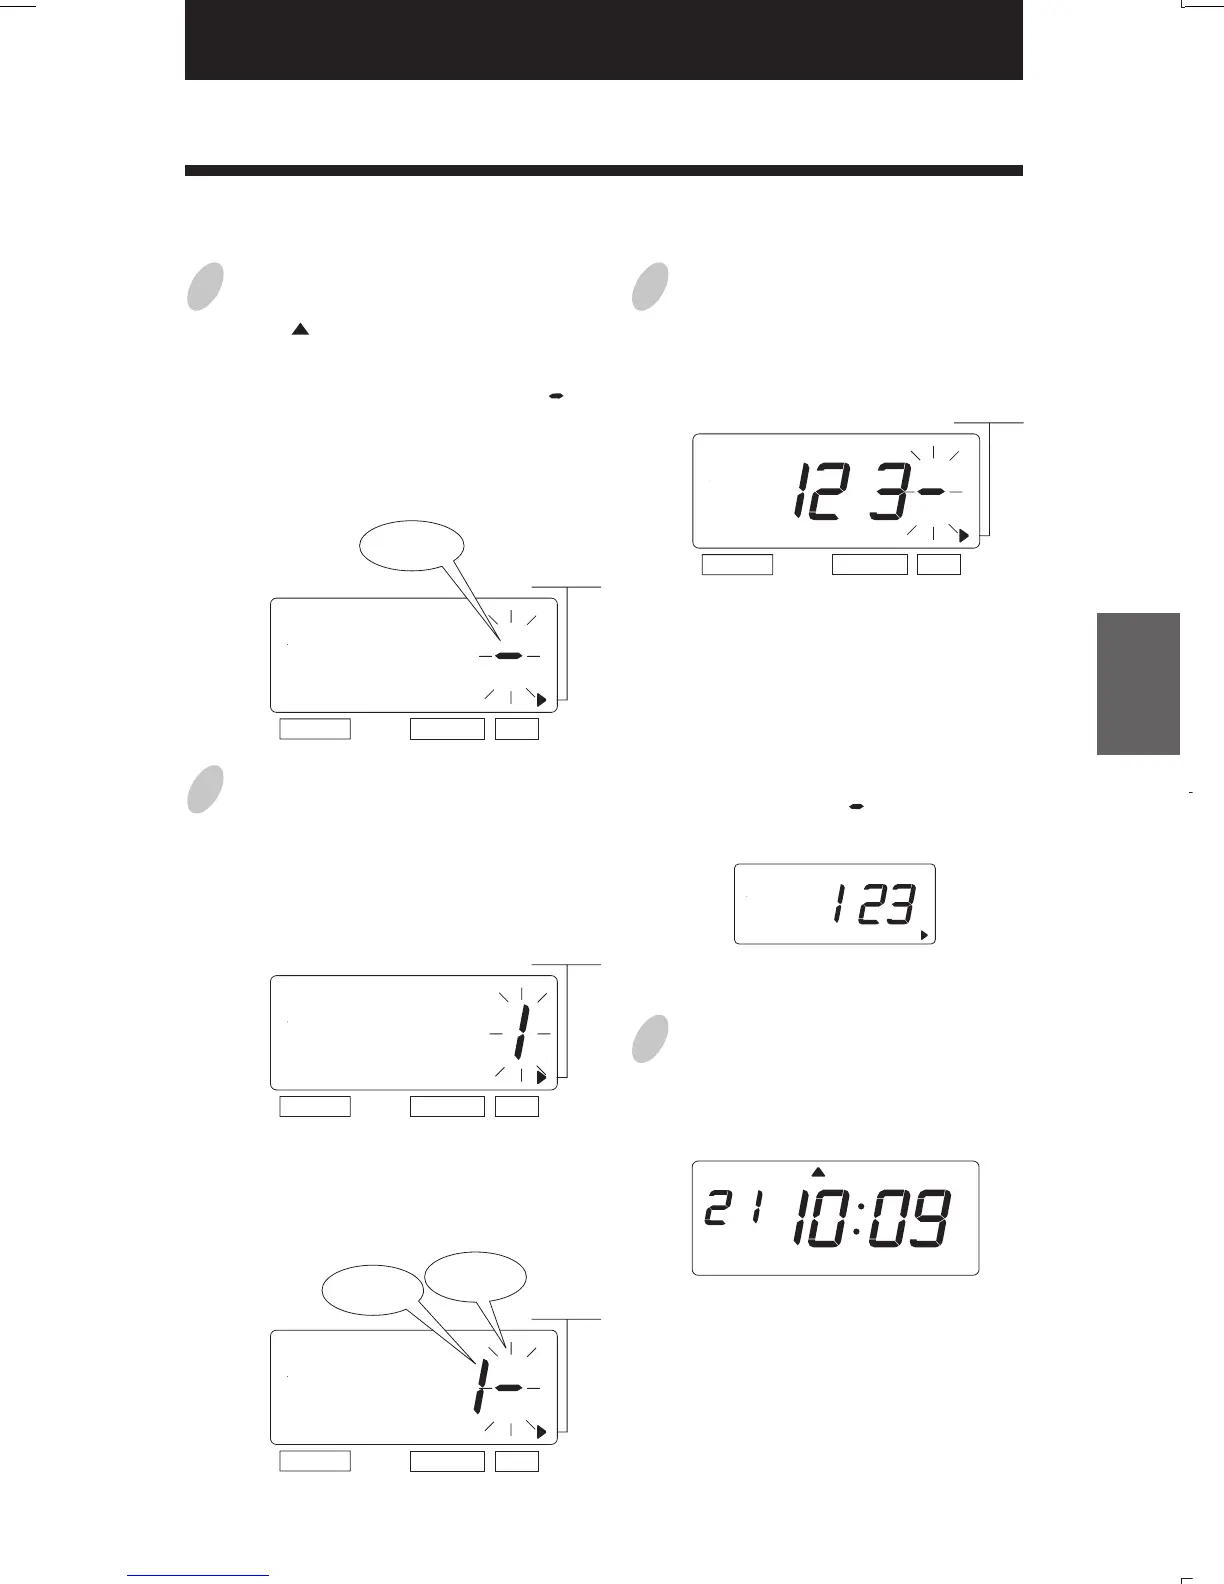
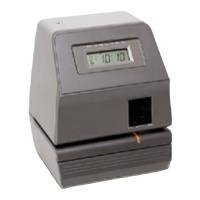
17. SETTING THE INITIAL NUMBER
30
29
1
Press the [SELECT] button and position
the " " next to the "INITIAL
NUMBER" mark.
At that moment, the flashing " "
indicates the 1st digit of the initial
number.
(The flashing means it can be changed.)
2
Set the "Initial Number".
In case of the example, press the
[CHANGE] button to set at "1". And
then press the [SET] button.
At that moment, the 2nd digit of
"Initial Number" appears next to "1"
(the 1st digit).
Example: Setting the initial number to "123". Refer to "16. SETTING THE NUMBER".
3
Set the correct numbers in the same
manner as Step 2. And then press the
[SET] button.
Note: Up to 8 digits can be set,
however the number of digits for
"Initial Number" depends on now you
set at the "Number".
Note: When the "Number Digit" has
been set at "3", " " doesn't appear
next to "3" (the 3rd digit).
SELECT CHANGE SET
INITIAL
NUMBER
SELECT CHANGE SET
INITIAL
NUMBER
SELECT CHANGE SET
INITIAL
NUMBER
4
After you finish setting the initial
number, press the [SET] button once
again.
SELECT CHANGE SET
INITIAL
NUMBER
The 2nd
digit
The 1st
digit
The1st
digit
MO TU WE TH FR SASU
Now the initial number setting has
been completed. Replace the cover and
lock.
Important: If you do not complete Step
4, the Time Recorder will not print.
ENGLISH