34
35
(3)Set the "Hour".
In case of example, press the
[CHANGE]
button to set at "9". And then press the
[SET] button.
3
Setting program No. 2
Press the [CHANGE] button twice. At
that moment, the display changes to
the following figure.
(4)Set the "Minute".
In case of example, press the
[CHANGE] button to set at "00". And
then press the [SET] button.
Make settings for Program No.2 in the
same manner as for Program No.1, as
illustrated in the following figure, and
press the [SET] button.
At that moment, the flashing changes
from the "Hour" to the "Minute".
MO TU WE TH FR SASU
BUZZ EXT.
SIGNAL
*OFF *ON
Hour
SELECT CHANGE SET
TIME TABLE
PROGRAM
SELECT CHANGE SET
TIME TABLE
PROGRAM
MO TU WE TH FR SASU
BUZZ EXT.
SIGNAL
*OFF *ON
SELECT CHANGE SET
TIME TABLE
PROGRAM
BUZZ EXT.
SIGNAL
*OFF *ON
SELECT CHANGE SET
TIME TABLE
PROGRAM
MO TU WE TH FR SASU
BUZZ EXT.
SIGNAL
*OFF *ON
SELECT CHANGE SET
TIME TABLE
PROGRAM
MO TU WE TH FR SASU
Minute
43
36
35
Setting program No. 3
Make settings for Program No.3 in the
same manner as for Program No.1, as
illustrated in the following figure, and
press the [SET] button.
6
After you finish setting the time table
program, press the [SET] button once
again.
5
Setting program No. 4
Make settings for Program No.4 in the
same manner as for Program No.1, as
illustrated in the following figure, and
press the [SET] button.
4
MO TU WE TH FR SASU
Now the time table program setting
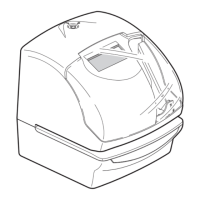
has been completed. Replace the cover
and lock.
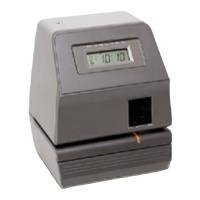
Important: If you do not complete Step
6, the Time Recorder will not print.
MO TU WE TH FR SASU
BUZZ EXT.
SIGNAL
*OFF *ON
SELECT CHANGE SET
TIME TABLE
PROGRAM
MO TU WE TH FR SASU
BUZZ EXT.
SIGNAL
*OFF *ON
SELECT CHANGE SET
TIME TABLE
PROGRAM
ENGLISH