Quantum
®
XL-6000
Multiple Hoop Embroidery
- 45 -
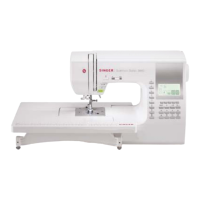
DEFINE AN AREA TO BEGIN
EMBROIDERING
1. Use the arrow keys to move the “Hoop” on screen,
to select the 1
st
area to be embroidered.
2. Select OK.
3. Place fabric in hoop, so X and Y axis lines drawn
on the fabric are set in the hoop in similar
placement to the display on screen.
4. Place hoop and fabric onto the embroidery unit.
5. Touch OK.
6. Touch OK again.
PREPARING TO SEW – SPECIFYING THE
MULTIHOOP POINTS
Specifying the needle entry points is the way the sewing machine receives the
information it needs to stitch the design elements in correct position. Only 3
needle entry points are needed to accomplish this… 2 on the Y-axis line
(points a and b), and one on the X-axis line (point c)
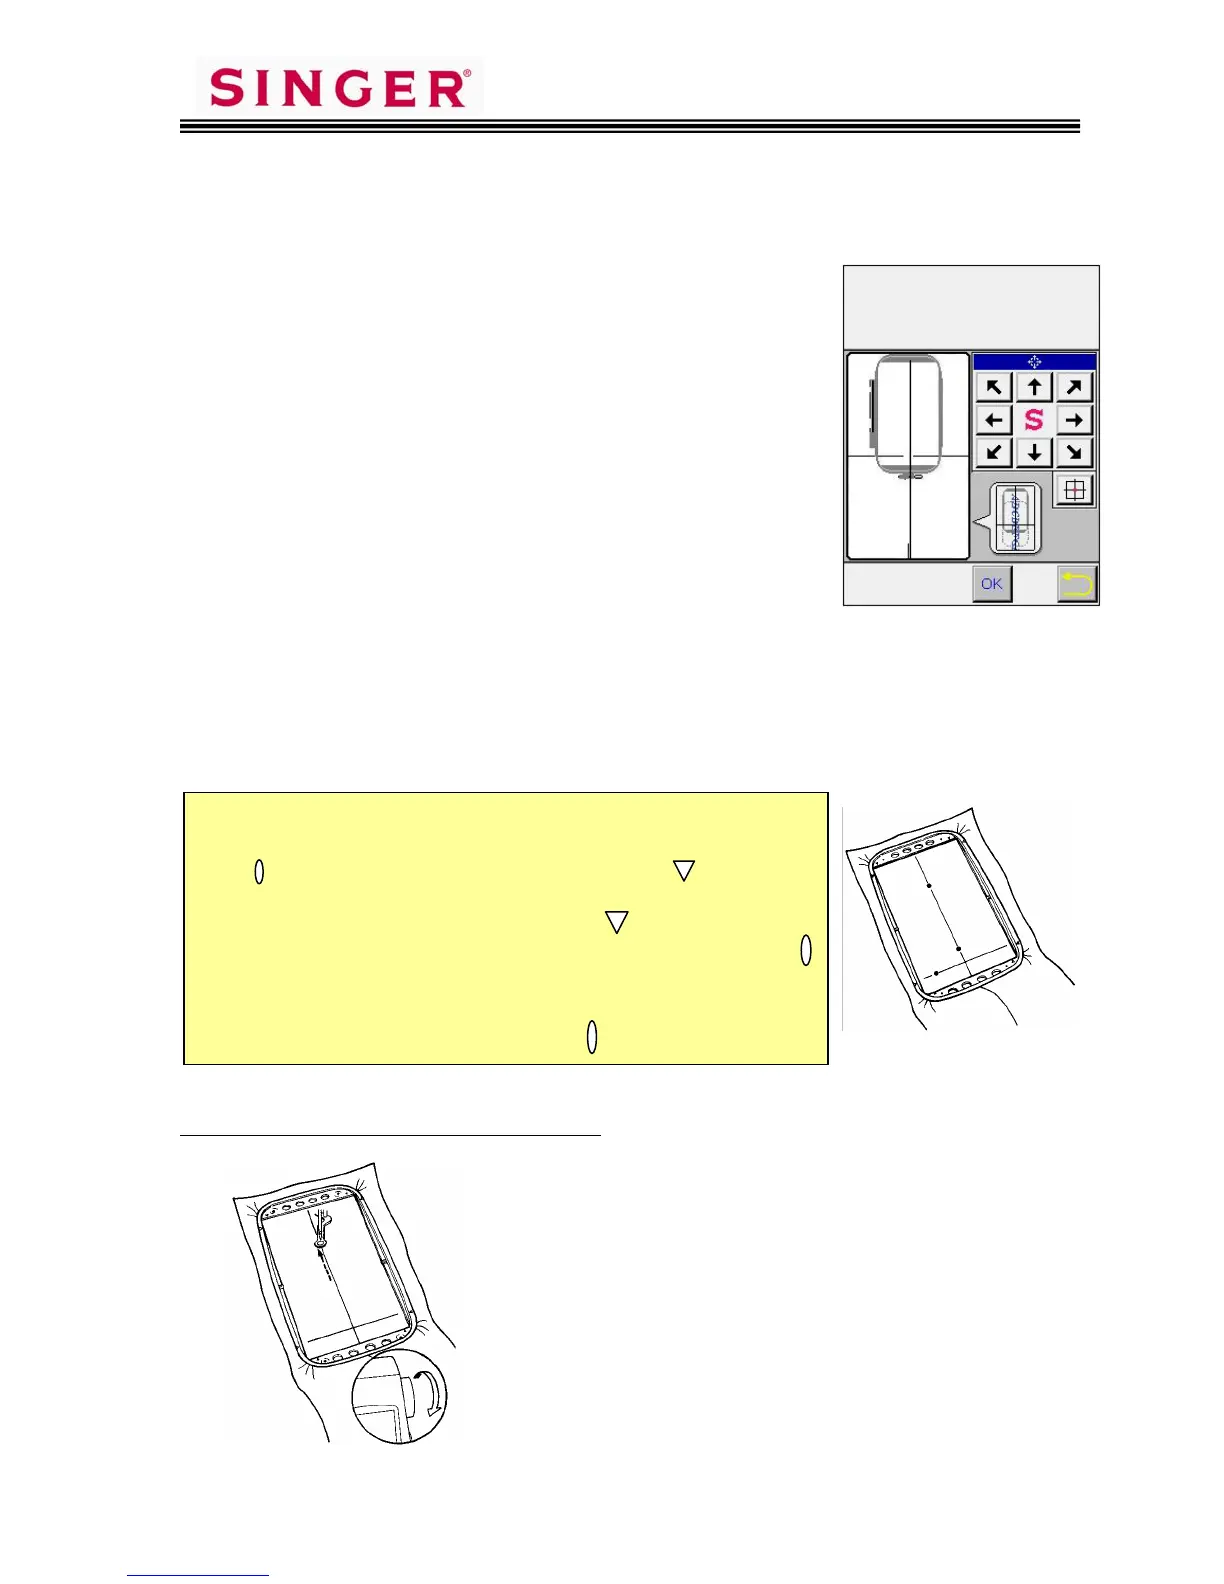
Specifying Point a on the Y-axis line:
1. Touch screen on the upper end of the vertical
line, to move the frame.
2. If needle is not directly on the vertical line, use
the Position Keys on the sewing machine
screen to move the needle until it is directly
over the vertical line drawn on the fabric.
3. Turn handwheel to check that needle touches
the vertical line drawn on the fabric.
4. When needle is in correct position, touch the
Y-1 Position Memory key on screen, to register
this first point.
S
I
E
R
c
a
If you look carefully at your Embroidery Frame you will see
two raised marks in each corner. One mark looks like a small
oval [ ] and the other looks like a small triangle [ ]. These
marks are used to aid in hooping and aligning the X and Y Axis
lines. Aligning the X and Y lines with the marks allows a
maximum size design of 220mm x 430mm. Aligning with the
marks allows a maximum size design of 250mm x 450mm.
When laying out a pattern and moving an element to the
farthest point in the hoop always use the marks.