Use and Operation
6-14
machine horizontally, pull out the measuring ruler to 65cm, and vertically stand
a white board at the end to face the collimator, light up the collimator light, and
the collimator window is adjusted to its maximum. The light field border
displayed on the whiteboard is not larger than 35cm × 35cm.
d) If the LED light is damaged but the imaging is required urgently, you can use the
scale of the collimator to confirm.
e) The collimator with its rotating function. can be rotated by ± 90°. (opcional)
f) The collimator with rotation function should be returned to its normal position
after use. (opcional)
6.5 Program Update
The portable X-ray machine can be updated as follows.
Toggle the rocker switch on the rear cover of the device to "ON" to power up the device.
Make sure that the root directory of the special USB disk contains the "Update.bin"
update file, and insert the special USB disk into the USB port on the back cover to enter
the engineering mode. In the engineering mode, select "Update". For the operation of the
engineering mode, see
6.1.3 Engineering Mode Function and Operation.
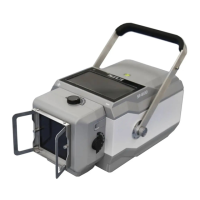
Fig. 6-7 USB port on the back cover
It will prompt "Update failed" if the update fails. Check the USB disk to see if it contains
the update file, and if the name of the update file is correct. After confirming the above,
repeat the above steps and wait for the system to finish the automatic update. If the
update failure still occurs, try to replace the USB disk and perform the update operation
again. If a few replacements of USB disk do not work, please contact the technical person
to fix the issue.
When a system error occurs, the portable X-ray unit sounds "di- di" and an error message
is displayed on the touch screen. The corresponding content of the error prompt can
refer to
Table 7-1 "Error Prompt List".