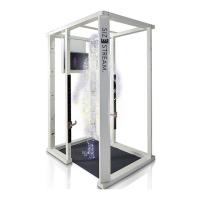
17
Utility
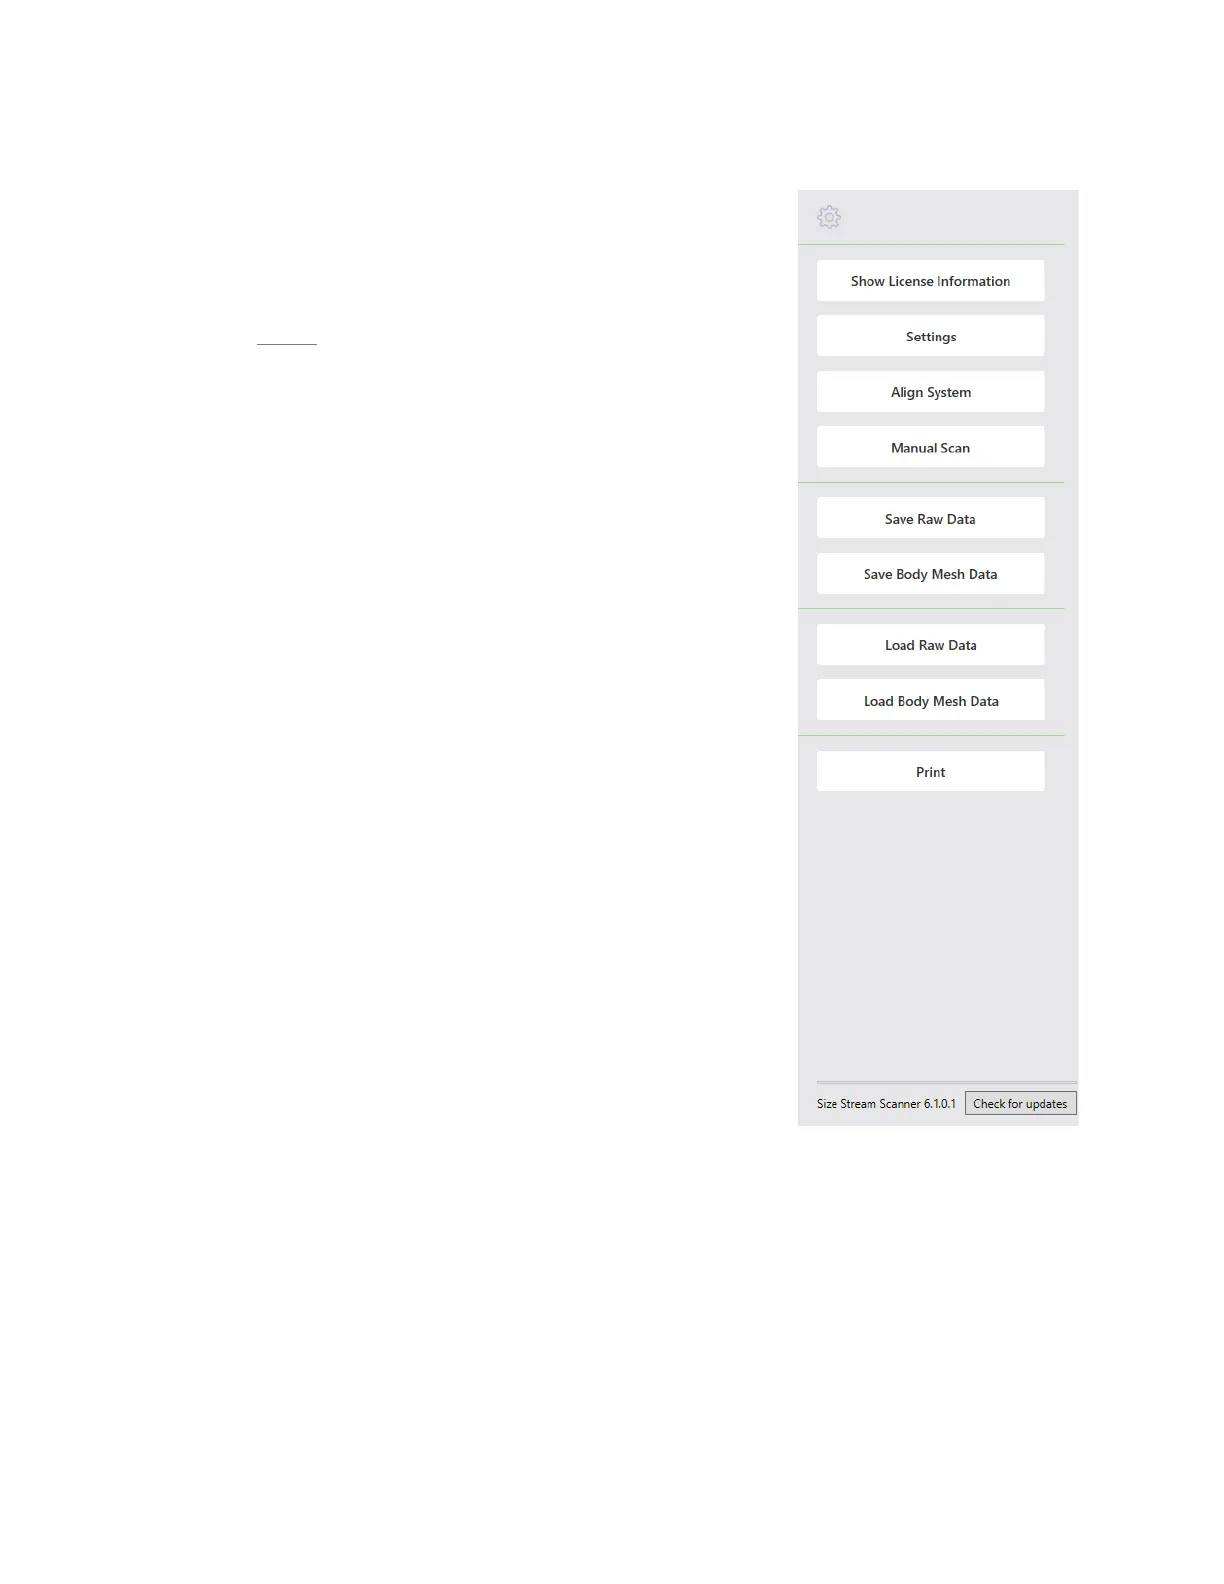
The Utility Pane is accessed by clicking on the Gear icon on the left side of
the screen. This symbol does not appear if the system is operated in
Unattended Mode as it is intended for the system administrator/operator. If
a keyboard is available, The Utility Pane can be accessed using the hotkey
combination
Ctrl+m.
SHOW LICENSE INFORMATION
The Licensing window shows the number of days remaining for the active
Scanner software license as well as instructions on how to have the Scanner
license activated or renewed. This box will automatically pop up if the
license has not been activated or when the license is down to 14 days or less
remaining as a reminder to renew.
SETTINGS TOOL
Opens the Settings Tool Dialog which allows you to access and change the
current system configuration and settings. Settings can be changed in
memory (as soon as you change the value) and they can be saved so that
they will be available the next time the software is restarted.
Note: Clicking on the settings name will display the documentation about
that setting at the bottom of the window.
ALIGN SYSTEM
Initiates the process of aligning the 20 sensor views, with respect to each
other, to render an accurate 3D image of the person being scanned. See the
System Alignment section for more information.
MANUAL SCAN
Touch or click this option to manually start the scanning sequence. In this
mode, the audio instructions remain silent and scanning starts immediately.
This option is useful for scanning objects or for test scanning.
Note: This data is not saved automatically. Click Save Raw Data to manually save this data.
SAVE RAW DATA
Touch or click this option to save the raw sensor data in a different location than the default, for example, on
a USB memory stick. The raw data can be saved in binary, XYZ, OBJ or WRL format.
SAVE BODY MESH DATA
Touch or click this option to save the body mesh data in a different location than the default, for example, on
a USB memory stick. Data is saved in OBJ format only.