9
Step by Step Instructions
1. The user can enter their name which will be applied to the saved data files.
2. Click the large red button, “New Scan.”
3. The subject may follow the instructions presented on the screen, observing correct Scan Posture.
4. When active scanning is complete the voice instructions will advise that the process has completed.
The subject may get dressed while measurements are determined.
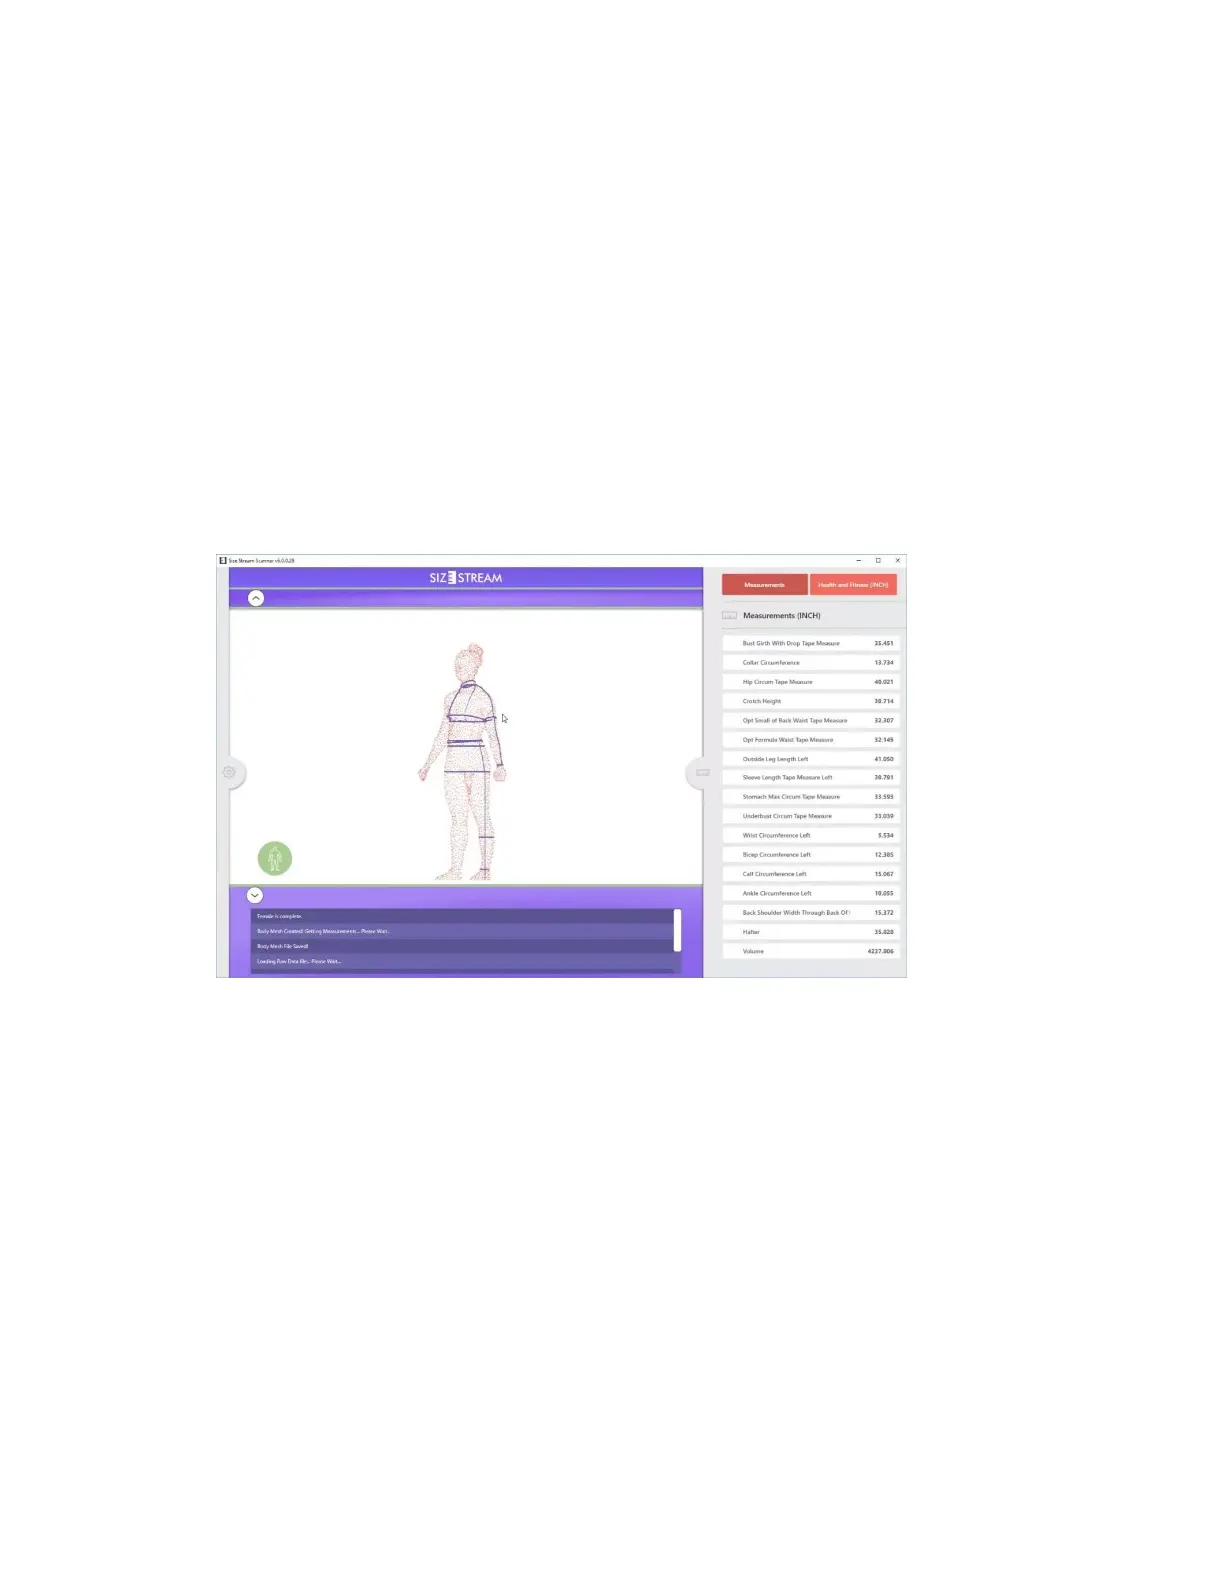
5. When the scan is finished processing, a 3D image will appear on the monitor while the software is
extracting measurements.
Note: The measurement list will open automatically when the extraction is complete.
The image shown is interactive. You can rotate the image on the touch screen. You can also touch on
individual measurements in the list, which will highlight the corresponding measurement line on the
avatar.
6. If configured with the Cloud Upload feature, a QR claim code will appear. To learn more about the
QR claim code please go to the Cloud Upload Feature section.
If the scanner is configured with an external monitor and keyboard so an Operator outside the
scanner can control the scan event, the subject should let the Operator know when they are ready to
be scanned. In less than 10 seconds the scan is complete, and the subject can relax while the
operator determines if the scan was successful or whether they want to repeat the scan. After the
scan image and measurements become available and are reviewed the Operator should tell the
subject to get dressed.
If the subject is initiating the scan themselves from the touchscreen they can follow the steps
described below.