27
Initial Conguration
To manage the user accounts go to “Prefer-
ences” >> “Users”.
To create a new user account press “Add”.
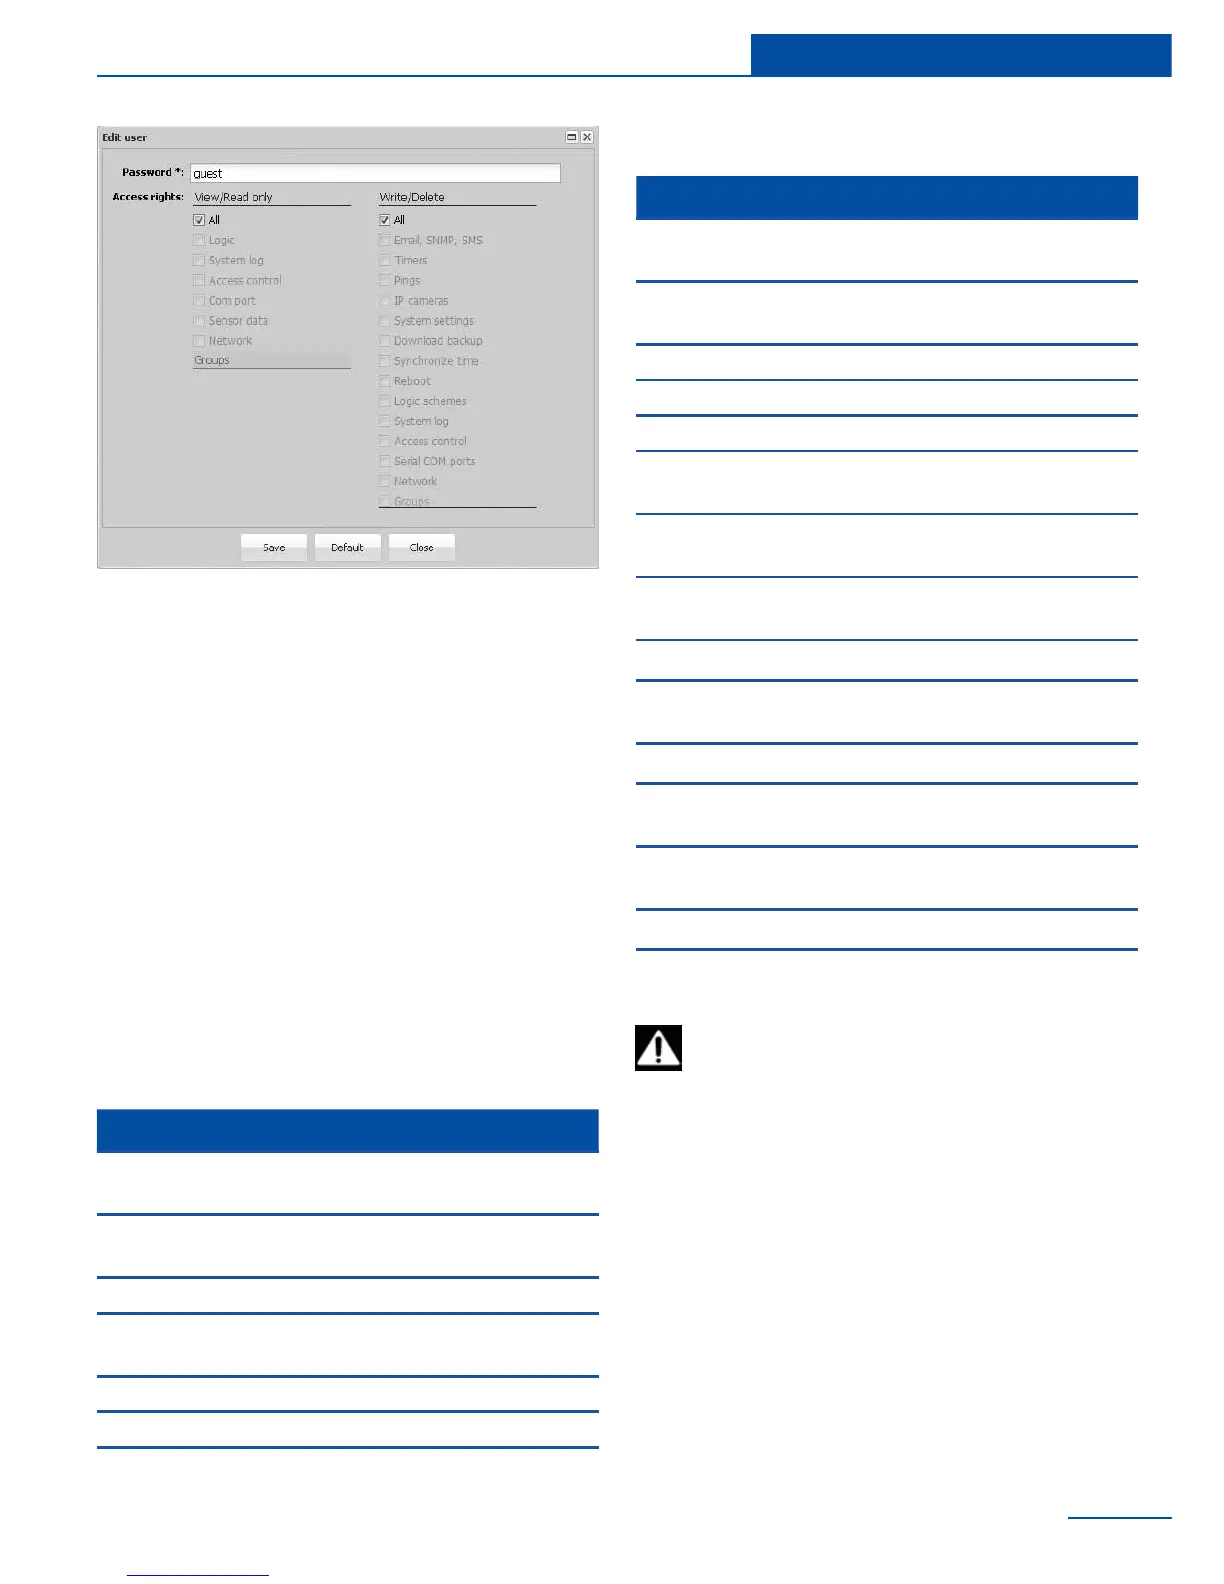
To edit an existing user account, select it from
the list of accounts and click “Edit”.
Select user rights in the window that appears
and click “Save”.
To delete an existing user account, select it from
the list of accounts and click “Delete”.
In order to limit the user access to the sub-
systems of the device the following groups of
access permission are used:
Read:
Write:
User access
Access rights to Description
All
Allowed access to read in all
services
Email, SNMP,
SMS
View logic schemes
System log View log
Access control
View user account
permissions
Com port View serial port settings
Sensor data View sensor data
Network View network settings
Access rights to Description
All
Allowed access to write in all
services
Email, SNMP,
SMS
Create and edit notications
Timers Create and edit timers
Pings Create and edit pings
IP cameras Create and edit IP cameras
System set-
tings
Manage interface settings
Download
backup
Backup device settings
Synchronize
time
Set and synchronize system
time
Reboot System reboot
Logic schemes
Create and edit logic
schemes
System log Clear log
Access control
Manage user access
permissions
Serial Com
ports
Manage serial port settings
Network Change network settings
Groups Manage groups
To prevent the user from seeing other
the appliance interface go to “System menu”,
select menu item “Save settings”, click it and
save le “sky25settings.sky”.
T
o restore, to change or to clone settings, copy
the le “sky25settings.sky” to the root of a USB-
ash drive, without changing the le name. Plug