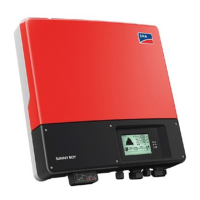
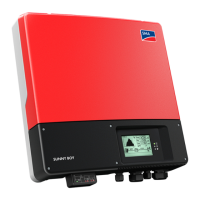
Introduction Installation Overview
SB3000US-4000US-11-SE1607 SMA America 1-5
Installation Overview
This section provides a high-level overview of the installation process so you have
an idea what to expect as you proceed through the rest of the Installation Guide.
The installation process is broken down into the following tasks:
Section 2: Unpacking and Inspection
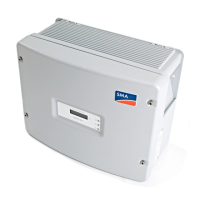
This section provides instructions and information for unpacking the Sunny Boy and
inspecting it for shipping damage.
Section 3: Mounting
This section includes guidelines to help you select the best mounting location,
suggestions to insure optimum performance, cautions and warnings that you should
follow to avoid injury and/or equipment damage and step-by-step instructions for
mounting the Sunny Boy inverter.
Section 4: AC Voltage Configuration
This section includes information on removing the cover, locating primary
components within the inverter and selecting the appropriate voltage configuration
for the installation.
Section 5: Wiring the Sunny Boy
This section includes guidelines for selecting the correct wire sizes, cautions and
warnings that you should follow to avoid injury and/or equipment damage and
step-by-step instructions for wiring the Sunny Boy to a PV array, household electrical
circuits and the utility grid. Procedures are also included for connecting optional
data-communication cables.
Section 6: Commissioning
Commissioning involves applying DC input power to the Sunny Boy, observing the
LED and LCD indicators on the front cover, and resolving any problems that occur.
Section 7: Displays and Messages
This section provides troubleshooting tips and procedures for resolving problems
that may occur during installation and operation.
 Loading...