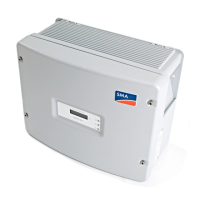
Wiring the Sunny Boy Closing the Sunny Boy
SB3000US-4000US-11-SE1607 SMA America 5-27
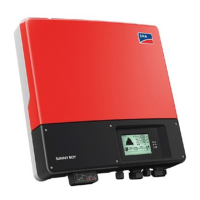
Closing the Sunny Boy
When you have finished connecting the AC-output wires, the DC-input wires, and
the communication cables, re-check all your connections to ensure that everything
is in the right place and that all connections and knockout fittings are secure and
properly torqued. Check all of the knockout fittings on the bottom of the Sunny Boy
to ensure that they provide a weather-tight seal.
WARNING: Never install the Sunny Boy during
rain or very damp conditions. Because the Sunny
Boy has a rain proof enclosure, you must be sure
no moisture is trapped inside the enclosure when
securing the lid.
CAUTION:
Be careful not to misplace the screws or the
lock washers that attach the cover to the case, as all four
screws and lock washers are required to ensure that the
cover is grounded properly and is fully sealed to the
case. Handle the cover carefully, as even minor damage
to the cover could result in an inadequate seal between
the cover and the case, thus allowing moisture to enter
the case and damage the sensitive electronic compo-
nents.
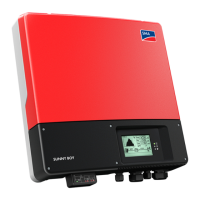
Use the following procedure to replace the cover on the Sunny Boy:
1. Check wire routing to ensure that no wires can interfere with proper sealing of
the cover and that no pressure will be exerted on the connections when the
cover is replaced.
2. Locate the four screws and lock washers you removed to take the cover off the
Sunny Boy. Make sure you have all four screws and lock washers, as all of this
hardware is necessary to ensure proper grounding and a weather-tight seal.
3. Check the seal on the inside of the cover to ensure it is undamaged and in the
correct position.
4. Carefully position the cover on the front of the Sunny Boy
so that the four holes in the cover are aligned correctly
with the four threaded holes in the case.
 Loading...