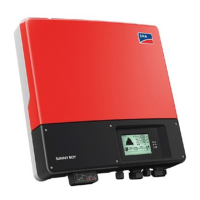
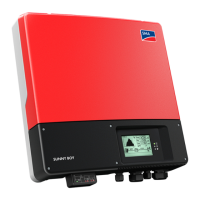
Wiring the Sunny Boy Wiring the AC Output
5-10 SMA America SB3000US-4000US-11-SE1607
AC Wiring Without SMA DC-Disconnect
Use the following procedure to connect the AC wires to the Sunny Boy without the
SMA DC-Disconnect:
WARNING: You must connect the wires that carry
the AC voltage from the Sunny Boy to the utility grid
in the order described in this procedure. Deviating
from this procedure could expose you to lethal volt-
ages that can cause serious injury and/or death.
1. Turn OFF the main breaker in the main utility breaker panel.
2. Remove interior breaker panel cover.
3. If you are replacing an existing inverter, disconnect the wires for the AC line
you are working with in the breaker box.
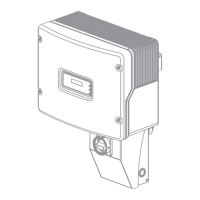
4. Install a 3/4-inch conduit fitting in the Sunny Boy’s AC wiring knockout (the
knockout on the right side of the Sunny Boy, as shown in Figure 5-1). Fasten the
conduit fitting on the inside of the Sunny Boy with the appropriate locknut.
5. Install 3/4-inch conduit between the main breaker panel and the Sunny Boy’s
AC wiring knockout.
6. Pull the AC wires through the conduit from the interior of the breaker panel to
the interior of the Sunny Boy.
Note: Refer to Figure 5-4 on page 5-11 for steps 7 through
10.
CAUTION: Avoid using wire nuts to join any wires together
or to make any connections anywhere in the PV system. Wire
nuts are a frequent cause of unreliable, resistive connections,
and ground faults.
7. Connect the AC equipment-ground wire to the PE terminal labeled
in the Sunny Boy.
8. Connect the L1 (AC line 1or HOT) wire to the terminal labeled L1 in the Sunny
Boy.
9. Connect the L2 (AC line 2) and N (AC line N) wire to the terminal labeled L2
and N in the Sunny Boy.
10. Connect the wires and tighten to a torque of 15 in-lb (1.7 Nm).
 Loading...