Assembly SMA America, LLC
36 SI5048U-TUS121440 Technical Description
4.2.2 Mounting the Sunny Island Using Wall Studs
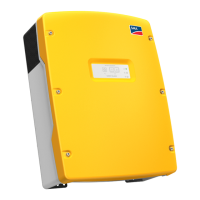
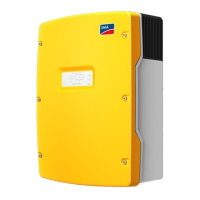
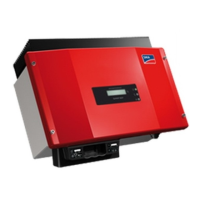
If the Sunny Island is to be mounted on wall studs, then
use the holes in the wall mounting bracket as shown in the
figures. Ensure that the wall mounting bracket is
positioned at least over one wall stud. Note that the wall
mounting bracket is designed to mount on a single wall
stud or on 2 wall studs. When mounting to wall studs use
minimum of four
5
/
16
in. (8mm) lag screws with a
minimum length of 2 in. (50mm).
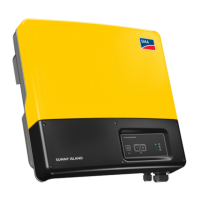
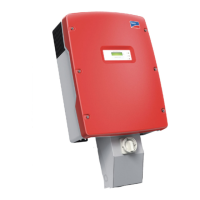
If two or more Sunny Island inverters have to be installed,
mount the inverters on two studs each in order to get
better cooling. Make sure that the wall where you intend
to install the Sunny Island is vertical and can carry the
weight of the Sunny Island (139 Ibs, 63 kg) on a long-
term basis.
Otherwise proceed as per the mounting on a stone wall (see section 4.2.1”Mounting the Sunny
Island on a Stone Wall” (page34)).
CAUTION
Risk of injury due to the Sunny Island falling. Physical injury (fractures or crushing) and
damage to the Sunny Island.
• If mounting onto a stone wall, ensure that the wall can carry the weight of the
Sunny Island.
• If mounting onto a wooden wall with studs, ensure that the wall mounting bracket is
firmly connected with all studs and that the studs can carry the weight of the
Sunny Island.
 Loading...