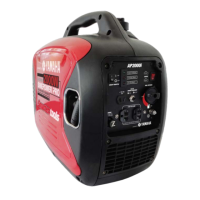
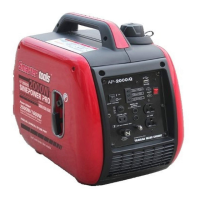
GP Series
13
©2014 Smarter Tools, Inc. All Rights Reserved
Installation (cont’d)
_________________________________________________________________________________________________
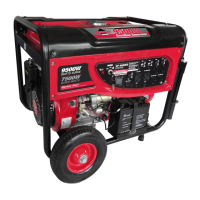
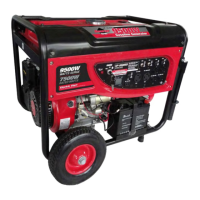
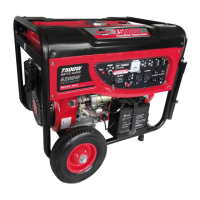
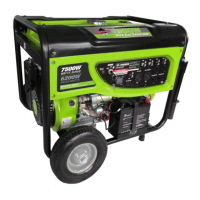
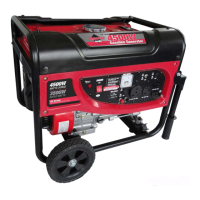
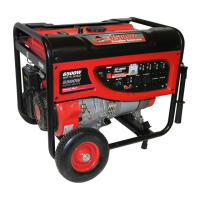
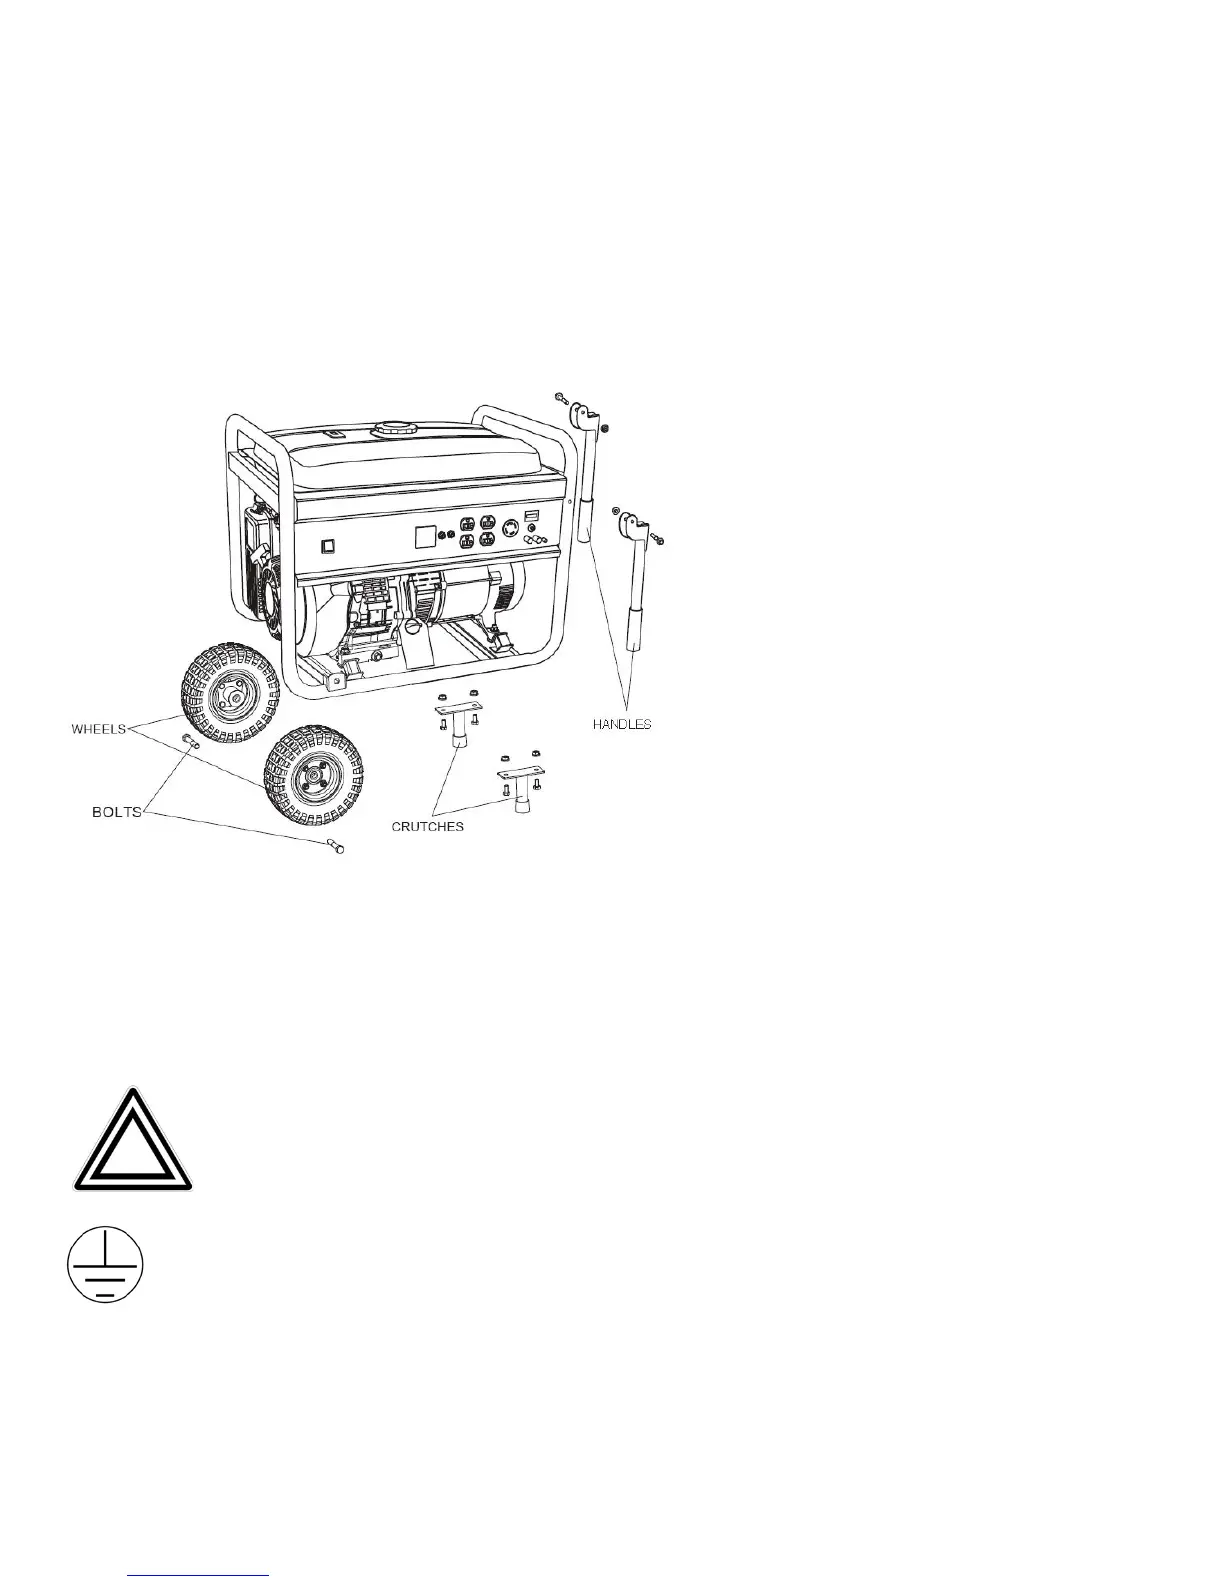
Wheel and Handle Kit Installation
(Installation requires a socket wrench with 10mm, 14mm, and 17mm sockets).
1. Before adding oil or gasoline to the
engine, tip the generator slowly so that the recoil
and air filter are up.
2. Install the two wheels on the generator
using the (2) 17mm 2 ½” bolts provided.
3. Tip the generator slowly so that the recoil
and air filter are down.
4. Install the crutches on the under frame
with the (4) nuts and 14mm 1” bolts provided. On
smaller units (2) 14mm bolts are provided.
5. Tip the generator slowly so that is sits on
both the wheels and crutches.
6. Install the handles on the right side of the
frame using the (2) nuts and 10
mm 1 ¾” bolts
provided.
Support and Mounting
Mount the generator on a concrete slab capable of supporting the weight of the generator. The slab must extend on all
sides beyond the frame by at least one foot. Contact a cement contractor for slab specifications if necessary. Attach the
frame to the concrete slab using 3/8” diameter expansion anchor bolts (not supplied).
Grounding
Note: It is recommended that only a trained and licensed electrician perform this procedure.
Connect a #6 AWG grounding wire (not included) from the ground connector on the generator to a grounding
rod (not included) that has been driven at least 24 inches deep into the earth. The grounding rod must be an
earth-driven copper or brass rod (electrode) which can adequately ground the generator.
 Loading...