M
OUNTING
3-3
Mounting
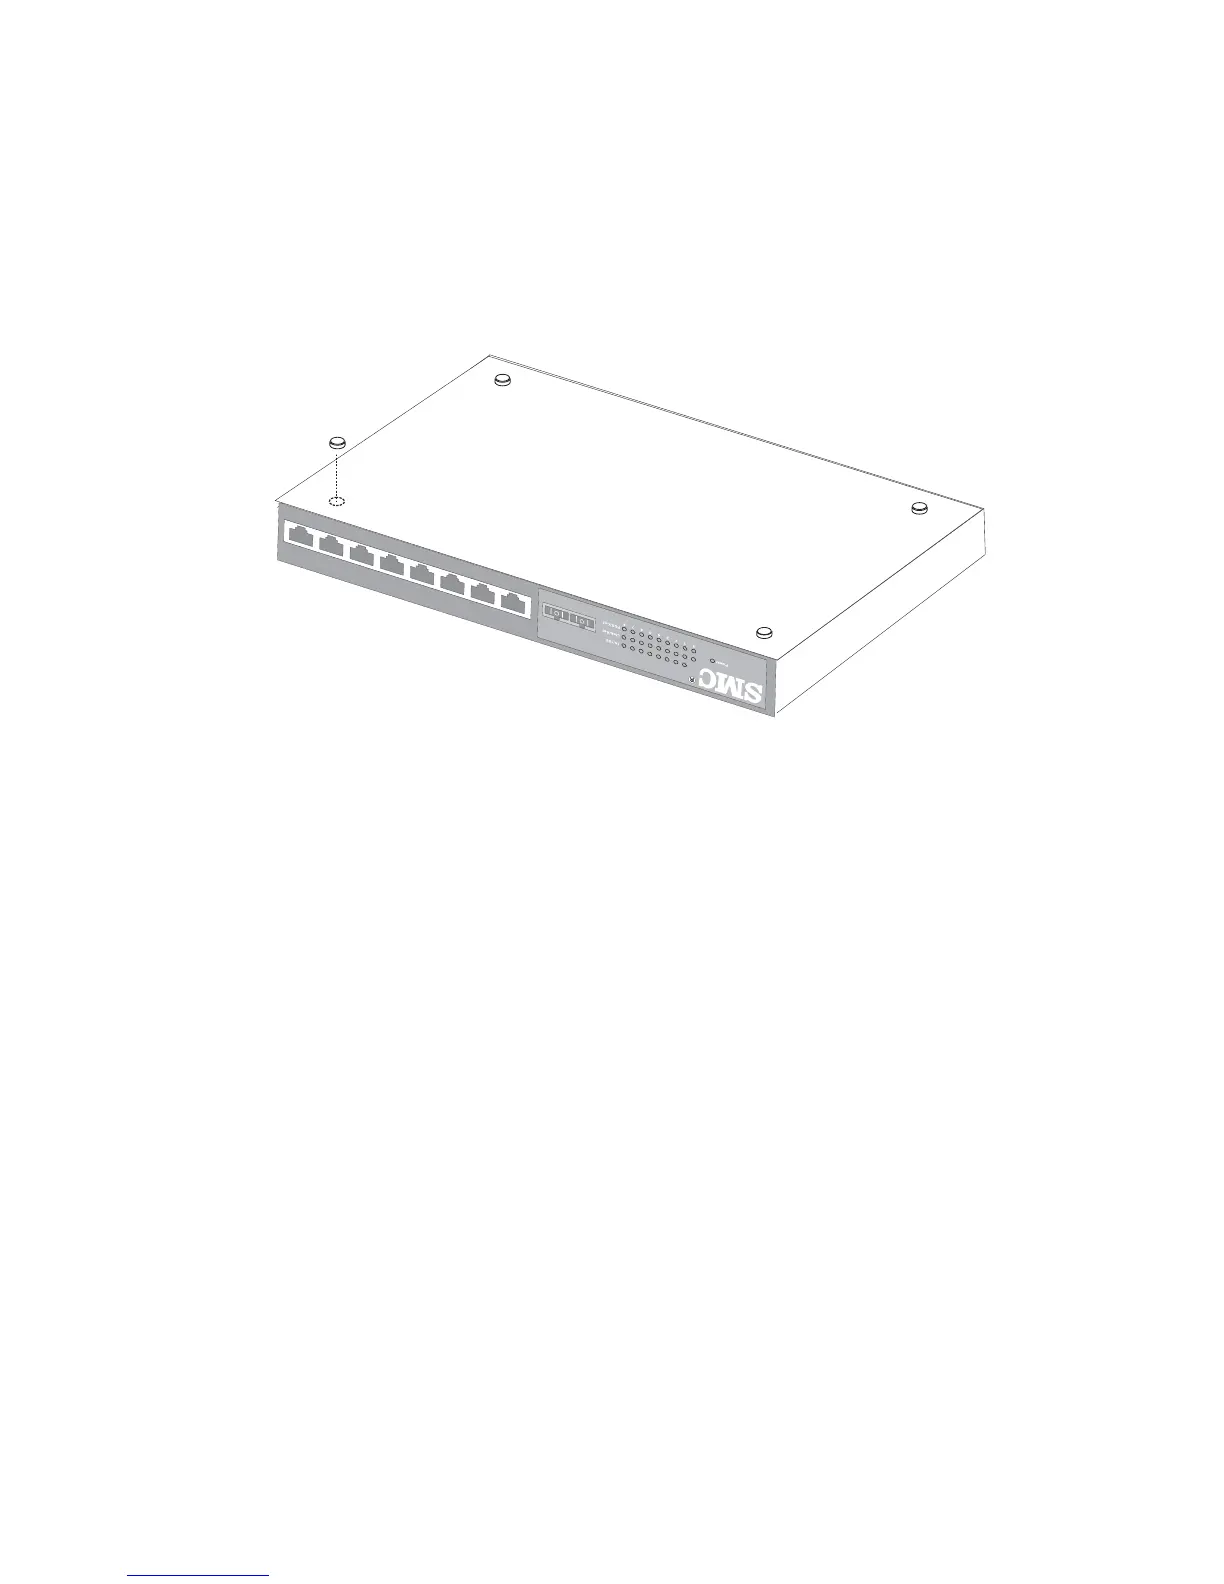
Desktop or Shelf Mounting
1. Attach the four adhesive feet to the bottom of the first switch.
Figure 3-1. Attaching the Adhesive Feet
2. Set the device on a flat surface near an AC power source, making sure
there are at least two inches of space on all sides for proper air flow.
3. If installing a single switch only, turn to “Connecting to a Power
Source” at the end of this chapter.
4. If installing multiple switches, attach four adhesive feet to each one.
Place each device squarely on top of the one below, in any order.
Connecting to a Power Source
To connect a device to a power source:
1. Insert the appropriate regional power cable plug directly into the
1X
3X
5X
7X
2X
4X
6X
8X
M
ulti-m
od
e
1
00
M
F
ibe
r
T
ig
erSw
itc
h
10/100
6709FL2
 Loading...