3.
Level the mounting template horizontally against the wall and mark the drilling hole
locations for the bracket of the Synergy Units (see pencil icons in
Figure 16
).
Figure 16: Marking the drilling holes locations
4.
Place the mounting templates vertically against the wall and mark the drilling hole
locations for the bracket of the Synergy Manager. Make sure that the template
aligns with the two drilling holes marked A.
5. Drill two holes for each bracket and mount the brackets.
6.
Position and secure the mounting brackets to the wall using at least two screws per
bracket. Tighten the screws all the way and verify that the brackets are firmly
attached to the mounting surface.
7.
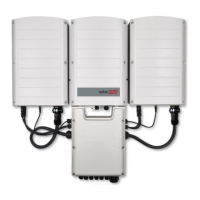
Mount the Synergy Units:
NOTE
When installing the Synergy Units, always install the center Synergy Unit first.
Chapter 3: Installing the Synergy Manager and Synergy Units44
Three Phase Inverters with Synergy Technology PN: SExxK-xxxxIxxxx
 Loading...


